

Midnight Season 2 rebuilds Mythic+ from the dungeon pool up: a brand-new 3-boss dungeon, four Midnight dungeons entering the rotation for the first time, three legacy returns, a reworked affix ladder capping at +12, and two serpent mounts waiting at 2,000 and 3,000 rating. The season arrives with Patch 12.1 “The Curse of Ula’tek,” and this guide is the Season 2 cheat sheet — the full pool with timers, every affix breakpoint, the item level table per key, Resilient Keystones, where pugs stop, the September meta, and what actually changes between +10 and +17, from the team that runs those keys daily. Rather run the keys than study them? Our WoW Mythic+ boost services cover every level of the ladder.
 ⤢ Click to enlarge
Season 2 Mythic+ Cheat Sheet
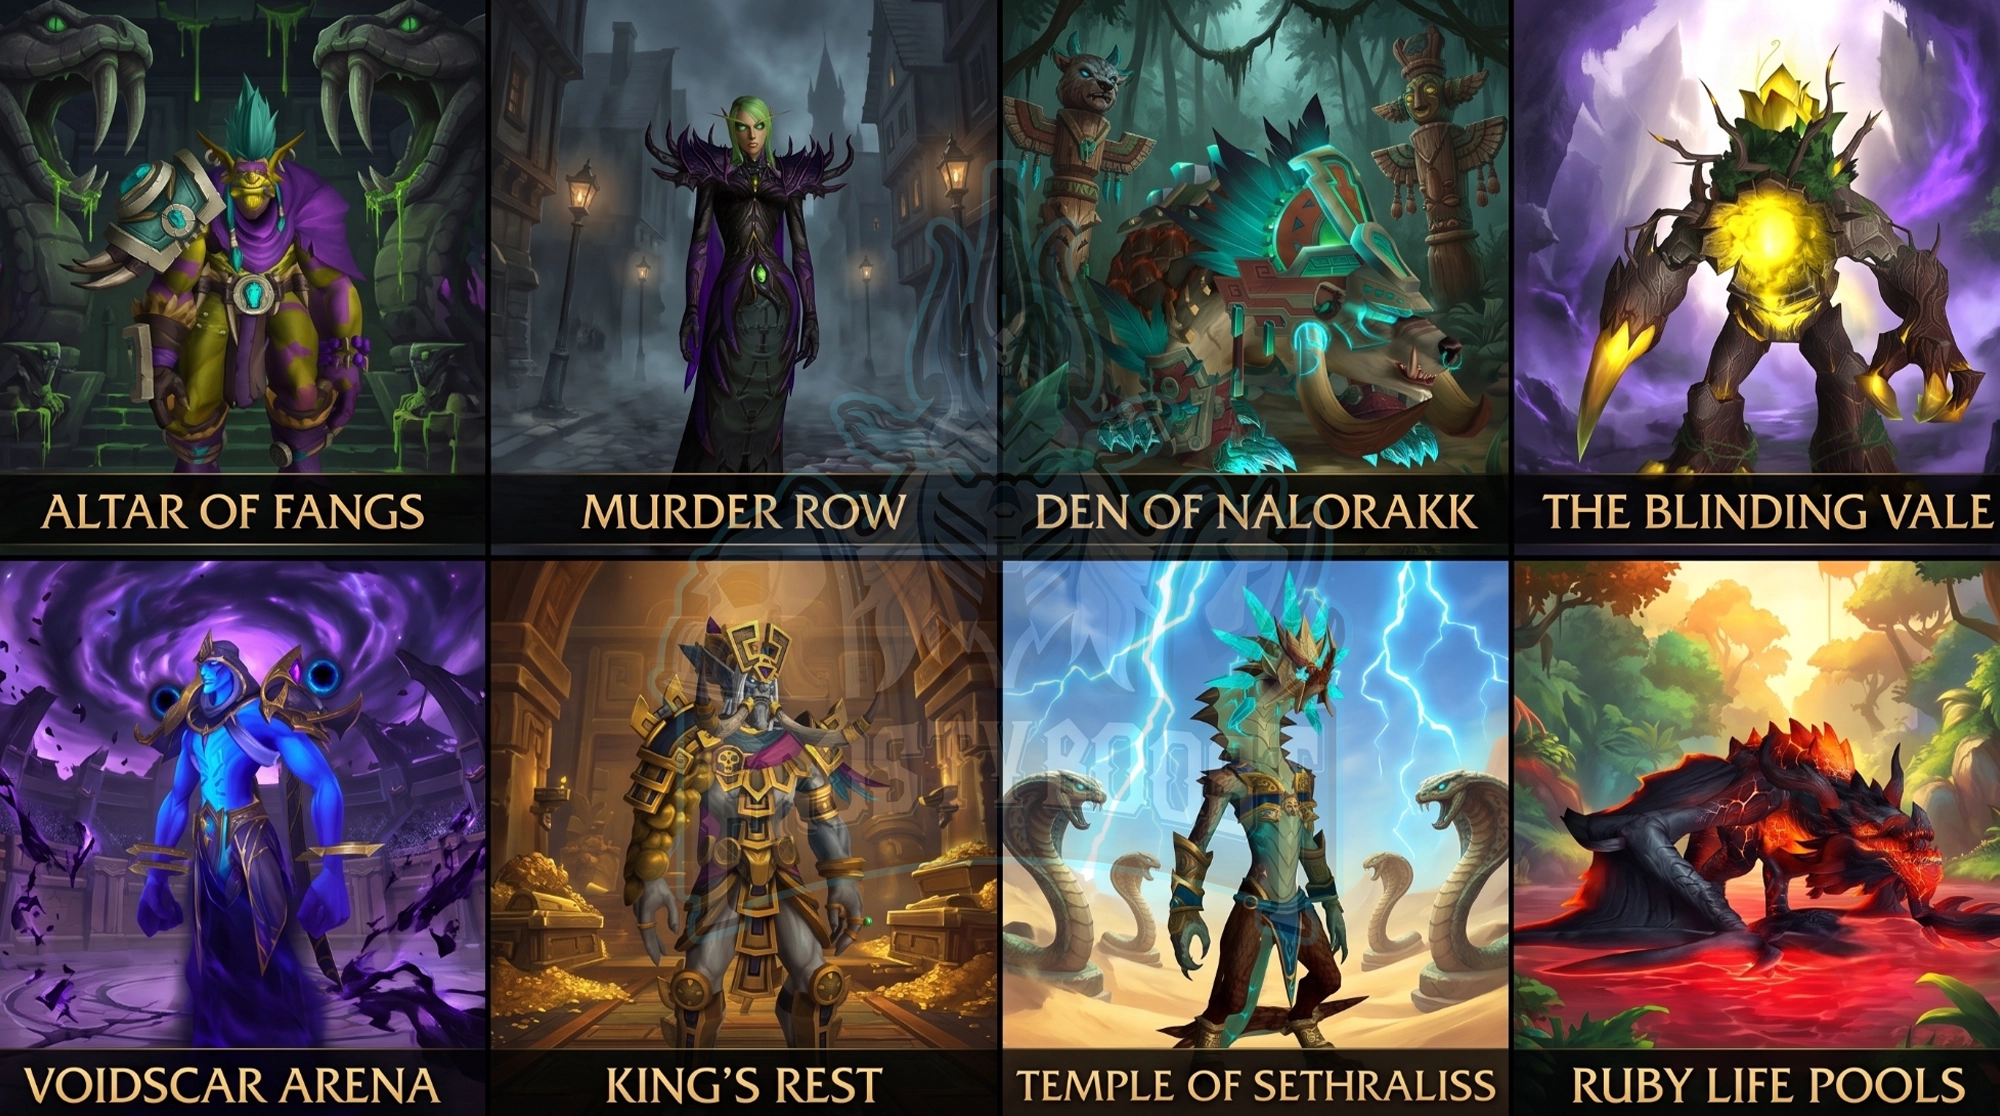
Season 2 Dungeon Pool: All 8 Dungeons
The rotation follows Blizzard’s now-standard formula: the new dungeon, the four Midnight dungeons that sat out Season 1, and three legacy returns. Nothing from the Season 1 pool carries over — all eight are fresh timers to learn.
| Dungeon | Origin | Type | Timer |
|---|---|---|---|
| Altar of Fangs | Midnight | ⭐ New — 3 bosses | 30:00 |
| Murder Row | Midnight | S2 rotation debut | 34:00 |
| Den of Nalorakk | Midnight | S2 rotation debut | 32:00 |
| The Blinding Vale | Midnight | S2 rotation debut | 31:00 |
| Voidscar Arena | Midnight | S2 rotation debut | 30:00 |
| King’s Rest | Battle for Azeroth | Legacy return | 33:00 |
| Temple of Sethraliss | Battle for Azeroth | Legacy return | 33:00 |
| Ruby Life Pools | Dragonflight | Legacy return | 28:00 |
 ⤢ Click to enlarge
Altar of Fangs — the New Dungeon
Season 2’s headliner: a compact 3-boss dungeon on the 30-minute timer, tied directly to the Coiled Isle storyline. Early data points to a boss order of Rav’i → The Writhing Coil → Zul’jan, the season’s central antagonist — check the in-game dungeon journal for the current order. Three bosses on a tight timer usually means dense trash and heavy pull-planning; expect this one to decide more push keys than any other map in the pool.
The Midnight Rotation Debuts
Murder Row, Den of Nalorakk, The Blinding Vale and Voidscar Arena all skipped Season 1, so the entire player base learns them under M+ rules at the same time. That’s a rare, even playing field — and the best argument for running them early, while nobody has the routes memorized and the timer expectations stay soft. Murder Row carries the pool’s longest timer at 34:00, which typically signals a long, trash-dense layout.
The Legacy Returns
King’s Rest brings back the Zandalari tomb gauntlet — a boss-heavy map veterans remember as unforgiving on tanks. Temple of Sethraliss returns from Vol’dun with its healing-intensive final encounter, and Ruby Life Pools — the shortest timer in the pool at 28:00 — comes back from Dragonflight as the season’s sprint map. Legacy dungeons always get retuned for the current season, so treat old routes as a starting point, not gospel.
What’s Changing in Season 2 Mythic+
Blizzard published the design intent alongside the pool, and it reshapes how keys will feel. Creature health pools go up across the board — the stated goal is shifting difficulty away from instant tank-and-healer pressure and toward target prioritization and damage checks. In practice: pulls die slower, kill order matters more, and DPS carry more of the timer’s weight than they did in Season 1. Cone and line abilities get updated precast visuals matching the modern swirly standard, so telegraphs read cleaner in dense pulls. Per-dungeon pain points — slow roleplay events, awkward boss mechanics — got individual passes. And one genuinely new tool: enemy tooltips now show each mob’s percentage contribution to Enemy Forces, which turns route planning from external-addon homework into in-game information. Better pulls, fewer excuses.
Season 2 Affixes: the Full Ladder
The affix system runs a clean level-by-level ladder, fully assembled by +12:
| Keystone Level | Affix Change |
|---|---|
| +2 | Lindormi’s Guidance becomes active |
| +5 | Xal’atath’s Bargain (rotating) becomes active |
| +6 | Lindormi’s Guidance removed |
| +7 | Fortified or Tyrannical (weekly rotation) |
| +10 | Both Fortified and Tyrannical active |
| +12 | Xal’atath’s Bargain replaced by Xal’atath’s Guile |
Lindormi’s Guidance is the learning-wheels affix for +2 through +5: it highlights and weakens select enemies with Temporal Sands (−5% health and damage) and — the big one — removes the death penalty entirely, so deaths don’t subtract from the timer. From +6 the guidance disappears and dying costs time again. Tanks who liked the highlighting can still pick up Lindormi’s Glow from Lindormi herself — she stands near the Timeways portal in Silvermoon City and at the end of each dungeon — but the Glow only highlights, it no longer weakens anything. Higher up, the weekly Fortified/Tyrannical rotation lands at +7, both run simultaneously from +10, and at +12 the rotating Bargain gives way to Xal’atath’s Guile — the ladder’s final form for push players.
When to Bloodlust in Midnight Dungeons
The evergreen question, and Season 2’s design answer is clearer than ever: with bigger health pools and damage checks doing the gatekeeping, Bloodlust belongs where the timer is won or lost. The framework that survives every rotation: on Fortified weeks, lust the dungeon’s biggest, nastiest trash pull — the one your route builds toward; on Tyrannical weeks, hold it for the boss that checks damage hardest, which in a 3-boss map like Altar of Fangs almost always means the finale. Never lust a pull you’d survive anyway, and never bank it so long the run ends with it unused. One practical note from our team: at +12 and above the rotating Bargain is gone, so the buff-driven speed windows disappear with it — lust goes purely where the damage check is, and that is almost always the pull or boss your route was built around.
Where Pugs Stop: Realistic Key Ceilings in Season 2
Season 2 Mythic+ has a clear ceiling for pick-up groups, and it is lower than the affix ladder suggests. In FrostyBoost’s Mythic+ team’s experience, weak pugs stall around +12, average pugs reach +13 or +14, and strong pugs top out at +16 or +17. Above that, every timed key is a coordinated group, not a queue. The dungeons themselves are not the problem: Season 2 mechanics come down to a few damage overlaps on the group, and the genuinely dangerous pulls are skipped by everyone below rank-one keys. What separates a timed +14 from a depleted one is coordination — which is why a coordinated group clears a +10 in 50–60% of the timer, closer to 40% when the fifth player deals real damage and the group can pull bigger. That is the gap a Mythic+ boost closes.
Season 2 Meta: Tanks, Healers and DPS (September Snapshot)
The Season 2 Mythic+ meta below is as of early September; tuning passes move this list. It is what our boosters bring to their own keys and what group leaders filter for right now.
| Role | Top picks | Why |
|---|---|---|
| Tank | Blood Death Knight, then Paladin and Druid | DK leads by a wide margin; after the next tuning pass expect DK, Demon Hunter and possibly Paladin |
| Healer | Holy Paladin, then Holy Priest and Restoration Shaman | Raw HPS and the ability to solo a heal check |
| DPS | Arcane Mage, Arms Warrior, Elemental Shaman, Demonology Warlock, Beast Mastery Hunter | Priority damage first, AoE second — Demonology is among the strongest DPS in the game after the September tuning |
The rule our team builds Season 2 groups by: take the spec with the higher numbers first, not the one that brings a buff. Utility — kicks, AoE stuns, dispels, mobility — gets sorted afterward. The healer has to cover the entire heal check with the composition in front of them; the tank’s job is to stay alive first and deal damage second. The strongest push composition in the season is Blood Death Knight, Holy Paladin, Elemental Shaman, Demonology Warlock and Arcane Mage: the first four buff each other, and Demonology is the best damage in the game. A melee setup is playable, but noticeably harder — there is no reason to choose it.
On utility, one number is non-negotiable: at least three interrupts, or the group does not form. A magic dispel is needed — Shadow Priest with a mass dispel every two minutes, any healer, or a Dwarf. Poison and disease show up in almost every dungeon in the Season 2 dungeon pool; cleanse them if someone can, but nobody builds a group around it. And the fastest way to check whether your spec gets invited: open the ladder. If the spec shows up on the top pages, groups take it. This is a snapshot for group building; the full Mythic+ tier list is a separate article.
Resilient Keystones: the Anti-Deplete System
Season 2 keeps the best quality-of-life system in modern M+. Time all eight dungeons at +12 and the Resilient Keystone 12 achievement fires: from that moment, your keystone never drops below +12, no matter how many runs deplete. A separate achievement exists for every level from +12 upward — time everything at +13 and the floor rises to +13, and so on. The effect on pushing is huge: past the threshold, a failed key costs a rerun instead of a rebuild, so high-key players can chain attempts at their ceiling all evening. Manual downgrades through Lindormi still work when you want a softer key on purpose.
In practice the rule works one way. A Resilient Keystone at +12 will not drop below 12 when a +12 or higher key depletes. Take that same keystone down to a +10 and miss the timer, and it breaks like any other. Time every dungeon at +13 and the floor moves to 13. Our team’s observation since the Season 2 launch: Resilient Keystones raised demand for high keys, because the dungeons a player cannot get resilient on their own are exactly the ones they order — usually the hardest map of the season.
Item Level and Crests per Keystone
The table that answers “which key should I farm” — end-of-dungeon loot, Great Vault reward and the crest tier each level pays:
| Key | End-of-Dungeon ilvl | Great Vault ilvl | Crest |
|---|---|---|---|
| +2 | 295 | 305 | Champion Mistcrest |
| +3 | 295 | 305 | Champion Mistcrest |
| +4 | 298 | 308 | Hero Mistcrest |
| +5 | 302 | 308 | Hero Mistcrest |
| +6 | 305 | 311 | Hero Mistcrest |
| +7 | 305 | 315 | Hero Mistcrest |
| +8 | 308 | 315 | Hero Mistcrest |
| +9 | 308 | 315 | Myth Mistcrest |
| +10 | 311 | 318 | Myth Mistcrest |
| +11 | 311 | 318 | Myth Mistcrest |
| +12+ | 311 | 318 | Myth Mistcrest |
Three breakpoints matter most. +4 starts Hero crests. +9 starts Myth crests — the cheapest Myth-tier farm in the game. And +10 caps the Vault at 318, which makes it the weekly efficiency king: everything above +10 pays identical loot and exists purely for rating, mounts and pride. Crest amounts per run are still listed as unconfirmed by Blizzard, so plan tiers, not totals.
Great Vault: Item or Coin?
Our team’s default for the Mythic+ Great Vault slot is the coin. Take the bonus roll instead of the item, and spend it on the raid boss that holds the most pieces you still need: that way there are no duplicates, and the character gets stronger every week instead of on the weeks the Vault happens to cooperate. The item is the right call only when a specific slot you were hunting shows up in the Vault and nothing else on that boss or in that dungeon is still on your list. Everything in between — a sidegrade, a slot you already filled — goes to the coin.
Mythic+ Mount Rewards: Keystone Master and Legend
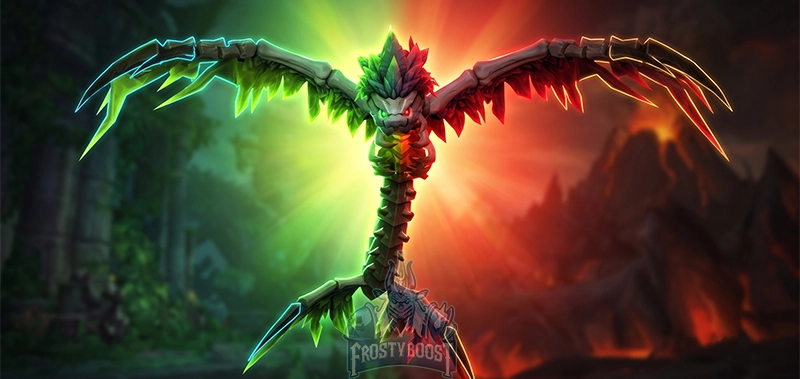
Season 2 pays the ladder in serpents. At 2,000 rating, the Midnight Keystone Master: Season 2 achievement awards the Breath of Blight — a skyfang wind serpent — which in practice means all eight dungeons timed at +10. At 3,000 rating, Midnight Keystone Legend: Season 2 awards the Breath of Ruin, the darker sibling — in practice all eight dungeons timed at +12 with two levels to spare, or four +12s and four +13s each timed with one level to spare. Both are seasonal: when Season 2 closes, the pair leaves the game with it. KSM at 2,000 is the season’s most popular single goal, and the one a Keystone Master boost closes in a week, while a Keystone Legend boost marks genuine push territory that most of the ladder never touches.
 ⤢ Click to enlarge
Seasonal Titles: Venomous Champion and Venomous Hero
Above the rating mounts sit the season’s two rarest markers, and they pay in mounts as well. Unlike rating thresholds, these are percentile cutoffs: your place is measured against everyone else on your region’s ladder, not against a number you can farm toward.
How the elite cutoffs work
- Venomous Champion — the top 1% of the regional Mythic+ ladder, Season 2’s successor to Umbral Champion. It awards the seasonal title plus the Venomous Champion mount, granted once the season wraps and the cutoff is final — an exclusive one-season reward that never returns.
- Venomous Hero — the top 0.1%, the ceiling of the entire season, carrying its own title and mount. A few hundred players per region hold it, and it marks the pushers whose keys define where the cutoffs land.
- Both are settled and delivered after the season ends, once the cutoff closes and the final ladder is locked. The Venomous Champion mount and the Venomous Hero title arrive then, not during the season — so holding your position through the last weeks matters as much as reaching it.
- The cutoff rating climbs all season as the ladder inflates. As of early September the EU top-0.1% line sits around 3,600 rating; the live number is on Raider.IO and moves every week. Early pushing is worth more than late pushing, every single time.
Chasing either one is a season-long project rather than a weekend push, which is why our roster starts on day one — the Venomous Champion mount boost locks in the top-1% placement across the whole season.
The 0.1% ceiling is its own tier of commitment, and it lives on the Venomous Hero title boost — the same push, held at the very top of the regional ladder until the final week, with the title granted once the season closes.
What Actually Depletes a +10 to +12
Wipes between +10 and +12 in Season 2 come from one source in our runs: a group pulls a pack with a one-shot mechanic and does not execute it. What decides the timer is the number and quality of pulls — fewer of them, each built around what the composition does best. Xal’atath’s Bargain, active from +5 to +11, is a must for all five players: when everyone plays it, the dungeon speeds up; when one player ignores it, the whole run slows down. The Fortified and Tyrannical affixes are already felt at +10, where both apply at once.
At +12 the Bargain affix is replaced by Xal’atath’s Guile, and the trade is uneven. There is nothing left to play for speed, so the acceleration is gone, while mobs and bosses get stronger — roughly the way Fortified and Tyrannical make them stronger, a little less. The run slows, and some of the damage overlaps start to kill. In self-play the key usually depletes because of one player: someone did not leave the zone, stood in a floor mechanic, or skipped the one-shot. Low keys fail the same way, they are just harder to die in — a Mythic +10 boost is where that difference first shows in the timer.
Pushing +15 to +17 — and What Changes at +19
Below +14, coordination times a Mythic+ key. Above it, preparation does. FrostyBoost’s Mythic+ team’s highest timed key in Season 2 is a +17 with six minutes to spare, and every +16 was timed on the first attempt. A +19 is the limit of what closes with a client in the group at all, and only for top players in best-in-slot gear. High keys are a different discipline from the ladder below them, and everything here is what our team sees in those runs, not theory.
+13 to +16: Nothing Breaks Yet
Up to and including +16 in Season 2 Mythic+, a well-played group has no real problems, even with the fifth player’s damage at tank level; a self-play buyer only needs to stay alive and interrupt something. A +15 takes about 25 minutes, a clean run leaves a comfortable margin on the timer, and a single death on a clean +15 is not fatal. Orders at this level come in three shapes: a single +15, a series up to +17, or the one Season 2 dungeon a player is missing for a Resilient Keystone, usually the hardest map in the pool. A Mythic +15 boost covers all three.
+17: Where Overlaps Start Killing
This is where the first serious problems appear: damage overlaps begin to one-shot. The healer has to know when the damage lands, whether the group is ready, when to call defensives, when they can carry the heal check alone (a Holy Paladin with wings and cooldowns can, not always), and which externals go on whom — all of it called in voice. DPS have to know which button to press under which overlap; a Shaman with few defensives carries more of that than a Death Knight. The tank’s priorities are magic mitigation and survival; kiting as a standing solution slows the run because DPS stop dealing damage. Do not die, then unload the healer, then your own damage. The key takes 28–30 minutes depending on the map — our +17 Temple of Sethraliss closed with six minutes to spare — and our boosters do not die here. A full wipe at +17 or above is a broken key: once the mobs reset, it does not close.
A self-play client at this level has to deal real damage; tank-level DPS is no longer enough. Class and spec do not matter, three things do: damage, defensives pressed on time, some interrupts. The most common client-side deplete is not stepping out of the puddle. The four boosters build every pull so that they handle every mechanic between them; nothing difficult is asked of the client.
+18 and +19: A Different Game
After +18 every level is a different game, because the mobs are mathematically stronger with each key. The difference between +19 and +20 is the same as between +16 and +19 — and almost nobody understands that. A +19 forgives practically no mistake: miss an overlap on yourself and you are dead, and a death effectively breaks the key — the client can die next, and without a Battle Resurrection on a boss that is the run. Cooldowns are planned to the minute against the gear the group has. The margin on a clean run is one to two minutes — four is out of reach — and it depends on whether the client deals damage at the booster’s level. Gear decides from here: fully upgraded Hero and Myth-track gear, two embellishments, the four-piece set, best-in-slot trinkets, every enchant and gem. But a client who does not die and deals slightly less damage than the booster matters more than a perfectly geared one who cannot play.
How Defensives Are Actually Rotated at +17
It is a plan plus improvisation. Random damage lands when it lands; predictable damage — the heal check — is known in advance. An overlap is a mechanic hitting you during a heal check, a Bleed under group-wide AoE for example, and there are two answers. Press a defensive, so the damage is smaller and the healer’s job easier. Or remove the mechanic: a Dwarf’s Stoneform strips the Bleed, only the AoE remains, and the healer has time. Neither is pressed blindly — each goes where it does the most, sometimes straight into the heal check, sometimes saved for the next one. No spec is needed for any particular mechanic; the only real requirement is DPS with good priority damage, and the composition for high keys is the same push meta as above. When a key comes down to the wire there are two levers: fewer, better pulls, or gear up to best-in-slot. Latency alone cuts a player’s damage by roughly 10–15% — one more variable a high key boost removes from the client’s side of the run.
How to Prepare and Push Efficiently
The season rewards front-loading. Week one: run Mythic 0 and low keys to learn the eight maps while everyone else learns them too — the field never gets more even. Weeks one to three: live in the +2-5 band under Lindormi’s Guidance while deaths are free, collecting Champion and early Hero crests and building route knowledge. The KSM push: +10s across the pool land 2,000 rating and the Breath of Blight — most groups get there on gear momentum alone by mid-season. The Great Vault line: park weekly runs at +10 for the 318 cap. The Legend push: +12s timed with two levels to spare land 3,000 rating and the Breath of Ruin, and unlock Resilient Keystones and Xal’atath’s Guile on the way. Every step of that ladder exists as a service too, from single keys to a full-season push.
The Five-Minute Pre-Key Checklist
The short version of this cheat sheet, for the five minutes before a Season 2 Mythic+ key goes in:
Before the first pull
- Gear set up for the spec — every enchant, every gem: one gem on the priority stat, the rest by stat weights; pieces chosen by stats, simulated if you want to be sure
- Consumables in the bag — flask, potion, weapon oil
- Addons — BigWigs and LittleWigs are the must-haves; MDT for the route; WeakAuras for specific mechanics, by taste
- Route and one-shot packs known before the first pull, not discovered during it
- Roles agreed — who interrupts what, who dispels magic
- Healer and tank confirm they cover the heal check and do not die at this level
Is Season 2 Mythic+ Worth Pushing?
Unreservedly. The pool is the freshest it’s been in years — five of eight maps never ran under this ruleset — the ilvl curve pays honestly at every band, Resilient Keystones make pushing kinder than any previous season, and two limited-time serpents give the climb a finish line. Learn it with this guide, or let our Mythic+ dungeon boost teams run any piece of it — the keys, the crests, the rating or the whole season.