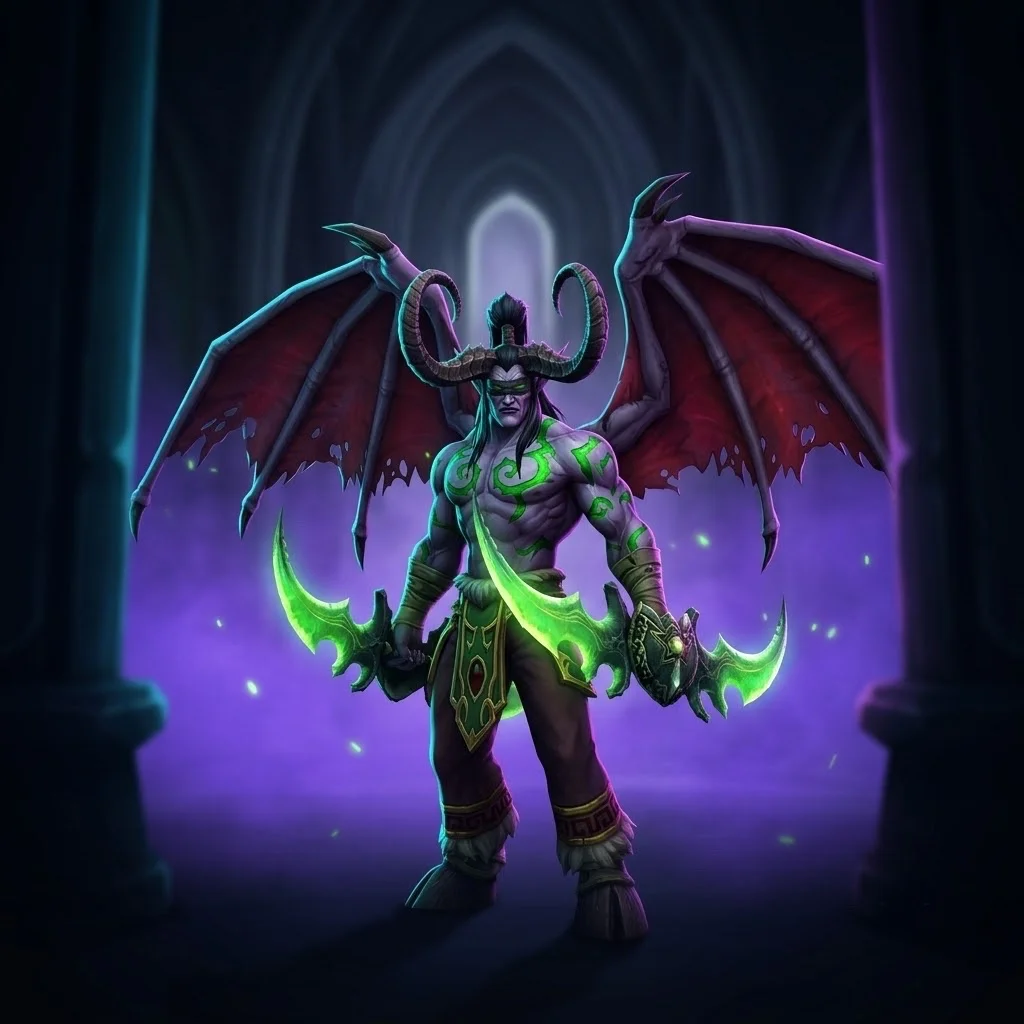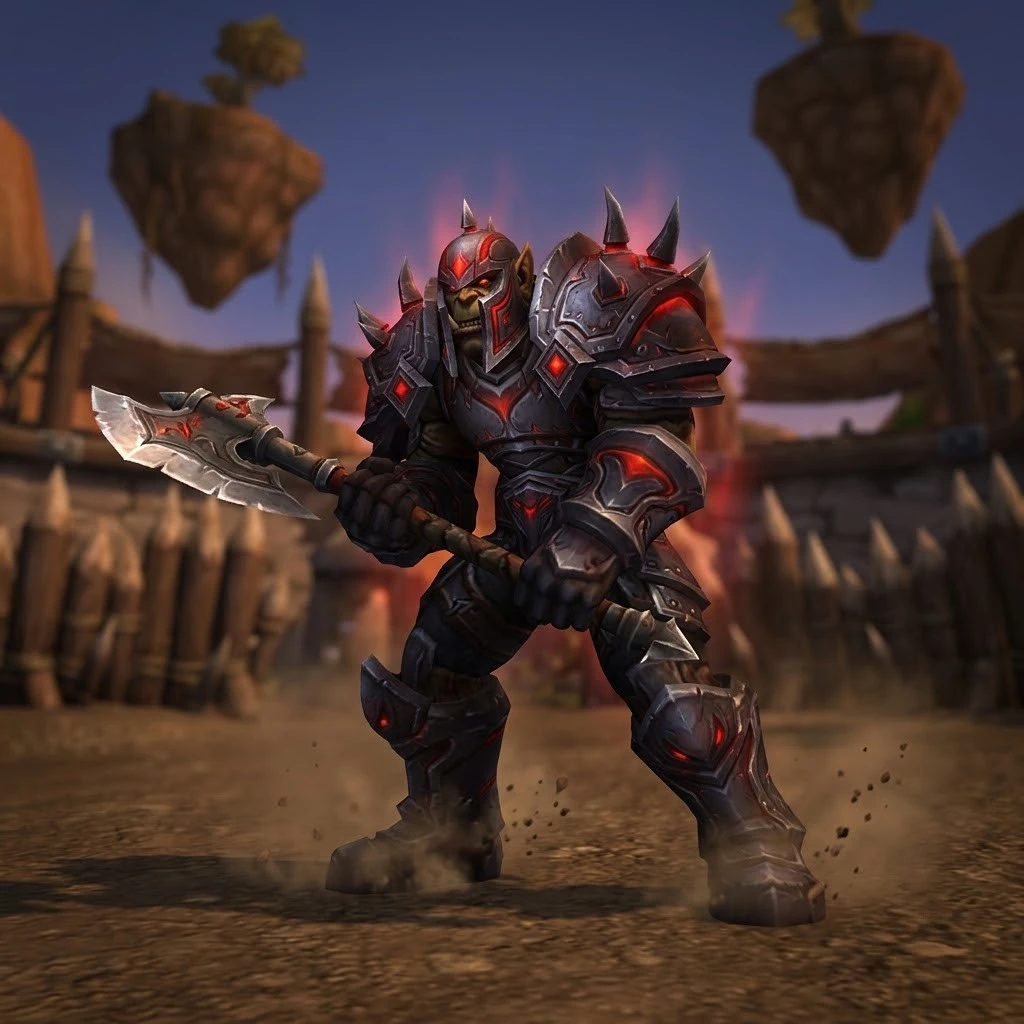


The Battle for Mount Hyjal is TBC’s most unusual raid — a 25-player defense of the past itself, fought inside the Caverns of Time alongside Jaina Proudmoore and Thrall, and ending face to face with Archimonde at the World Tree. It opens in Phase 3 together with Black Temple — covered in our Black Temple raid guide — starts the Tier 6 era, and plays like nothing else in the game: waves of Scourge crash into your base camp before every boss, and mana management decides more pulls than tactics do. This guide covers the full attunement chain, the wave format, all five bosses and the loot worth farming.
 ⤢ Click to enlarge
Mount Hyjal: Quick Facts
Hyjal Summit Attunement — The Vials of Eternity
Hyjal’s gate is steeper than the raid itself: the attunement quest, The Vials of Eternity, effectively demands that your raid has already conquered the two Tier 5 finales. It comes from Soridormi, who patrols the central hub of the Caverns of Time — and she only speaks to players at Revered with the Keepers of Time.
The quest asks for two boss drops. Vashj’s Vial Remnant comes from Lady Vashj, the final boss of Serpentshrine Cavern. Kael’s Vial Remnant comes from Kael’thas Sunstrider at the top of Tempest Keep. Loot both, return to Soridormi, and Hyjal opens. The path in order: Revered with Keepers of Time → pick up the quest from Soridormi → kill Vashj and Kael’thas → turn in. In practice this makes Hyjal a “you must already clear SSC and TK” raid — worth knowing before your guild schedules its first Tuesday.
How to Enter Mount Hyjal
The raid lives inside the Hyjal Summit instance in the Caverns of Time, Tanaris. Descend into the caverns and take the first instance portal on the right — the past-Hyjal battlefield, with the Alliance and Horde base camps staged along the mountain and the World Tree waiting at the top.
The Wave-Defense Format
Hyjal replaces trash packs with a siege. Before each of the first four bosses, 8 waves of 12-14 Scourge mobs assault the base camp you’re defending — Ghouls, Abominations, Necromancers, Banshees, Gargoyles, Crypt Fiends and Frost Wyrms, in escalating mixes. Bosses one and two hit the Alliance base under Jaina Proudmoore; bosses three and four hit the Horde base under Thrall; Archimonde waits past both, at the World Tree.
Two rules define the format. First, protect the base NPC: if Jaina or Thrall dies, the encounter resets and the waves start over. Second, mana is the real boss: waves arrive on a relentless rhythm, and healers or casters who sprint the early waves crawl into wave eight with an empty pool — exactly when the boss spawns. Heal efficiently, don’t overkill trash, drink in every gap, and treat wave seven as the signal to top everyone off for the pull.
Raid Preparation
The roster wants breadth: off-tanks for the summoned adds on Anetheron and Azgalor, decursers on standby for Archimonde’s Grip of the Legion, and a raid comfortable spreading — four of the five bosses punish clumps. Consumables run the Tier 6 standard: flasks or double elixirs, mana potions above all (the wave format burns them), and weapon oils. And one item is unique to this raid: before the Archimonde pull, every raider picks up Tears of the Goddess from the Ancient at the World Tree — it negates the fall damage from his Air Burst, and forgetting it kills more raiders than the boss does.
Boss Encounters: All 5 Fights
1. Rage Winterchill
The warm-up after your first eight waves — Winterchill is a one-tank fight with three abilities, and every one of them has a simple answer.
How the fight works
- Death and Decay — a void zone lands under the raid and melts health fast. Move out on sight, and move far.
- Icebolt — freezes a random player into a block with a heavy DoT. Healers pre-target and pour healing through it; the victim usually has 2-3 seconds of margin.
- Frost Nova — roots chunks of the raid. Dispel and cleanse on cooldown, especially if a Death and Decay is ticking under someone’s feet.
- Frost Armor — a minor self-buff that slows the tank’s attack and movement speed on melee hits. Nothing to counter, just expect slightly slower threat.
- Spread loosely around the boss, and the fight ends quickly.
Pro tips
- Mages Ice Block and Paladins Divine Shield remove the Icebolt freeze and DoT entirely — and a PvP trinket does the same for everyone else.
- Mages caught by Frost Nova can Blink out of the root instead of waiting on a cleanse.
2. Anetheron
Anetheron tests your add response — the boss himself is simple, and the Towering Infernal protocol decides the kill.
How the fight works
- Carrion Swarm — a frontal cone that also cuts healing done by anyone it hits. The tank faces him away, and healers spread so one cone never clips them all.
- Sleep — takes random raiders out of the fight and cannot be dispelled. The raid plays shorthanded until it wears off, so healing assignments need overlap.
- Inferno — every minute, a meteor births a Towering Infernal. The off-tank picks it up (it’s immune to Taunt), holds it near Jaina but away from the boss; ranged burn it down, melee never leave Anetheron.
- Vampiric Aura — heals the boss off nearby melee damage, which is exactly why the Infernal must stand outside it.
Pro tips
- Keep a Mortal Strike-type healing debuff rolling on the boss to blunt Vampiric Aura — Hunters add Aimed Shot, Rogues run Wound Poison.
- Infernals ignore Taunt, so Hunters Misdirect onto the off-tank for clean pickups.
- Melee stay on the boss partly because the Infernal’s Immolation punishes anyone hugging it.
3. Kaz’rogal
The Horde base opens with a DPS-and-mana race — Kaz’rogal escalates on a fixed curve, and you either beat the curve or it beats you.
How the fight works
- Cleave and War Stomp — standard positioning care for melee: never in front, watch the stun.
- Mark of Kaz’rogal — the fight. It drains mana, and a marked player who hits zero explodes into everyone nearby.
- The cast comes 10 seconds sooner every time — pressure ramps until the raid can’t keep up. This is the soft enrage.
- The rule of thumb: marked and sitting under ~3,000 mana? Run out of the raid before you blow.
- Burn hard, pace the blue bars like a resource fight, and kill him before the arithmetic kills you.
Pro tips
- Mages Ice Block and Paladins Divine Shield drop the Mark outright — the cleanest counter in the raid.
- The explosion is shadow damage: Shadow Resistance Aura and Shadow Protection soften the chain reactions.
- Stock Super Mana Potions, Demonic and Dark Runes — this fight exists to drain blue bars.
4. Azgalor
Azgalor stacks pressure from three directions at once — the fight is a discipline check more than a numbers check.
How the fight works
- Rain of Fire — carpets the ground; leave it immediately, the burn it applies hurts long after you move.
- Howl of Azgalor — silences the whole raid for 5 seconds on a rhythm. Healers pre-heal into the silence windows instead of reacting after them.
- Doom — cast every 45 seconds; a curse that cannot be removed. When it expires, the victim dies on the spot and a Lesser Doomguard takes their place.
- The off-tank collects Doomguards away from the raid while everyone else holds the burn.
- Spread around the boss and never stand in front — his Cleave chains through melee.
Pro tips
- Warlocks Soulstone the Doomed player before the curse expires — the death is scripted, the ress doesn’t have to wait.
- The Howl can be resisted: Shadow Resistance Aura and Shadow Protection turn full silences into partial ones, and Improved Concentration Aura helps healers cast through the chaos.
5. Archimonde
 ⤢ Click to enlarge
The finale at the World Tree, and TBC’s purest punishment of individual mistakes. Archimonde owns six tools — and one meta-rule that towers over all of them: nobody dies.
How the fight works
- Air Burst — hurls a player skyward. Use your Tears of the Goddess on the way down, or die to the landing.
- Doomfire — living flame trails snake across the arena. Watch their path and kite around; standing in fire here is a death sentence, not a healing check.
- Fear — scatters the raid on a timer, and it conspires with the fire: never stand near a Doomfire trail when the Fear is due, or the boss walks you into it himself.
- Ranged groups around the boss — split the ranged into groups spaced around Archimonde, and build each one so it carries a Shaman with Tremor Totem and a decurser. That way every Fear breaks locally and every curse comes off without anyone crossing the arena.
- Grip of the Legion — a curse that must be decursed instantly, which is why each ranged group needs its own Mage or Druid.
- Finger of Death — executes the moment nobody stands in melee range. Keep someone on him, always.
- Soul Charge — every raider death hands Archimonde a nuke against the whole raid, so deaths compound. One casualty is survivable; three become a wipe.
- DPS him down normally — there’s no soft phase, the last 10% is the same fight. The only clock is the hard enrage at roughly 10 minutes (Hand of Death), which simply ends the attempt.
Pro tips
- Soul Charge by class of the fallen: a Priest, Mage or Warlock death nukes the raid for 4,500 fire plus a 4-second silence; Warrior, Rogue or Paladin — 4,500 physical plus 50% increased damage taken for 4 seconds; Druid, Shaman or Hunter — 4,500 nature over 8 seconds and a 2,250 mana drain.
- Tremor Totems and Fear Ward blunt the Fear; drop them on cooldown, not on reaction.
- Mages can Blink a split second before landing to cheat Air Burst without spending a Tear — but the timing is unforgiving, and a late Blink is still a death. Newer Mages should carry the Tear anyway.
Loot & Rewards: Tier 6 Tokens and BiS
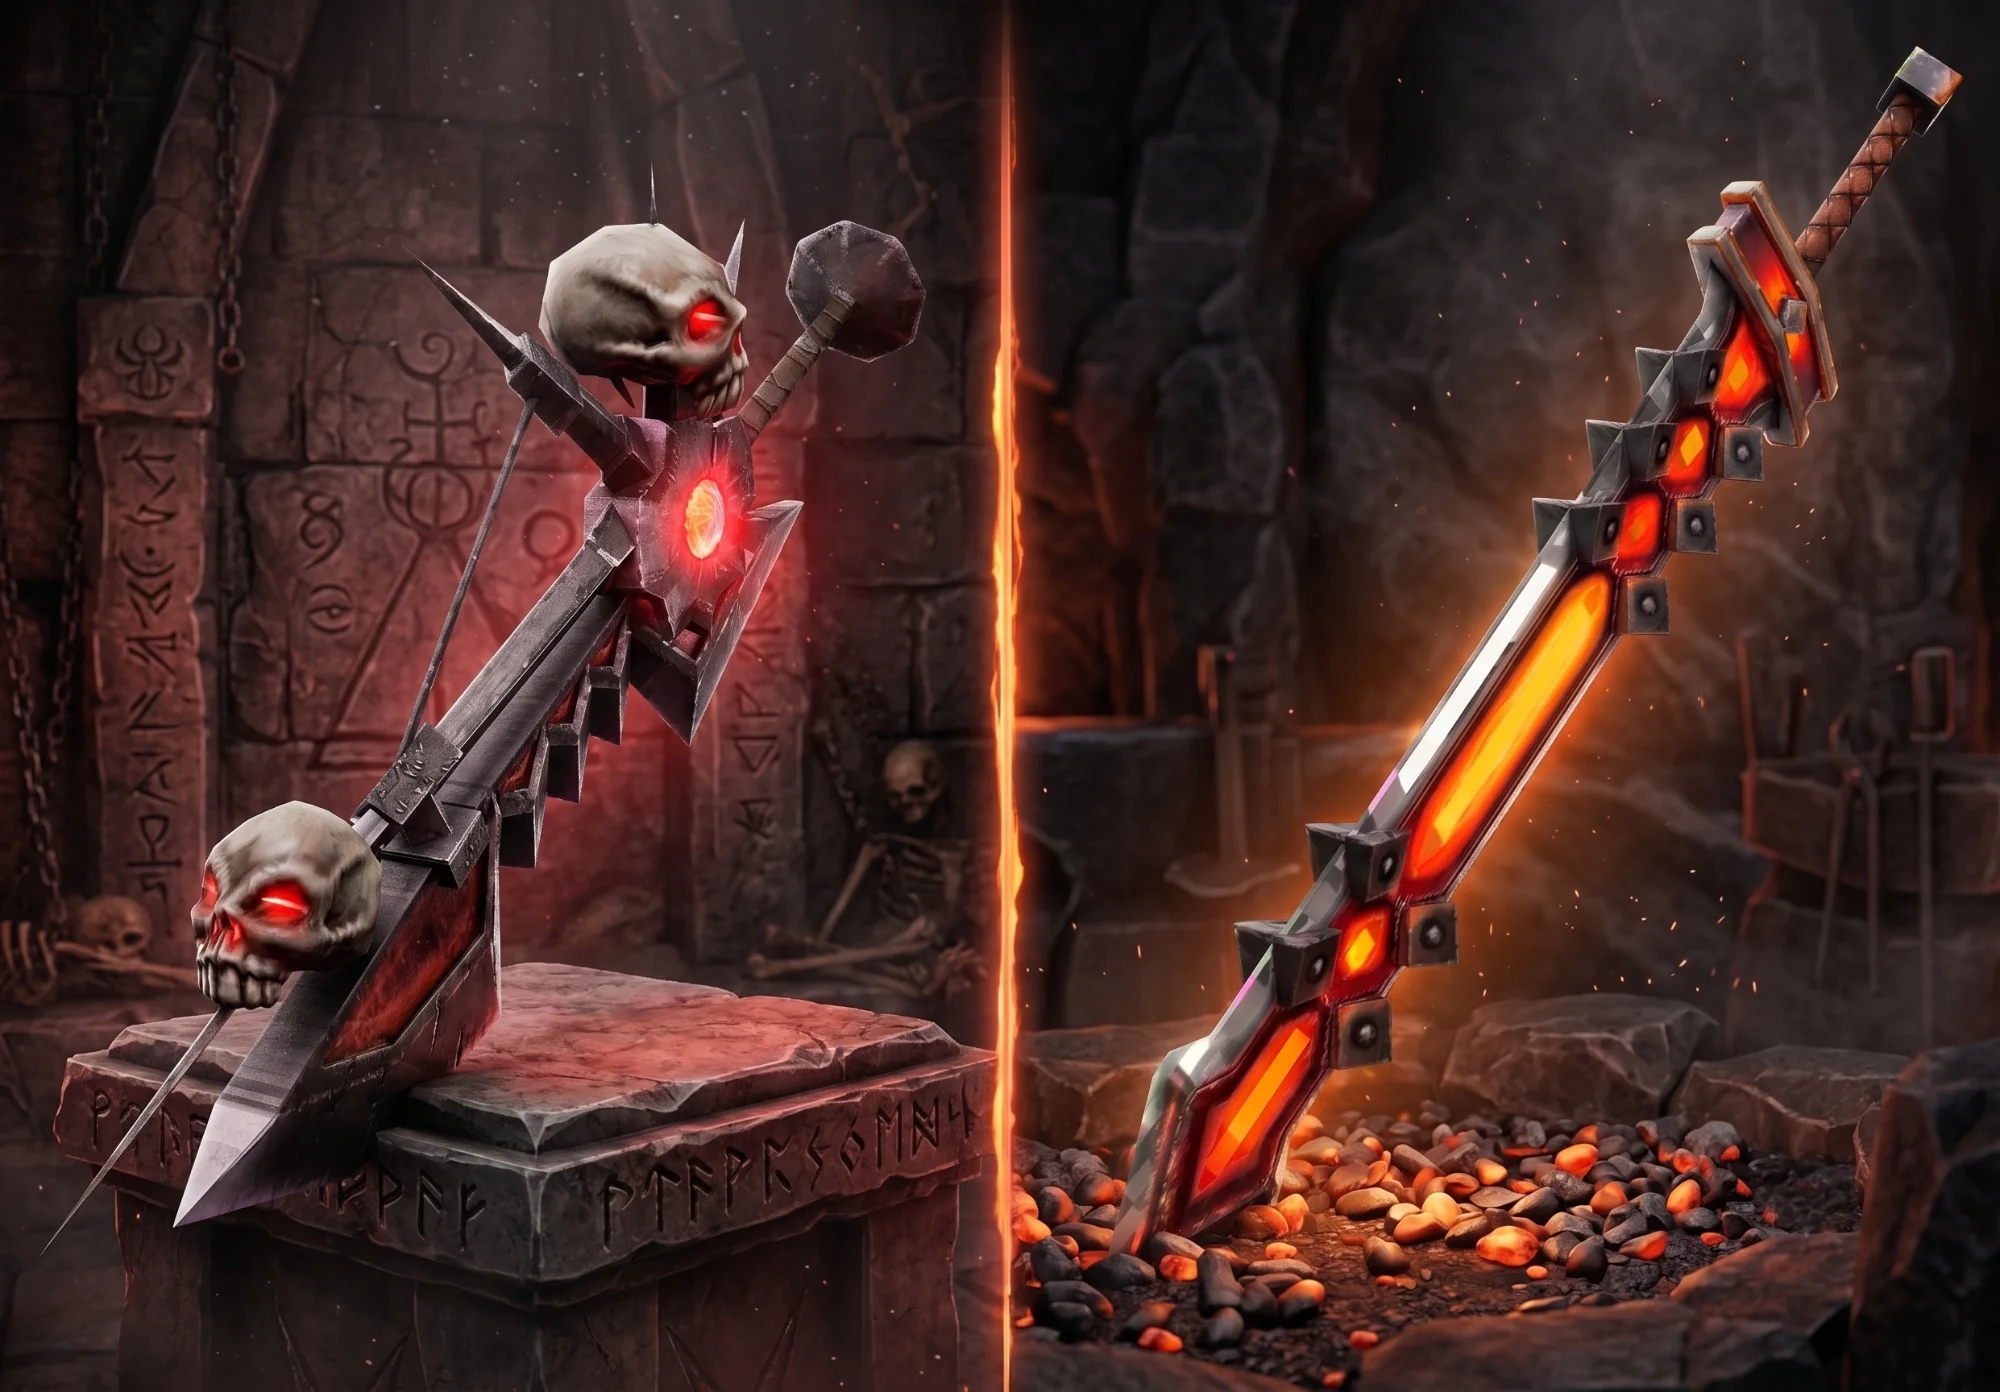
Hyjal shares the Tier 6 era with Black Temple and holds two token slots: gloves from Azgalor and helms from Archimonde, across all three token lines. Archimonde’s personal table carries the raid’s headline weapons and armor at ilvl 151 — a step above the rest of the zone’s 141. Every boss can also drop epic Jewelcrafting gem designs worth real gold, and the trash waves themselves shed a set of BoE epics — sellable or equippable straight off the floor. On top of the drops, every clear feeds The Scale of the Sands reputation, whose vendor sells rings and high-end JC recipes at climbing standings. The shortlist below is what raids actually roll fists over:
Rage Winterchill Loot
| Item | Type | Slot | Who Wants It |
|---|---|---|---|
| Bracers of Martyrdom | Cloth | Wrist | ? Healer wrist |
| Cuffs of Devastation | Cloth | Wrist | ? Caster DPS wrist |
| Rejuvenating Bracers | Leather | Wrist | ? Resto Druid wrist |
| Deadly Cuffs | Leather | Wrist | ? Rogue / Feral wrist |
| Bracers of the Pathfinder | Wrist | ? Hunter / Enhancement wrist | |
| Howling Wind Bracers | Wrist | ? Resto / Elemental Shaman wrist | |
| Stillwater Boots | Feet | — | |
| Blood-stained Pauldrons | Plate | Shoulder | — |
| Blessed Adamantite Bracers | Plate | Wrist | ? Holy Paladin wrist |
| Furious Shackles | Plate | Wrist | ? Plate DPS wrist |
| Chronicle of Dark Secrets | Off-hand | Held In Off-hand | ? Caster off-hand with hit |
| Tracker’s Blade | Dagger | One-Hand | — |
| Time-Phased Phylactery | Quest Item | — | ? Black Temple attunement — An Artifact From the Past |
Anetheron Loot
| Item | Type | Slot | Who Wants It |
|---|---|---|---|
| Anetheron’s Noose | Cloth | Waist | ? BiS caster DPS belt |
| Archbishop’s Slippers | Cloth | Feet | ? Healer feet |
| Hatefury Mantle | Cloth | Shoulder | ? Caster DPS shoulder |
| Enchanted Leather Sandals | Leather | Feet | — |
| Don Alejandro’s Money Belt | Leather | Waist | ? Physical DPS belt |
| Quickstrider Moccasins | Feet | ? Hunter feet | |
| Golden Links of Restoration | Chest | ? Resto Shaman chest | |
| Glimmering Steel Mantle | Plate | Shoulder | — |
| Pillar of Ferocity | Staff | Two-Hand | ? Feral Druid staff |
| The Unbreakable Will | Sword | One-Hand | ? Tank threat sword |
| Blade of Infamy | Sword | One-Hand | ? Rogue / Combat sword |
| Bastion of Light | Shield | Shield | ? Holy Paladin shield |
Kaz’rogal Loot
| Item | Type | Slot | Who Wants It |
|---|---|---|---|
| Blue Suede Shoes | Cloth | Feet | ? Caster DPS feet |
| Leggings of Channeled Elements | Cloth | Legs | ? Caster DPS legs |
| Angelista’s Sash | Cloth | Waist | ? Healer belt |
| Razorfury Mantle | Leather | Shoulder | — |
| Black Featherlight Boots | Leather | Feet | ? Rogue feet |
| Belt of the Crescent Moon | Leather | Waist | ? Resto Druid belt |
| Beast-tamer’s Shoulders | Shoulder | ? Hunter shoulder | |
| Sun-touched Chain Leggings | Legs | — | |
| Valestalker Girdle | Waist | ? Hunter belt | |
| Belt of Seething Fury | Plate | Waist | ? Plate DPS belt |
| Hammer of Atonement | Mace | Main Hand | ? Healer mace |
| Kaz’rogal’s Hardened Heart | Shield | Shield | ? Tank shield |
Azgalor Loot
| Item | Type | Slot | Who Wants It |
|---|---|---|---|
| Gloves of the Forgotten Conqueror | Armor Token | Hands | ? Tier 6 — Paladin / Priest / Warlock |
| Gloves of the Forgotten Vanquisher | Armor Token | Hands | ? Tier 6 — Rogue / Mage / Druid |
| Gloves of the Forgotten Protector | Armor Token | Hands | ? Tier 6 — Warrior / Hunter / Shaman |
| Don Rodrigo’s Poncho | Leather | Chest | ? Resto Druid chest |
| Shady Dealer’s Pantaloons | Leather | Legs | ? Rogue legs |
| Bow-stitched Leggings | Legs | ? Hunter legs | |
| Girdle of Hope | Plate | Waist | ? Holy Paladin belt |
| Glory of the Defender | Plate | Chest | ? Protection Warrior chest |
| Boundless Agony | Dagger | One-Hand | ? Hunter weapon |
Archimonde Loot
| Item | Type | Slot | Who Wants It |
|---|---|---|---|
| Helm of the Forgotten Conqueror | Armor Token | Head | ? Tier 6 — Paladin / Priest / Warlock |
| Helm of the Forgotten Protector | Armor Token | Head | ? Tier 6 — Warrior / Hunter / Shaman |
| Helm of the Forgotten Vanquisher | Armor Token | Head | ? Tier 6 — Rogue / Mage / Druid |
| Robes of Rhonin | Cloth | Chest | ? Caster DPS chest |
| Leggings of Eternity | Cloth | Legs | ? BiS healer legs |
| Midnight Chestguard | Leather | Chest | ? Ret Paladin / Enhancement chest |
| Mail of Fevered Pursuit | Chest | ? Enhancement / Hunter chest | |
| Legguards of Endless Rage | Plate | Legs | ? Top plate DPS legs |
| Savior’s Grasp | Plate | Chest | ? Holy Paladin chest |
| Antonidas’s Aegis of Rapt Concentration | Shield | Shield | ? BiS Elemental Shaman / Protection Paladin shield |
| Apostle of Argus | Staff | Two-Hand | ? Healer staff |
| Cataclysm’s Edge | 2H Sword | Two-Hand | ? BiS Arms Warrior |
| Tempest of Chaos | Sword | Main Hand | ? BiS caster DPS weapon |
| Bristleblitz Striker | Bow | Ranged | ? BiS Hunter bow |
| Scepter of Purification | Off-hand | Held In Off-hand | ? Healer off-hand |
Jewelcrafting Designs (Any Boss)
| Item | Type | Source | Why It Matters |
|---|---|---|---|
| Design: Flashing Crimson Spinel | Jewelcrafting Design | Any boss | Epic gem cut — steady auction gold |
| Design: Stormy Empyrean Sapphire | Jewelcrafting Design | Any boss | Epic gem cut — steady auction gold |
| Design: Mystic Lionseye | Jewelcrafting Design | Any boss | Epic gem cut — steady auction gold |
| Design: Great Lionseye | Jewelcrafting Design | Any boss | Epic gem cut — steady auction gold |
| Design: Sovereign Shadowsong Amethyst | Jewelcrafting Design | Any boss | Epic gem cut — steady auction gold |
| Design: Shifting Shadowsong Amethyst | Jewelcrafting Design | Any boss | Epic gem cut — steady auction gold |
| Design: Inscribed Pyrestone | Jewelcrafting Design | Any boss | Epic gem cut — steady auction gold |
| Design: Veiled Pyrestone | Jewelcrafting Design | Any boss | Epic gem cut — steady auction gold |
Trash BoE Epics
| Item | Bind | Source | Who Wants It |
|---|---|---|---|
| Nethervoid Cloak | BoE | Trash waves | ? Warlock / Shadow cloak |
| Pepe’s Shroud of Pacification | BoE | Trash waves | ? Tank cloak |
| Choker of Serrated Blades | BoE | Trash waves | ? Physical DPS neck |
| Hellfire-Encased Pendant | BoE | Trash waves | ? Caster DPS neck |
| Boots of the Divine Light | BoE | Trash waves | ? Healer boots |
| Chestguard of Relentless Storms | BoE | Trash waves | ? Enhancement / Elemental chest |
| Claw of Molten Fury | BoE | Trash waves | ? Enhancement fist pair (with Fist) |
| Fist of Molten Fury | BoE | Trash waves | ? Enhancement fist pair (with Claw) |
| Hammer of Judgement | BoE | Trash waves | ? Caster DPS mace |
 ⤢ Click to enlarge
Is Mount Hyjal Worth Running Every Week?
Through the whole Tier 6 phase — yes. Two token slots, Archimonde’s ilvl-151 table, Scale of the Sands rings and the JC design economy make it a weekly fixture, and the raid pairs naturally with Black Temple on the same reset. Learn the waves with this guide, or let our TBC Anniversary Raid Boost services handle any piece of it — attunement, single kills or the full clear — while the loot lands on your character either way.