Preparing for WoW Midnight Mythic Season 1
Season 1 of Midnight introduces four mechanics-heavy dungeons that require tight coordination. Success in the opening weeks comes down to memorizing lethal cast names, baiting frontals, and managing positioning. Dungeons now feature highly diverse enemy types within the same instance, forcing groups to adapt their crowd control and defensive rotations on the fly.
Pushing keys early in the season can be frustrating if you rely on uncoordinated pickup groups. A professional WoW Mythic+ Boost Services by a secured provider can help you bypass the stress. These experts guarantee timed runs, teach you optimal routing, and funnel specific best-in-slot gear drops directly to your character.
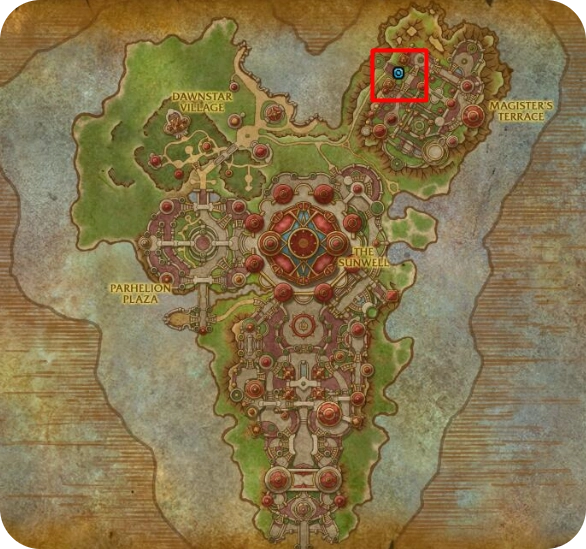
Magister’s Terrace M+ Dungeon Guide
Located in Isle of Quel’Danas, this dungeon tests your group’s ability to manage heavy arcane and void damage profiles.
Arcane Magisters and Sentries
The opening pulls feature Arcane Magisters that continuously cast Polymorph. Interrupt this immediately to prevent your healer or tank from being sidelined. You will also face Arcane Sentries that cast a heavy tank-buster root called Ethereal Shackles and a large knockback called Crowd Dispersal. Position your character carefully to avoid being knocked into additional enemy packs. Inside the library maze, click the hidden tome to give your group a 30-minute 5% haste buff.
Arcanotron Custo
Tank the first boss, Arcanotron Custo, in a corner to minimize the spread of his Arcane damage pools and to negate his knockback. The boss starts with 100 energy that slowly drains. At zero energy, he stands still and pulls orbs toward himself. If an orb touches him, it causes a wipe. Players must soak these orbs using defensive cooldowns or immunities. The boss takes 20% increased damage during this 50-second intermission.

Seranel Sunlash
This encounter revolves around the Suppression Zone, a visual effect on the ground that acts like an Anti-Magic Zone. Two players will receive the Runic Mark debuff. They must step into the Suppression Zone to clear it, but clearing the mark deals massive group-wide damage. Stagger these clears so the healer can top the group off between bursts. When Seranel Sunlash begins casting Wave of Silence, all players must stand inside the Suppression Zone to survive the one-shot mechanic.

Gemellus
Gemellus is a large jellyfish that splits via Triplicate ability into three targets at the start of the fight and into five targets at 50% health. Each player receives a red arrow on the floor pointing to a specific jellyfish copy. Run to your assigned jellyfish immediately to remove its massive absorb shield via the Neural Link mechanic. Keep your distance from unassigned jellyfish, as they will attempt to pull players inward.

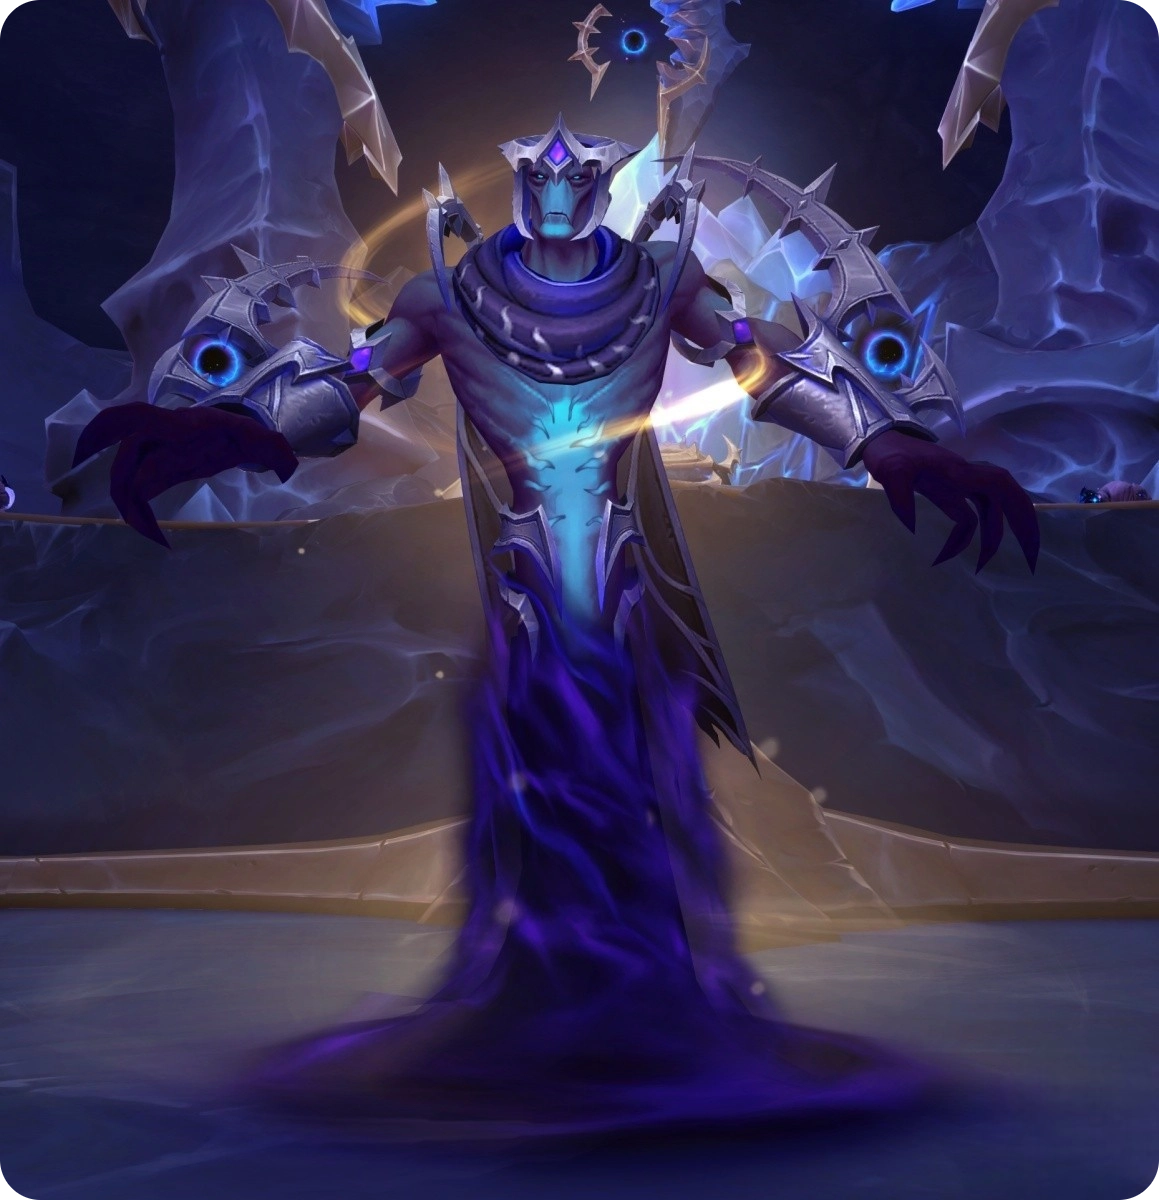
Degentrius
The final boss Degentrius room is split into four quadrants. Assign one DPS player to three of the quadrants, and place the tank and healer in the fourth. Degentrius bounces a projectile called Unstable Void Essence between the zones. The player assigned to the targeted quadrant must soak it before it hits the floor. If a player dies, the tank must take over their quadrant. The tank also receives a dispellable damage-over-time effect called Hulking Fragment that drops an area denial pool. Wait for the tank to step away from the group before dispelling.

Maisara’s Caverns M+ Dungeon Guide
Expect a chaotic mix of beast, humanoid, and undead enemies. This dungeon requires heavy use of area-of-effect stuns and precise interrupt coordination. Maisara Caverns is located in Zul’Aman.

The Elephant and First Pulls
The opening pull is chaotic and generally requires Bloodlust. Focus your damage on the Elephant Hulking Juggernaut to stop its Roar, a massive area-of-effect ability that silences casters. Use stuns on the Headhunters to stop their hooks and soothe the Berserkers when they enrage. Dodge the Hexbound Eagles and their hard-to-see frontal channels. Enter the small huts along the path to drink the soup, which provides a 3% leech and avoidance buff.

Muro’jin and Nekraxx
This duo boss does not share a health pool and must die at the exact same time. Isolate the player targeted by Muro’jin frontal attack. When the bird, Nekraxx, targets a player with Carrion Swoop, that player will be knocked high into the air. The targeted player must bait the bird into charging over one of Muro’jin Freezing Traps. This stuns the bird and completely negates the mechanic.

Vordaza
At Boss Vordaza players targeted by Wrest Phantoms must coordinate their movements carefully. The first two targeted players must touch their ghosts together to trigger a damage-over-time effect. Wait for this effect to expire completely before the next two players touch their ghosts. During the intermission phase, break the boss’s shield Drain Soul and Deathshroud as fast as possible to stop the pulsing area damage, and always dodge the Unmake frontal.
Rak’tul
Rak’tul leaps to three targets in rapid succession, dropping Soulbind Totems that pull players in and channel damage. Drop these totems grouped up so the DPS can cleave them down quickly. The tank must position the boss in a corner before Spiritbreaker happens. This prevents the tank from being knocked off the platform and keeps the resulting area denial pool out of the center of the room. During Soulrending Roar, the boss deals increased damage for every totem left alive.

Nexus Point Xenas M+ Dungeon Guide
This Nexus-Point Xenas dungeon is split into three distinct wings representing Arcane, Void, and Light magic. It is located in the Voidstorm zone.

Circuit Seers and Voidcallers
In the Arcane wing, target the Circuit Seers. They cast Core Spark Overload to empower a nearby barrel. You have 10 seconds to destroy this barrel before it explodes and wipes the group. In the Void wing, kill the Hollowsoul Scrounger that spawn from dying enemies before they reach the dormant Dreadflail. If a Dreadflail wakes up, it uses a fixating spin attack that is incredibly difficult to survive. Always interrupt Nullify from the Grand Nullifiers.

Kasreth
At boss Kasreth – the player targeted with Reflux Charge must clear the Leyline Array lasers by standing directly in their intersections. Move out of the Arcane Spill circles as they spawn. When the boss reaches 100 energy, he throws a massive ball at a player. This causes a severe knockback and applies a heavy healing absorb shield. Bait this attack into a safe corner so no one is knocked into the active laser grid.

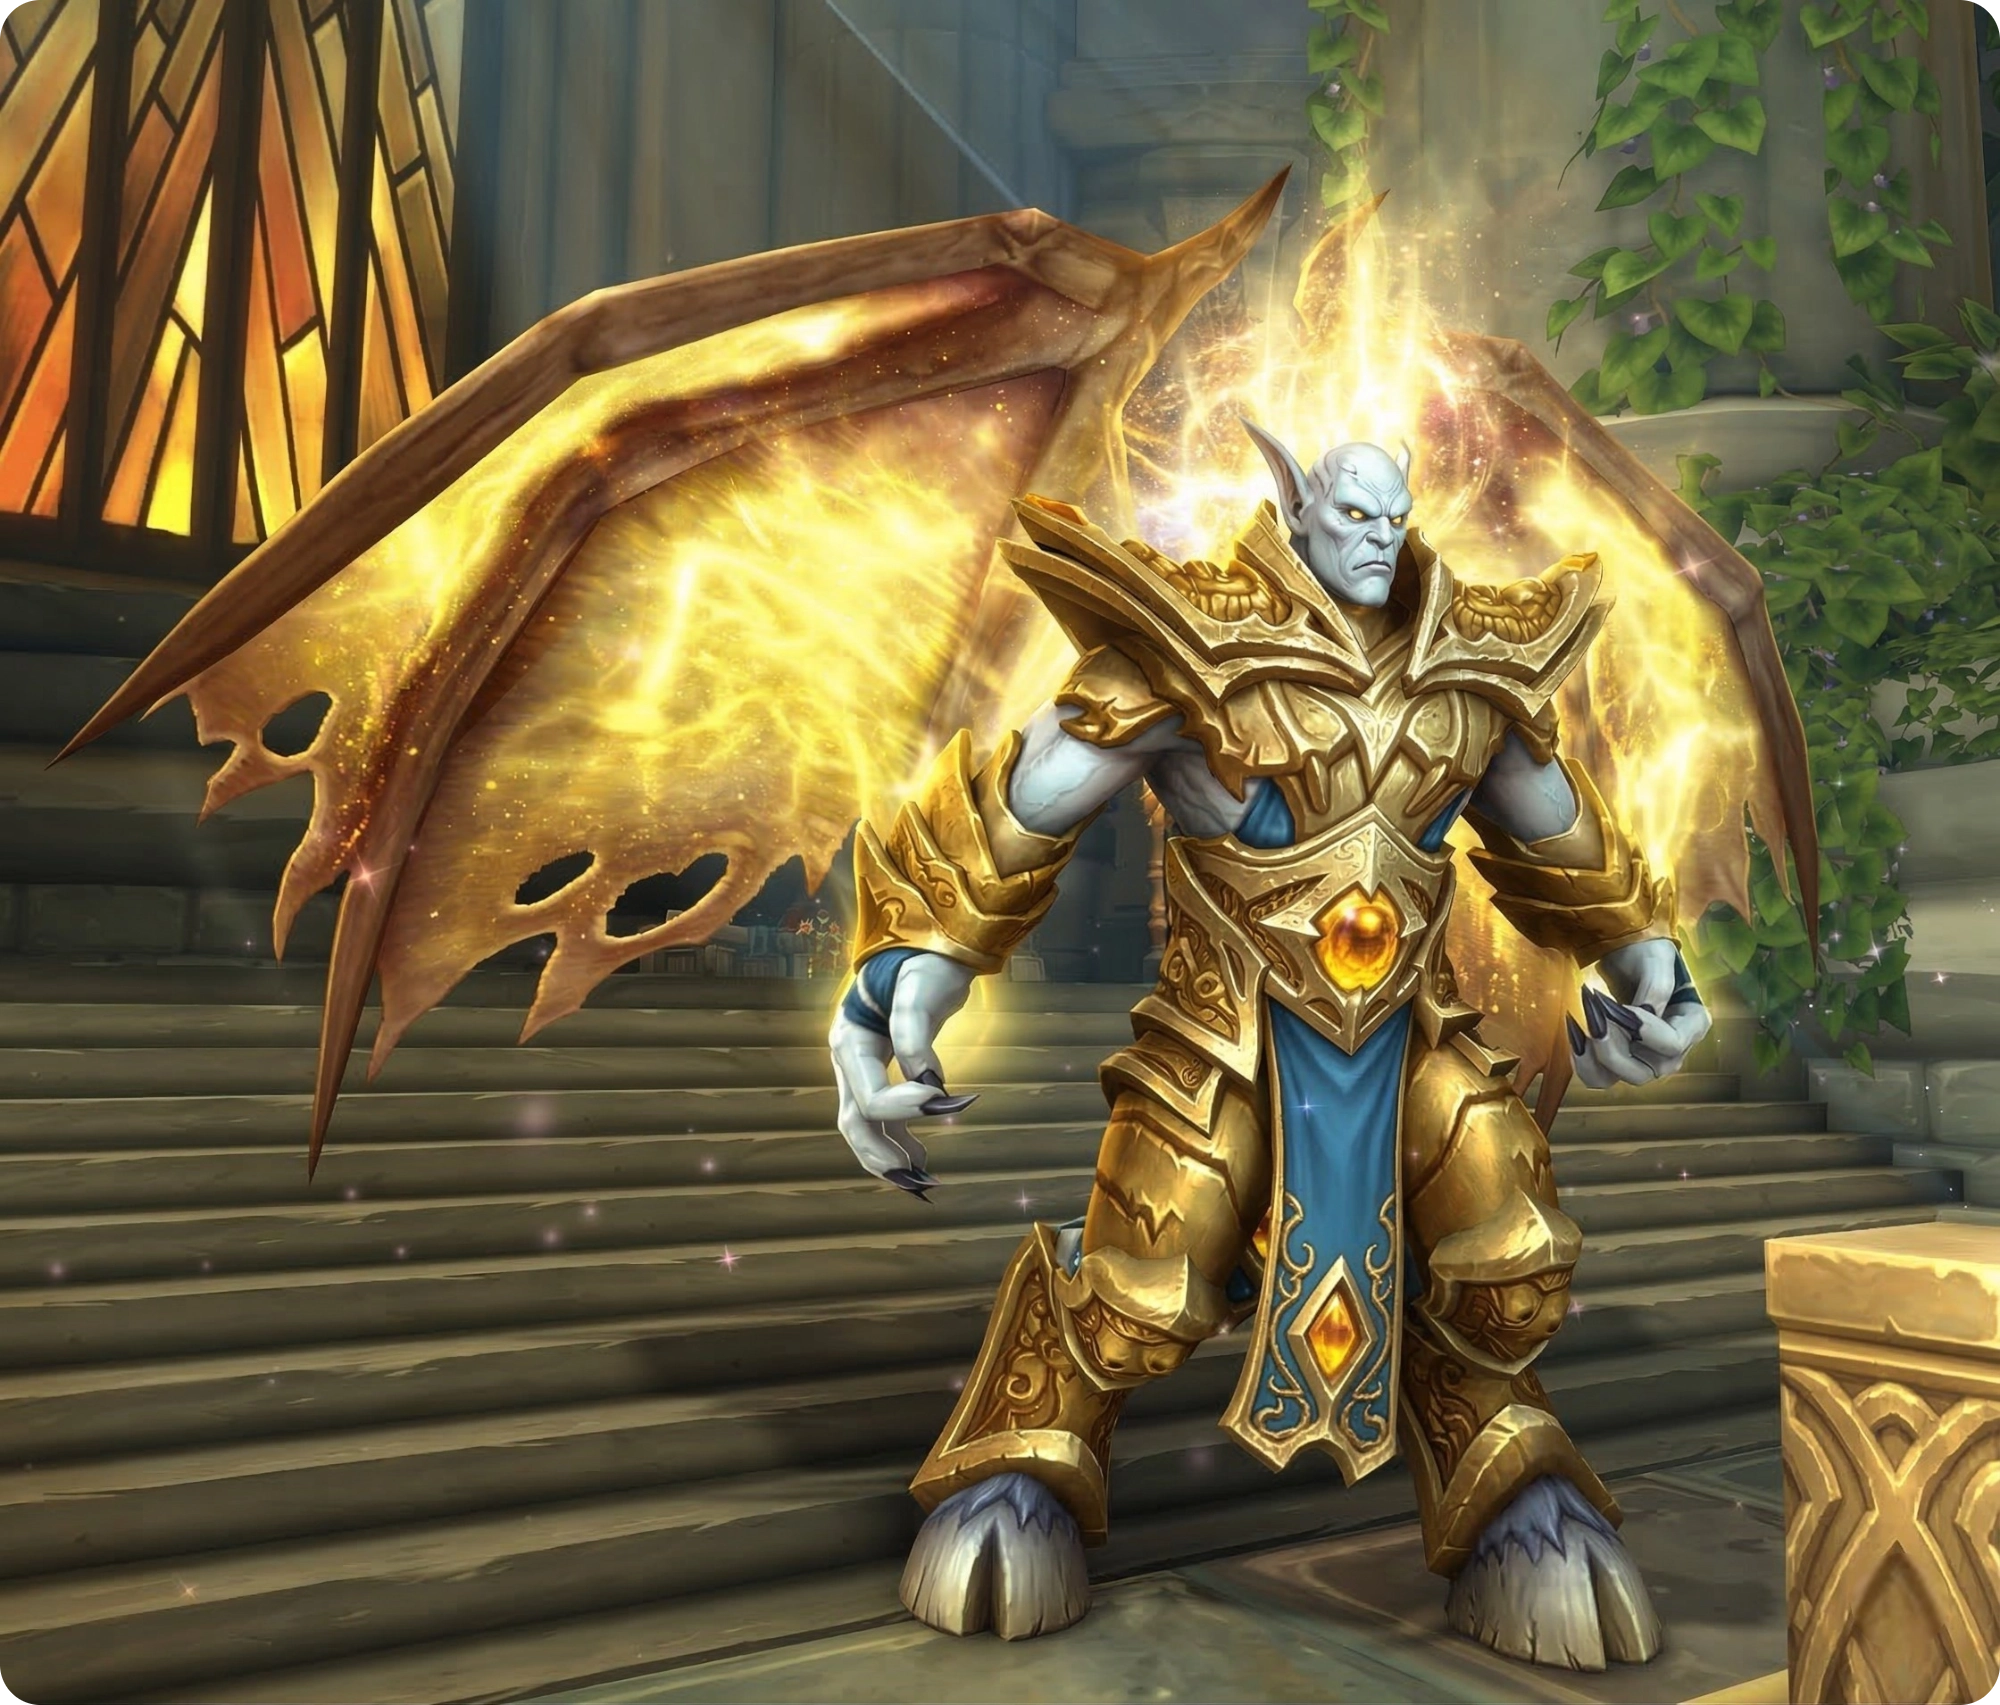
Corewarden Nysarra
Run the Eclipsing Step area-of-effect out of the group immediately. Corewarden summons a Dreadflail and a Grand Nullifiers through the Null Guardian ability; crowd control and burst these down quickly while the tank manages their vulnerability debuff. Every minute, the boss Corewarden Nysarra gains a 300% damage amplification. Dodge the initial hit from the friendly NPC, but stand in the Lightscar Flare he leaves behind to gain a massive damage buff.
Lothraxion
The boss Lothraxion casts Brilliant Dispersion, which spawns six Fractured Images attached to three players. Do not touch these images under any circumstances, as they will knock you back and deal heavy damage. During the intermission, all images channel damage. You must find and attack the real boss hidden among the fakes. The real boss is the only model without horns. Do not interrupt the fake copies, as kicking the wrong one triggers a group wipe.
Windrunner Spire M+ Dungeon Guide
This vertical dungeon Windrunner Spire involves heavy backtracking through portals and intense priority-target trash pulls. It’s located in the Eversong Woods.
Territorial Dragonhawks and Casters
In the first area, pull enemies out of the 99% damage reduction bubble dropped by the Spell Guard Magisters. If you head to the Emberdawn wing first, use hard crowd control (stuns, knockbacks) on the Territorial Dragonhawks to stop their Fire Spit channel, as standard interrupts do not work. If you head to the duo boss wing first, interrupt Poison Blades from the Ardent Cutthroats.

Emberdawn
The boss Emberdawn – targeted players must bait the Flaming Updraft tornadoes to the absolute edge of the room. During the Burning Gale intermission, the boss pulls all players toward him, rotates, and breathes fire. Use heavy personal defensive cooldowns and healer cooldowns here. Tanks must have active mitigation ready for the Searing Beak damage-over-time effect.

Kalis and Latch
The bosses Kalis and Latch – Dispel or use crowd control on the ghosts spawned by the Curse of Darkness. When Kalis reaches 100 energy, she channels Debilitating Shriek, which deals increasing damage over time.

The only way to stop this is for the player targeted by Latch‘s hook to stand directly behind Kalis. This baits the hook into Kalis, interrupting the Debilitating Shriek.
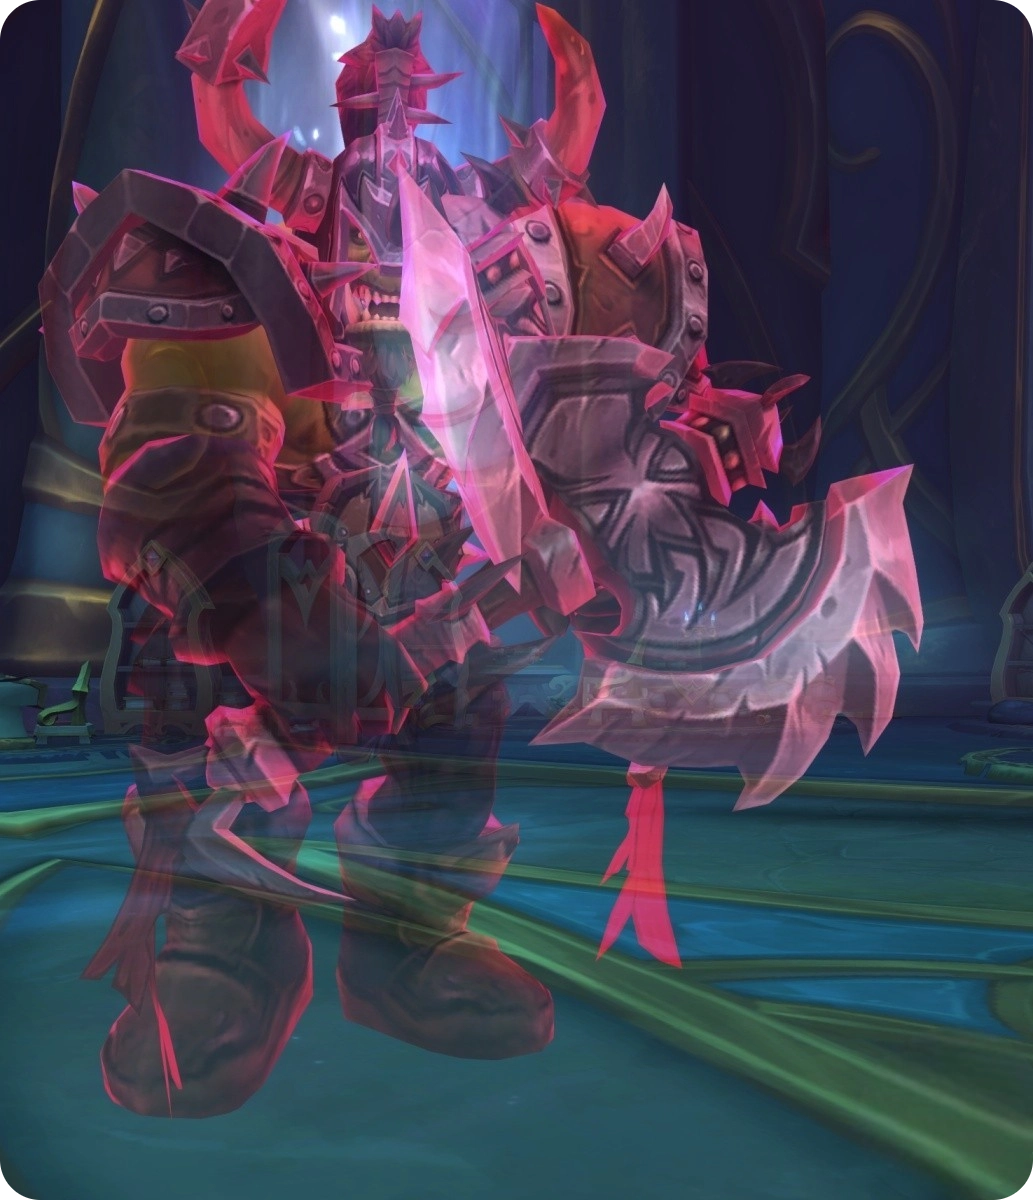
Commander Kroluk
The boss Commander Kroluk casts Reckless Leap twice in a row, targeting the furthest player and leaving debris circles behind. The second Reckless Leap overlaps with Intimidating Shout. You must stack with at least one other player to avoid being feared. At 66% and 33% health, the boss goes immune, fixates a player, and summons adds. Focus all damage on the adds to end the intermission phase quickly.
The Restless Heart
At the boss Restless Heart – manage the Squall Leap damage-over-time effect by touching the arrows on the ground. Touching an arrow flings you into the air. Save an arrow to jump just before the boss casts Bullseye WindBlast, allowing you to leap safely over the lethal wave. Aim the Arrow Rain channel at a wall. Tanks must position their backs to a wall for the heavy knockback attack to avoid being knocked into an arrow by mistake.