Navigating The Voidstorm Raid in WoW Midnight
The Voidspire raid releases alongside two other massive raids in WoW Midnight, each featuring its own unique release schedule. Located deep within the chaotic zone of The Voidstorm, this 6-boss instance demands precise execution, heavy movement, and coordinated damage. With mechanics ranging from spatial grid puzzles to intense dual-dragon encounters, modern raid teams must adapt quickly. Difficulties span Story Mode, Raid Finder, Normal, Heroic, and Mythic.

If your raid group is struggling to progress or you need to secure early tier advantages, a professional service provider can deliver swift Mythic clears and high-end gear funnels Guaranteed Raid clear Services. Utilizing expert account management and pilot services allows players to bypass the frustration of PUGs and guarantee the most powerful item drops immediately.
WoW Midnight Raid Voidspire Boss Tactics and Strategies
Prepare your raid composition. The following sections detail the essential strategies for the first five encounters of the Voidspire Raid in WoW Midnight.
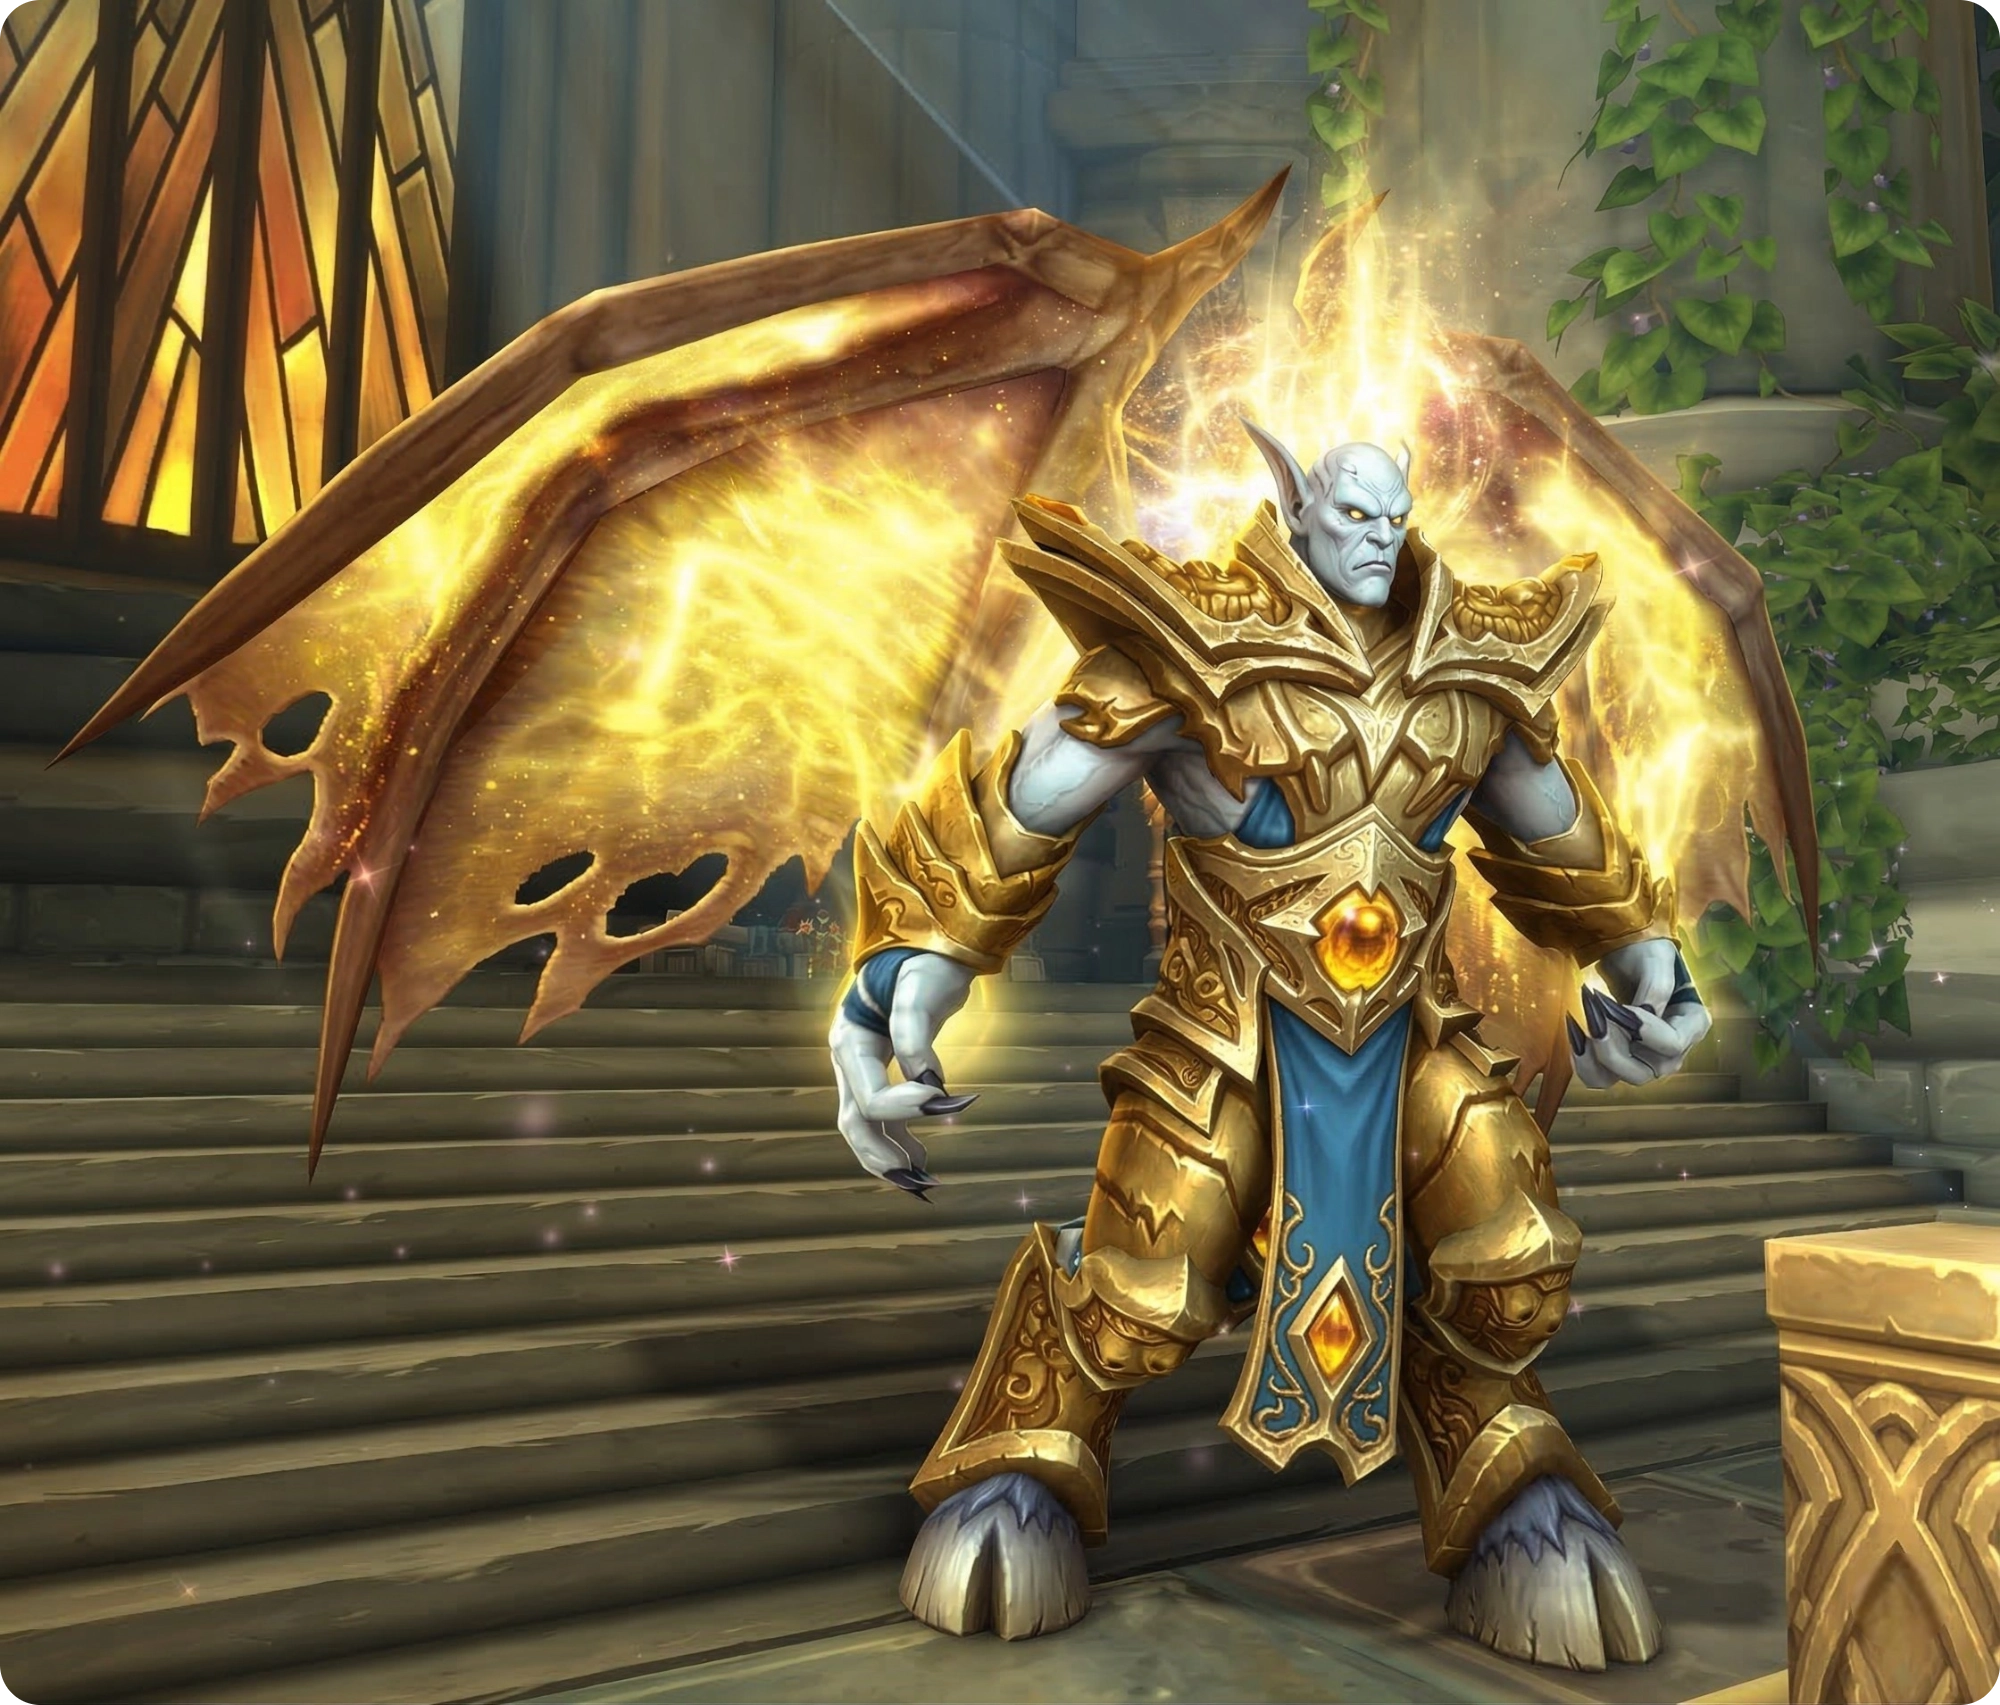
Imperator Averzian
Imperator Averzian forces your raid into a deadly game of tic-tac-toe on a 3×3 grid. Prevent him from claiming three zones in a row; failing to do so triggers an unstoppable enrage that instantly wipes the raid.
Cast Bloodlust on pull to maximize early damage. Split your raid into odd and even groups, assigning one tank to each. Pull Imperator Averzian to the center. He summons three Abyssal Voidshaper in different zones. Assign the melee group to one Shaper and the ranged group to another. Kill two, strategically leaving one alive in a corner zone to keep the center clear.
The boss applies a debuff Blackening Wounds to the active tank, reducing maximum HP by 4% per hit. Position the active soak mechanic over an Abyssal Voidshaper to instantly kill it. On Heroic and Mythic modes, this soak hits the entire raid, requiring half the group to share the damage before swapping tanks. Keep the boss away from claimed zones to prevent a fatal damage spike such as Umbral Collapse. Interrupt the Void Shapers when their casts finish, then have the off-tank pull them away to avoid localized damage buffs. Void portals then spawn Voidmaw adds. The add-tank must grab aggro immediately. Prioritize interrupting and killing Shadowguard Stalwart before they shield nearby enemies. Dodge all blue circles and face the boss’s frontal cone away from the raid at all times.

Vorasius
This encounter is a strict positioning and DPS check. Cast Heroism on pull. Keep the raid stacked in front of Vorasius. Run against his initial pull to avoid falling off the cliff, and prepare healers for heavy raid-wide eruption damage.
The active tank must soak Crystalline Eruption with next bosses’ strikes:Primordial Roar + Shadowclaw Slam. This heavily increases physical damage taken and spawns a permanent barrier wall that blocks line of sight. Stand near the center to avoid getting trapped. Dodge the radiating Aftershock circles. The boss slams the same tank a second time, applying a 300% physical damage taken debuff requiring major defensive cooldowns to survive. Swap tanks after two slams. The new tank takes the next eight slams.
When two walls trap the raid, Vorasius casts Parasite Expulsion. Avoid the blue zones and kite the fixated mobs to the barrier walls. Kill them directly next to the walls to trigger explosions that destroy the barriers (Normal requires 1, Heroic requires 2). Destroying the walls is mandatory to create a safe zone for the Void Breath channel. Run through the destroyed wall gap to survive the beam, then return to the center. The third Void Breath acts as a hard enrage.
NOTE: If you are interested not only in battles for loot/gold, completing raids and bosses in Midnight Expansion, but also in owning the beautiful mounts from this WoW expansion, we recommend reading the following guide WoW Midnight Mount Guide: How to Get All Day One Mounts Fast.

Fallen-King Salhadaar
Salhadaar returns as a high-movement encounter in WoW Midnight. Cast Bloodlust on pull or wait for the intermission phase at 100 energy. Pull Fallen-King Salhadaar to one of the three outer gates. Lightning strikes the gates, spawning orbs. Kite the boss away while the DPS burns the orbs down. On Heroic, stagger the orb kills to prevent overlapping raid-wide debuff Dark Radiation damage.
Swap tanks at 9 or 10 stacks of the active DoT. Ensure orbs are dead before the boss casts Shattering Twilight, which stops his movement and launches an orb at the tank. On Heroic, this radiates spikes that bounce between players. Move away from the raid if targeted by Despotic Command. Stack the resulting permanent puddles tightly near the walls to save space. Dispelling this effect applies a healing absorption shield. Use crowd control on the images summoned by Fractured Projection to despawn them and prevent extra puddles. Healers must manage Twisting Obscurity, a 23-second heavy raid DoT. At 100 energy, rotate with the boss to dodge five rotating death beams while maintaining damage output.
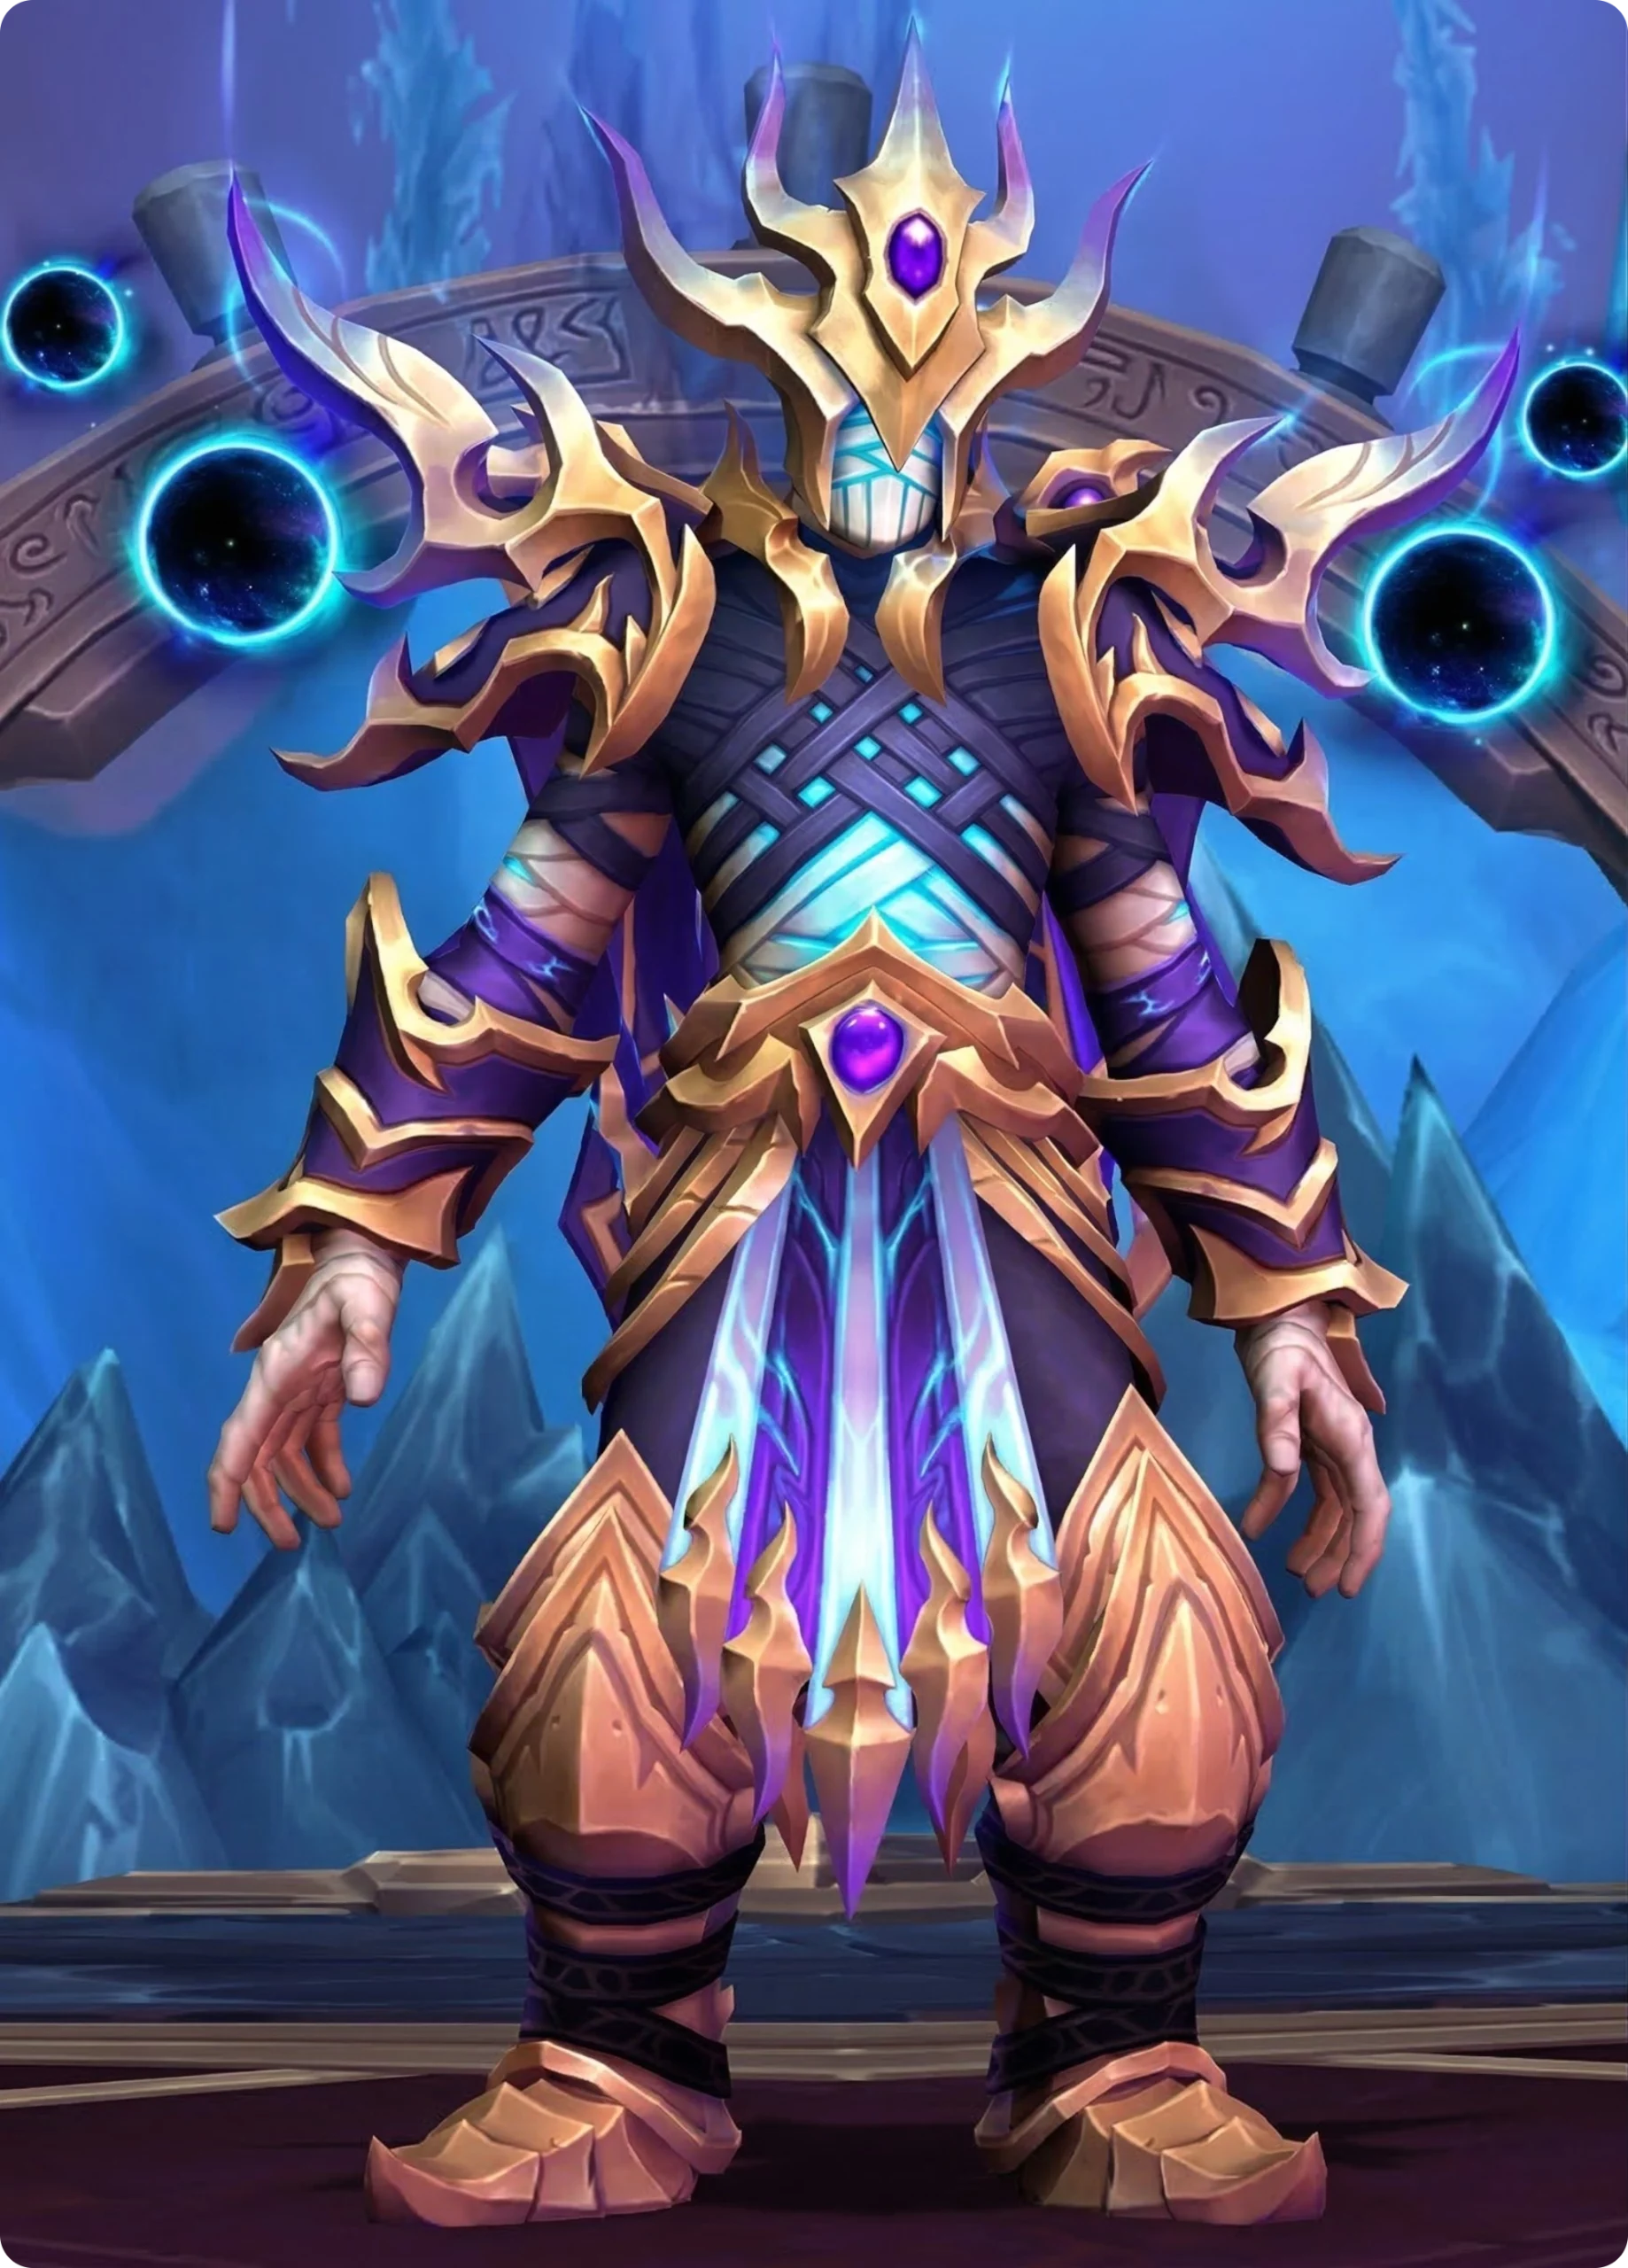
Vaelgor & Ezzorak
Keep the dual-dragon siblings Vaelgor and Ezzorak separated by at least 15 yards and their health pools within 10% of each other. Face the grounded dragon away from the centralized raid to avoid Vaelgor’s knockback tail swipe – Vaelwing or Ezzorak’s massive bleed – Impale.
Run to the edge if marked with a purple arrow for Dread Breath, and dispel the resulting fear quickly. Ezzorak casts Void Howl, dropping purple circles that spawn orbs casting Voidbolt. Stack these tightly and AoE them down. Vaelgor targets the tank with Nullbeam, knocking them back and spawning a void zone that tethers all players. Run outward to snap the tether, letting the tank snap theirs last.
Physically soak Ezzorak’s Gloom orb with five players to turn it from purple to white. Once white, aim it toward a wall away from the flying dragon to drop a void zone safely. At 100 energy, stand in the holy zone provided by your NPC allies. Burn the Manifestation of Midnight add and manage the random stacking debuffs applied by Xal’atath. The dragons swap air and ground roles after the intermission.

Lightblinded Vanguard
Face three corrupted paladins: General Amias, Commander Venel, and War Chaplain Senn. Tank Amias and Venel against the outer edge.

Senn attacks from range with Exorcism. At 100 energy, each boss performs an ultimate ability and drops a permanent consecration. Rotate the bosses clockwise after every ultimate.
Move the bosses out of Amias’s Devotion Aura and dodge the Divine Toll shields. Split the raid to soak Venel’s Execution Sentence and avoid the radiating hammers. Do not attack inside Senn’s yellow circle to avoid a 3-second pacify. Rotate players to spread the heal blocks applied by Tyr’s Wrath. Break Senn’s Sacred Shield rapidly and interrupt Blinding Light to prevent a wipe.

Taunt swap immediately after a Judgment cast so the massive follow-up attack hits the un-debuffed tank. Amias judges first, then Venel. Dispel the Avenger’s Shield debuffs applied by Amias and use major cooldowns for Venel’s Sacred Toll. Use Bloodlust on the pull. Blast Venel single-target for the first 8 seconds while Amias and Senn have Divine Shield, then cleave all three evenly. They must die at the exact same time to prevent fatal enraged buffs.