
What is Karazhan raid in TBC Anniversary
Welcome to the gloomy labyrinth of Karazhan, one of World of Warcraft: The Burning Crusade’s most iconic and mysterious raids. Nestled in Deadwind Pass, this haunted castle features spectral adversaries, cunning sorcerers, and relentless demons guarding tremendous rewards. Success in Karazhan demands tactical coordination, thorough preparation, and mastery of every boss encounter. Whether seeking powerful loot or the thrill of overcoming legendary foes, teams must adapt and execute proven strategies and tactics for each battle.
Skip the endless wipes in Medivh’s Tower and secure your full Tier 4 set along with the legendary Fiery Warhorse. Our elite teams offer a smooth, professional run through the halls of Karazhan, ensuring you get all the BiS gear and badges needed for Phase 2 without the stress of pug groups. Claim Your Medivh’s Tower Rewards Now and start your TBC Anniversary journey with a fully geared character.
Karazhan TBC Anniversary — Boss Tactics & Strategies
The following is a guide to the most important points regarding tactics and strategies for completing the Karazhan raid and its bosses. All the most important points for each phase will be listed:
Attumen the Huntsman — Strategy

- Phase 1: Tank and spank against Midnight. Assign one tank per boss and position them apart.
- Phase 2: When Midnight reaches 95% health, Attumen spawns; tanks must position both bosses together, facing away from the raid. Dispelling Intangible Presence is critical—Mages and Druids prioritize tanks, then DPS. DPS focuses Midnight.
- Phase 3: Begins once either boss reaches 25% health; they merge. The raid stacks behind Attumen, except the main tank, to avoid Berserker Charge. Warriors utilize Spell Reflection and Disarm, while Hunters apply Misdirection.
Moroes
- Pre-pull: Decide add kill order, focusing on healers first (Lady Catriona Von’Indi, Lady Keira Berrybuck), then mana burners (Baroness Dorothea Millstipe), followed by stunners (Baron Rafe Dreuger), Lord Robin Daris, Moroes, and Lord Crispin Ference.
- Use crowd control: Shackle Undead (Priest), Freezing Trap (Hunter), Turn Evil (Paladin), Poison Cleansing Totem (Shaman).
- Off-tank should be second on threat to intercept Gouge. Healers must dispel Blind, and swiftly heal targets with Garrote.
- Interrupt Mana Burn and Greater Heal. Moroes Enrage at 30% health increases difficulty.
Maiden of Virtue
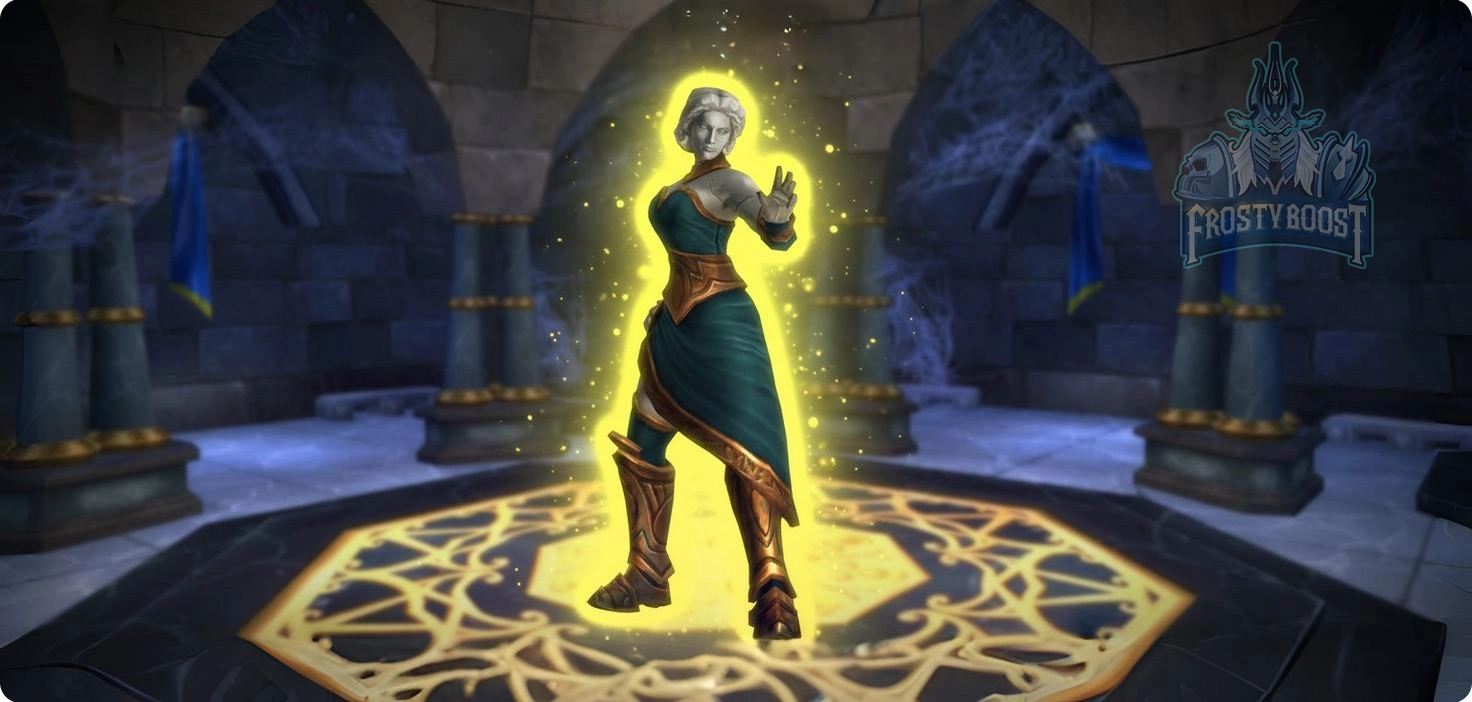
- Keep Maiden central and spread the raid to prevent Holy Wrath chains.
- Dispel Holy Fire immediately. Run into Holy Ground before Repentance to break free with damage.
- Paladins employ Blessing of Sacrifice or Divine Shield. Shamans use Grounding Totem; Mages and Rogues remove curses with Ice Block and Cloak of Shadows.
Opera Event
Big Bad Wolf:
Run from Little Red Riding Hood debuff along the room’s edges. Avoid Terrifying Howl using Tremor Totem or Fear Ward. Rogues, Hunters, and Paladins use Vanish, Feign Death, and Blessing of Protection.
Wizard of Oz:
Kill order: Dorothee, Tito, Strawman, Tinhead, Roar, The Crone. Use fire spells (Fireball, Incinerate, Flame Shock) to disorient Strawman.
Romulo & Julianne:
Interrupt Julianne, Eternal Affection, dispel Devotion and Daring buffs from Romulo. Warriors use Disarm; Mages can Spellsteal Devotion.
The Curator

- Kill Flares quickly, avoid their chain damage.
- Off-tank should be ready for Hateful Bolt.
- During Evocation, burn The Curator with cooldowns for triple damage. Curse of Doom should be timed to land during Evocation.
Chess Event
- Move Pawns aside, prioritize killing Bishops (Medivh’s npcs) first to remove healing, then the Queen and King.
- Always move controlled pieces out of fire when Medivh casts “Cheat: Flames.”
- After focusing on taking down enemy Bishops and Queen, then coordinate a push to finish the opposing King.
- Switching control between pieces is allowed, helping adapt to dynamic threats.
Terestian Illhoof
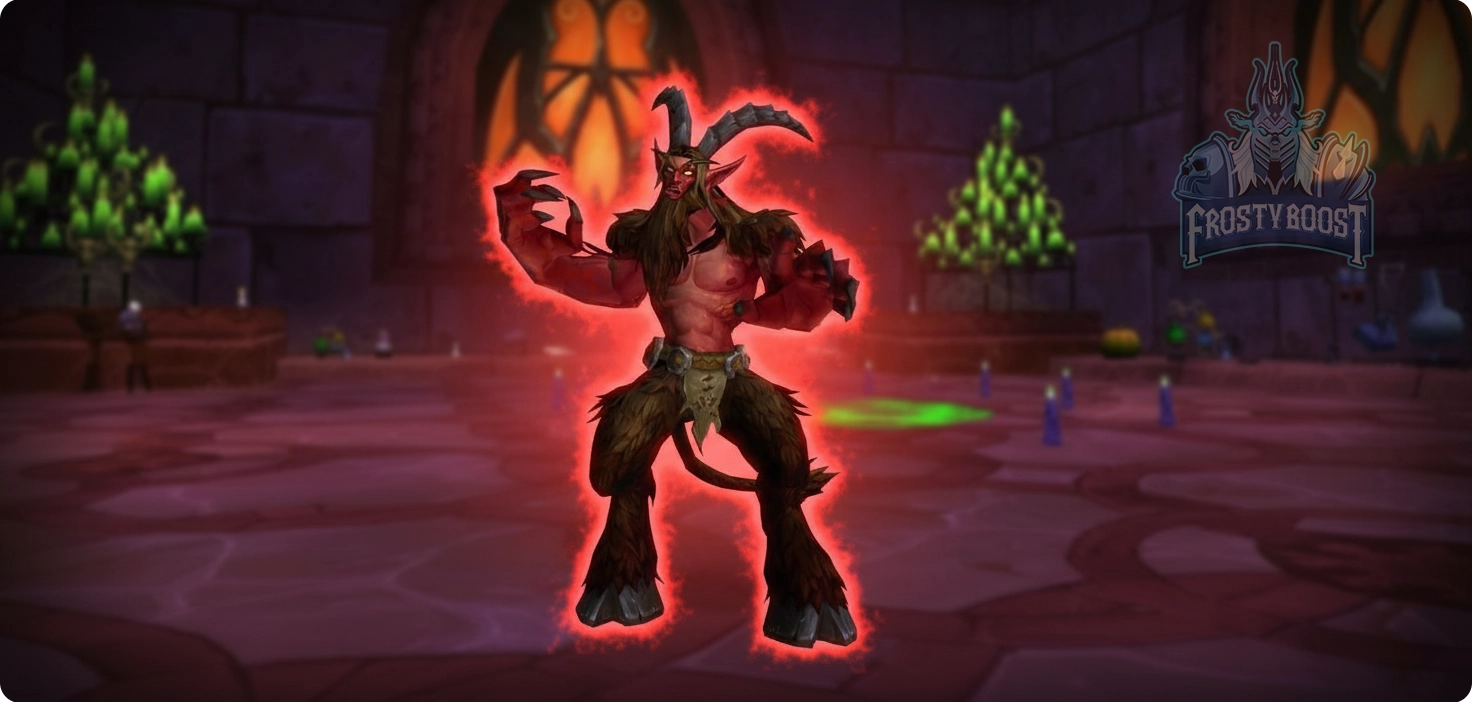
- Tank Illhoof and Kil’rek near the room’s green circle.
- After boss casts Sacrifice, the players have to kill Chains as soon as possible, and heal the targeted player.
- DPS breaks Sacrifice chains immediately, heal the targeted player. Killing Kil’rek reduces Illhoof’s resilience via Broken Pact.
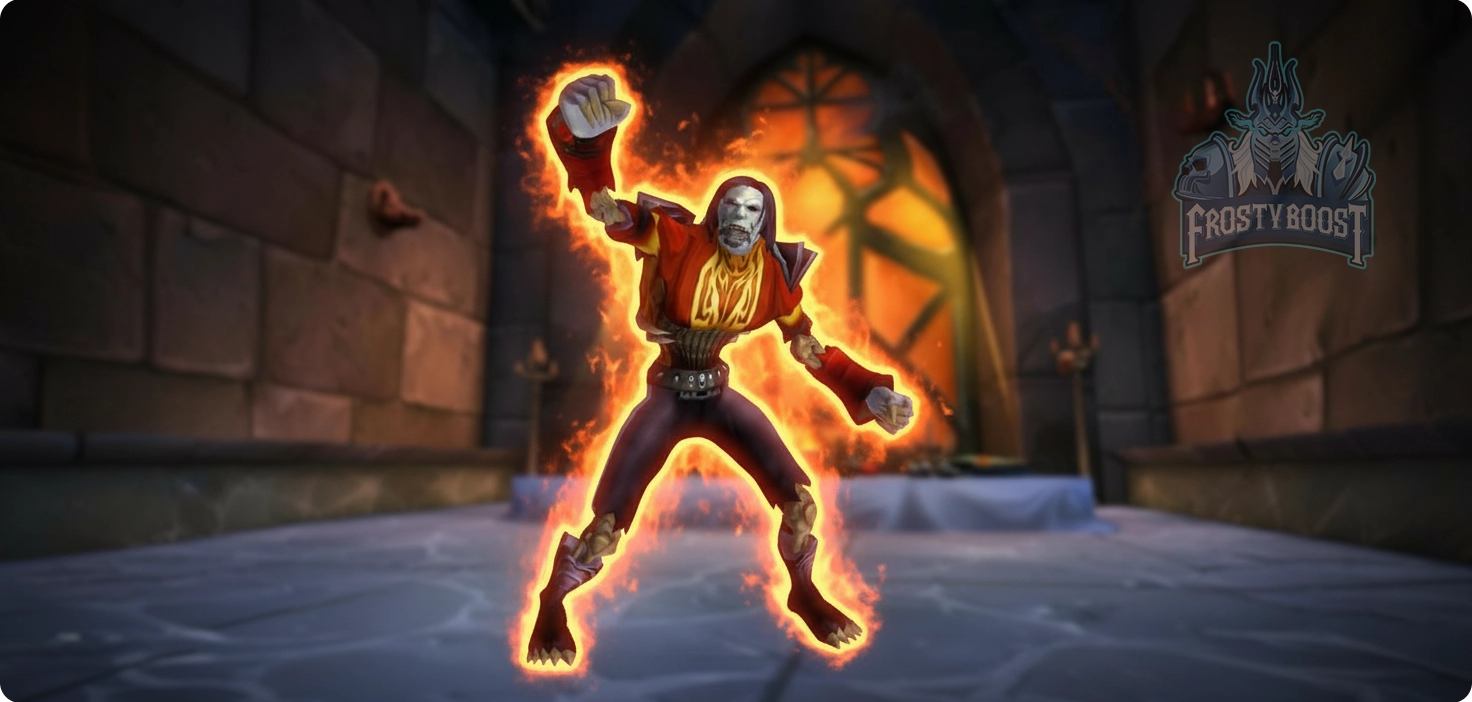
Shade of Aran

- Maintain 10-yard distance to avoid Counterspell.
- Interrupt Fireball and Frostbolt. Healers should be attentive to Dragon’s Breath.
- Respond quickly to Flame Wreath, Arcane Explosion, and Blizzard. At 40% health, kill Water Elementals.
Netherspite

- Portal Phase: Assign tanks and DPS to soak Nether Beam – Red Beam, Green Beam, and Blue Beam for correct buff/debuff rotation. Move out of Void Zone.
- Banish Phase: Netherspite casts Netherbreath; run to the far back of the room. Aggro resets after each phase; tanks re-engage.
- Nether Exhaustion prevents repeated beam soaking; rotate assignments.
Prince Malchezaar

- Phase 1: Tank positions against the wall to avoid Shadow Nova and Infernal spawns. Dispel Shadow Word: Pain.
- Phase 2: Begins at 60% health; increased melee damage; tank focus. Enfeeble, Shadow Nova continue; Infernals spawn.
- Phase 3: Begins at 30%; Amplify Damage and Flying Axes added. Position for Infernal spawns, prioritize not being hit by Infernals over Shadow Nova.
Nightbane

- Ground Phase: Tank with back to wall, avoid Smoldering Breath and Tail Sweep. Rdps have to stay at max distance to avoid Bellowing Roar Dispelling Distracting Ash is essential; move out of Charred Earth.
- Air Phase: Occurs at 75%, 50%, 25% health. DPS focuses on skeletons from Rain of Bones; healers address Smoking Blast. All the players have to be close to the boss to stop the whole group from being permanently hit by fireballs