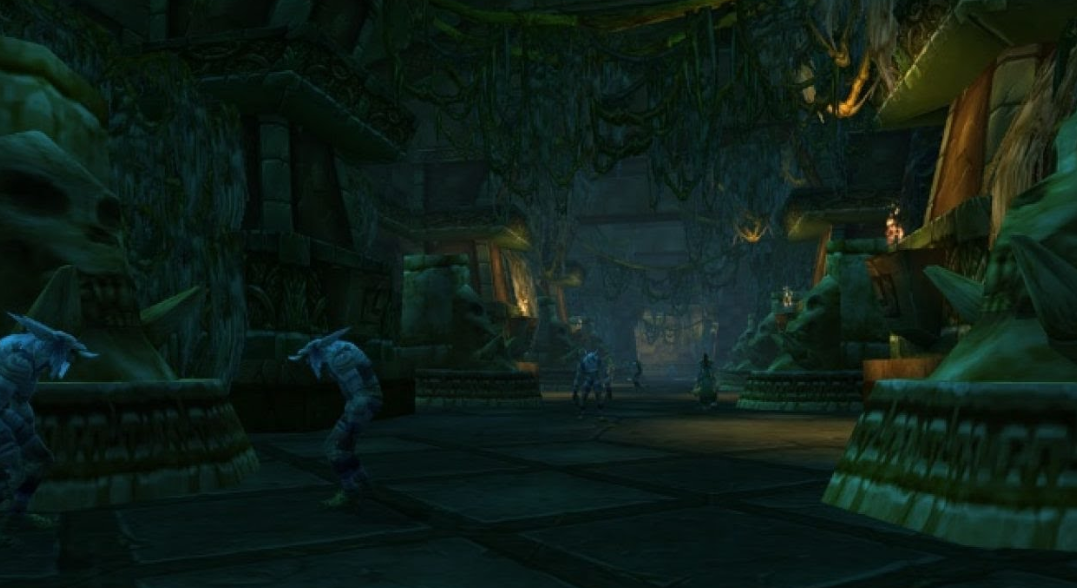
Sunken Temple Raid Phase 3 Guide in Season of Discovery
Embark on a daring journey through the depths of the Sunken Temple as Phase 3 unfolds in World of Warcraft’s Season of Discovery. With each encounter shrouded in mystery and peril, adventurers must harness their skills and cunning to overcome the challenges that await. Let’s delve into the intricacies of each boss battle and uncover the strategies for triumph.
Don’t forget that no matter how challenging this raid is in New Phase 3 wow Season of Discovery, we can always offer you help with it via SoD Raid Boost. Our professional team of boosters will raid with you or for you.

Atal’alarion
Prepare to face Atal’alarion, a formidable opponent within the Sunken Temple. Activate the four altars surrounding the room to weaken the boss before engaging. Failure to do so will result in the boss becoming overwhelmingly powerful.
- Altar Activation: Before engaging Atal’alarion, ensure all four altars surrounding the room are activated to weaken the boss significantly. Failure to do so will result in a much tougher battle.
- Pillar Management: Destroy pillars of might spawned by the boss throughout the room to reduce Atal’alarion’s strength. Coordinate with your team to efficiently target and destroy these pillars.
- Tank Positioning: Coordinate tank positioning to mitigate the impact of Atal’alarion’s demolishing smash, which knocks back everyone in range and reduces threat. Ensure the off-tank taunts when necessary to manage threat effectively.
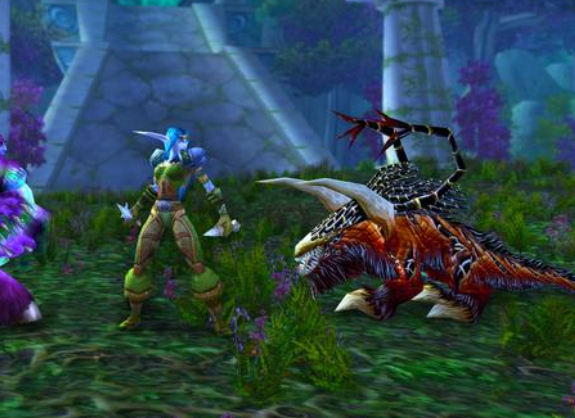
Festering Rotslime
Engage in battle against the festering rotslime, a chaotic adversary that requires constant movement and precise execution to defeat.
- Constant Movement: Maintain constant movement to avoid standing in the corrosive slime puddles scattered around the battlefield. These puddles deal heavy damage over time and should be avoided at all costs.
- Swift Execution: Due to the rotslime’s increasing momentum, execute your strategy swiftly and efficiently. Focus on dealing damage while remaining agile to evade the rotslime’s attacks.
- Healer Awareness: Healers should remain vigilant and prioritize healing targets affected by the rotslime’s damage over time effects. Effective healing coordination is essential to sustain the group through the encounter.
Atal’ai Defenders
Prepare for a council-style encounter as you face the Atal’ai Defenders, a group of six bosses that resurrect in spectral form upon defeat.
- Crowd Control Priority: Employ crowd control abilities to neutralize the spectral threats resurrected by the Atal’ai Defenders. Prioritize shackle spells and trap abilities to manage the additional enemies effectively.
- Focus Fire: Coordinate with your group to focus your attacks on the primary targets while controlling the resurrected spectral threats. Efficient target prioritization is crucial to maintaining control of the encounter.
- Communication: Maintain clear communication with your team to coordinate crowd control effects and target focus. Effective communication ensures everyone is on the same page and maximizes your chances of success.
Dreamscythe and Weaver
Enter the realm of dragon power as Dreamscythe and Weaver descend upon the battlefield. Consisting of three distinct phases, this encounter tests the resilience and coordination of every adventurer.
- Phase Awareness: Remain cognizant of the distinct phases throughout the encounter with Dreamscythe and Weaver. Each phase presents unique challenges and mechanics, requiring adaptability and quick thinking from all adventurers.
- Environmental Hazards: Maneuver carefully within the arena to avoid environmental hazards while contending with the dragons’ devastating abilities. Positioning is key to minimizing damage and maximizing your group’s survivability.
- Precise Positioning: As phase three unfolds and both dragons converge, ensure precise positioning to optimize your group’s damage output and mitigate incoming damage. Coordination and timely execution of abilities are essential to overcoming this formidable challenge.
Jammal’an and Ogom
Prepare for a battle of divine proportions as Jammal’an and Ogoma unleash their wrath on unsuspecting opponents.
- Adaptability: Prepare for alternating phases and a diverse array of abilities from Jammal’an and Ogom. Adaptability is key to responding effectively to changing mechanics and maintaining control of the encounter.
- Vigilance: Remain vigilant throughout the battle, dodging holy novas and managing debilitating curses. Employ crowd control and interrupt abilities to disrupt enemy casts and gain the upper hand.
- Coordination: Coordinate with your team to synchronize crowd control effects and prioritize target focus. Effective communication and teamwork are essential for overcoming the challenges posed by Jammal’an and Ogom.
Morphaz and Hazzas
Embark on a mysterious encounter with Morphaz and Hazzas, where three different phases unfold with each passing moment.
- Dynamic Phases: Navigate through the shifting dynamics of the encounter as three distinct phases unfold. Stay adaptable and anticipate changes in the battle’s progression to respond effectively to emerging threats.
- Resource Management: Utilize every resource at your disposal to overcome the challenges posed by Morphaz and Hazzas. Whether it’s managing ethereal flames or navigating dimensional rifts, strategic resource allocation is crucial for success.
- Steadfast Resolve: Maintain steadfast resolve and composure amidst the chaos of battle. Quick thinking and decisive action are paramount to emerging triumphant against Morphaz and Hazzas. Stay focused, communicate effectively with your team, and adapt your strategies as needed to secure victory.
Shade of Eranikus
Prepare for the ultimate test of endurance as you face Shadow Eranicus, the penultimate challenge in the Underground Temple:
- Endurance Test: Prepare for a grueling test of endurance against the Shade of Eranikus, where each phase introduces new challenges and threats. Maintain your focus and coordination with your team to withstand the relentless assault.
- Debuff Management: Stay on top of managing debilitating debuffs inflicted by the Shade of Eranikus. Assign specific roles within your group to dispel or mitigate these effects promptly to avoid being overwhelmed.
- Environmental Awareness: Be mindful of environmental hazards throughout the encounter. Positioning and movement are crucial to avoiding additional damage and maintaining control of the battlefield.
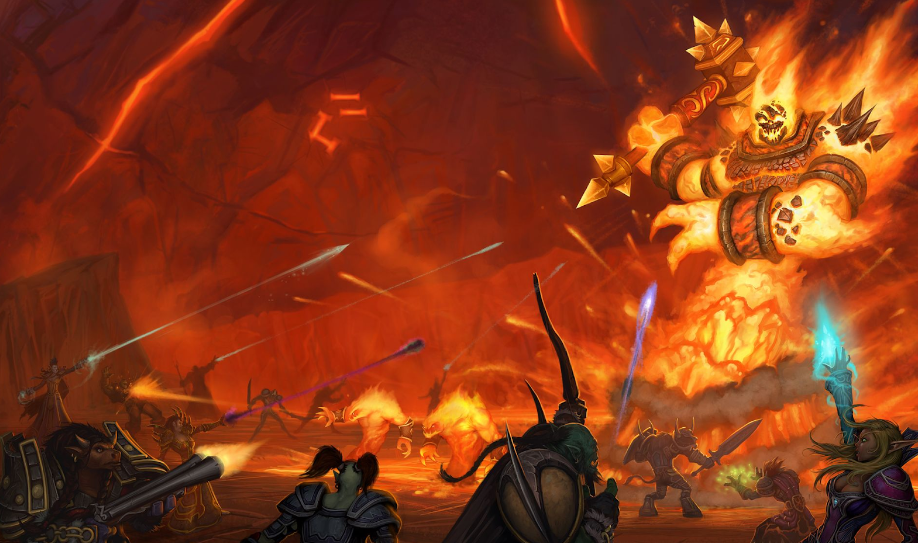
Avatar of Hakkar
Get ready for the final confrontation as you come face to face with the Avatar of Hakkar:
- Brace for the Final Battle: Steel yourself for the ultimate showdown against the Avatar of Hakkar, where every trial you’ve faced culminates in this moment. Approach the encounter with unwavering determination and readiness to overcome the challenges ahead.
- Precision Execution: Execute your abilities with precision, dodging deadly projectiles and managing debilitating curses effectively. Timely interrupts and dispels are essential to maintaining control of the battle and keeping your group alive.
- Team Synergy: Forge a strong synergy with your team, communicating and coordinating your actions seamlessly. Each member’s contribution is crucial to achieving victory over this ancient foe and securing glory in the Season of Discovery.
![]()
If you are interested in another guide and more information about loot in Sunken Temple Raid you can read this guide Sunken Temple Raid Loot Tutorial in Phase 3 Season of Discovery for getting much more insights.