If you are stuck at 1800 or 2000 rating in WoW, you probably do not need better gear or a new class — you need better habits. Arena in WoW Midnight is unforgiving. Matches are not decided by who deals the most overall damage. They are decided by who trades cooldowns correctly, who controls positioning, and who punishes the enemy’s mistakes. The team that overlaps its defensive buttons loses. This WoW arena guide breaks down exactly how to fix that.
Midnight arena is also extremely fast and dynamic. Fights swing in seconds, burst windows open and close in the blink of an eye, and a single global cooldown decides whether you land a kill or lose your partner. That pace is exactly why cooldown rotation matters so much — you have to read the enemy’s buttons and press your own instantly. Slow reactions and clunky binds cost you games at every rating. The players who climb are the ones who trade cooldowns fast and think a step ahead of the tempo.
This WoW Arena guide covers the whole picture: the mental game, UI and macros, match momentum, positioning, and the advanced arena tips and tricks that Rank 1 players use on autopilot. Whether you are chasing your first 1800 or grinding toward Gladiator, these WoW arena tips work at every rating. If you would rather skip the grind, our WoW Arena Boost team can push your rating and gear it out for you.
WoW Arena at a Glance
Chapter 1: The Mental Game and the Ladder Grind
Before you learn to trap a healer or trade a cooldown, fix how you approach the game. Tilt loses more matches than bad comps ever will. When your mental state slips, your reaction time drops, you miss kicks, and you make positional errors that hand the enemy free kills.
Treat Losses as Data
Stop blaming teammates. Stop blaming class balance. When you die, ask exactly why. Did you push behind a pillar with no PvP trinket up? Did you pop your defensive wall at the same second your healer used a major external on you? Find the real reason you died, and you can fix it next round.
Play in Blocks and Review
You need volume to build muscle memory, but queueing mindlessly for six hours is a mistake. Play in blocks of 5 to 10 games, then take a break. Better still, record your games with OBS or any screen-capture tool. Watching your own play is the fastest way to catch errors — you will see you died standing in the open, not because the enemy class is overpowered.
The 3-Loss Rule
Lose three in a row? Stop queueing immediately. Stand up, grab some water, take a 10-minute break. Queueing while frustrated guarantees worse play, which leads to another loss and a full rating spiral.
Chapter 2: UI, Addons, and Essential Macros
Your screen has to give you clear, instant information. A cluttered default UI hides the exact moments you need to react to. Top players do not stare at their action bars — they watch the enemy team.
Fix Your Addon Setup
If you play blind, you cannot win. Three types of addons track the flow of a match:
- Arena Frames (Gladius or sArena): the default frames are too small. Use large frames that clearly show enemy health, cast bars, and Diminishing Returns.
- Cooldown Tracker (OmniBar): you need to know when the enemy’s interrupt is up and when their major offensive abilities are ready. OmniBar puts those icons in the center of your screen.
- Party Frames: your friendly frames should show which debuffs are on your healer and how long they are stuck in crowd control.
Hide everything else. Turn off scrolling combat text — a wall of damage numbers does not help you win. Focus on health bars, DR timers, and positioning. For a full breakdown of what to install this patch, see our guide to the most useful addons in WoW Midnight.
Stop Clicking Your Targets
This is the biggest mechanical wall at low rating. Manually clicking a target to cast a stun wastes a full second of reaction time and telegraphs your move. The enemy sees you target them and knows CC is coming. You have to use macros.
The Most Important PvP Macros
Copy these straight into the game and swap the spell names to match your class.
1. Focus Interrupt Macro — kicks your focus target instantly, or your current target if you have no focus.
2. Arena 1/2/3 Crowd Control — mandatory. One button casts CC on a specific arena frame without changing your current target. Make one each for Arena 1, 2, and 3.
3. One-Button Burst Setup — do not press your trinket and damage cooldown separately. Combine them so your burst window is perfectly synced.
4. Mouseover Friendly Dispel — for healers and hybrids, dispel partners instantly without clicking their frame.
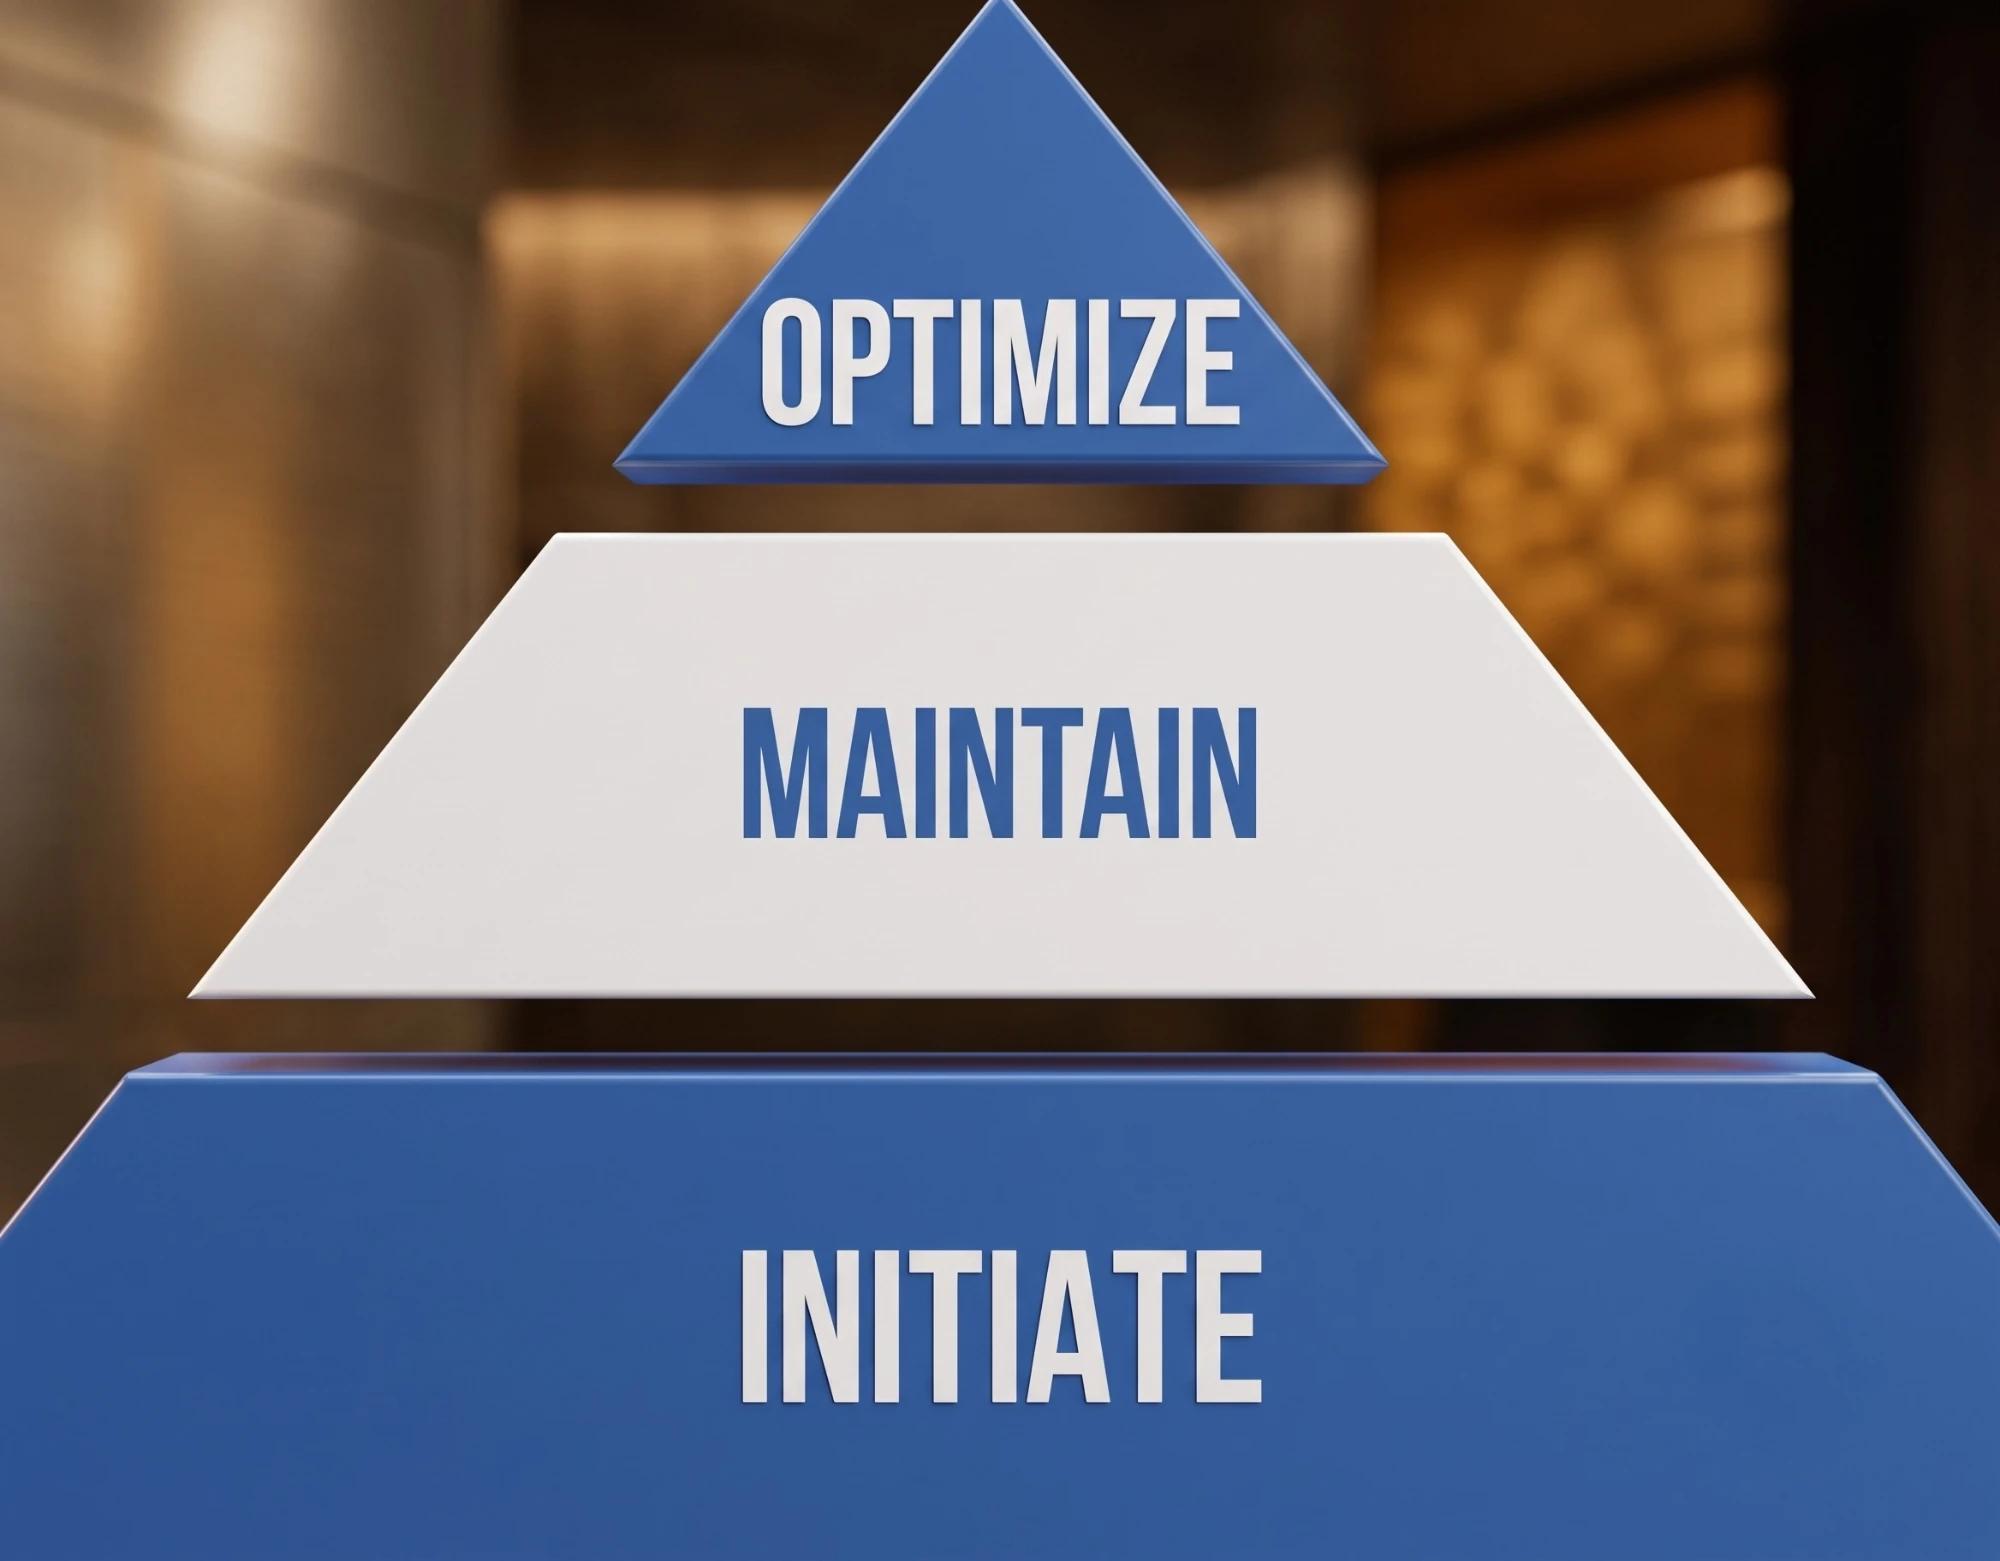
Chapter 3: The Match Timeline (Momentum Pyramid)
Solo Shuffle and 3v3 Arena both run on momentum. Because Shuffle rotates you through different teammates, winning consistently comes down to your individual ability to control the pace. Every game breaks into three phases: Initiation, Maintenance, and Optimization.
| Phase | Timing | Goal | Key Action |
|---|---|---|---|
| Initiation | First 20–30 sec | Seize the tempo | Burst class: force cooldowns early. CC class: disrupt their opener. |
| Maintenance | Mid-game | Hold the advantage | Trade defensives 1-for-1 against enemy offense. Never overlap. |
| Optimization | Past 2-min (dampening) | Convert to a kill | Micro-plays, LoS casters, punish players out of trinket/CDs. |
 ⤢ Click to enlarge
Phase 1 Initiation (The Opener)
The first 20 to 30 seconds of a round decide who gets to play aggressively. Your goal off the gates depends on your class.
On an aggressive burst class — Fire Mage, Subtlety Rogue, Shockadin — press your offensive cooldowns early. Force the enemy to panic. Deal massive damage in the first 10 seconds and their healer has to burn a trinket and major cooldowns immediately. That is a big advantage banked.
On a crowd control class, disrupt the enemy’s opening script instead. Land stuns, fears, or traps right away to stop their initial damage and open quick kill windows for your partner. A clean start forces your opponents to play catch-up all round.
Phase 2 Maintenance (Mid-Game Cooldown Trading)
Once the opener ends, the game shifts to trading cooldowns. Holding an advantage means playing defense proactively. The classic low-rating mistake is sitting on defensives until you are at 20% health — by then it is too late.
Trade cooldowns to match the enemy. When they pop their main offensive buttons, you answer with the right defensive tool immediately. If a Rogue uses Deathmark on you, press your wall or evasion right then. That neutralizes the pressure and protects your healer’s mana.
Phase 3 Optimization (Dampening and the End Game)
Past the two-minute mark, dampening ramps up and reduces all healing received. In this stage every global cooldown matters — you cannot make mistakes and expect your healer to bail you out.
Do not chase raw damage numbers here. Make micro-plays. Break line of sight on enemy casters with pillars. Use your mobility to physically dodge incoming CC instead of standing in the open eating it.
Track enemy cooldowns closely. Target the player who already used their PvP trinket, has low mobility, or is caught out of position away from their healer. High-rated players win in dampening by landing effective damage during CC windows and punishing opponents who run out of defensive options.
Chapter 4: Advanced Combat Rules
Mastering the timeline is half the battle. To push into Gladiator territory, apply the core combat rules that Rank 1 players use automatically.
1. Damage Dictates Crowd Control
In older expansions, teams won by setting up 20-second CC chains. Not anymore. The modern Midnight arena leans heavily on raw damage. The biggest lesson: your damage should dictate your crowd control, not the other way around. When you pile damage pressure on an enemy DPS, they are forced to run or pop defensives — that is the moment you drop CC on their healer. Because the DPS is already dying, locking the healer in a 6-second stun guarantees a kill or forces the healer to waste their trinket.
2. What to Do When Your Healer Is CC’d
- If you are low on health: instantly use defensives, back up, and break the enemy’s line of sight with the nearest pillar. Stop attacking. Just survive and buy your healer the 5 seconds they need to get out.
- If you are high on health with the advantage: keep relentless pressure on the enemy. Deal enough damage and they are forced to play defensively, which stops them from capitalizing on your stuck healer.
3. Track Diminishing Returns (DRs)
You cannot throw stuns randomly. Stun a target and they are fully stunned. Stun again within 18 seconds and the second lasts half as long. A third lasts a quarter. A fourth makes them immune. Cast a 1-second stun into a target on DR and you have wasted your spell, your global, and your mana. Watch your DR tracker and only CC into a fresh, full DR.
| CC Applied on Target | Duration | Effect |
|---|---|---|
| 1st CC (same category) | 100% | Full duration |
| 2nd CC (within 18 sec) | 50% | Half duration |
| 3rd CC (within 18 sec) | 25% | Quarter duration |
| 4th CC (within 18 sec) | Immune | Wasted global — target cannot be CC’d |
4. Pressuring Healers Directly
Healers are the backbone of any team. Most players think the only answer to a healer is CC — but hitting the healer directly is one of the strongest forms of crowd control in the game. Attack the healer and force them to heal themselves, and their offense shuts down completely. If you play a DoT class — Warlock, Shadow Priest, Assassination Rogue — keeping DoTs rolling on the healer is a game-changer. Healers would rather spend mana dispelling teammates, so sticky DoTs on the healer force an uncomfortable choice, drain their mana fast, and exert constant pressure.
Chapter 5: Map Geometry and Strategic Positioning
Positioning is the silent architect of PvP wins. You can have a perfect rotation, but stand in the wrong place and you die. Where you stand depends entirely on which classes you are fighting.
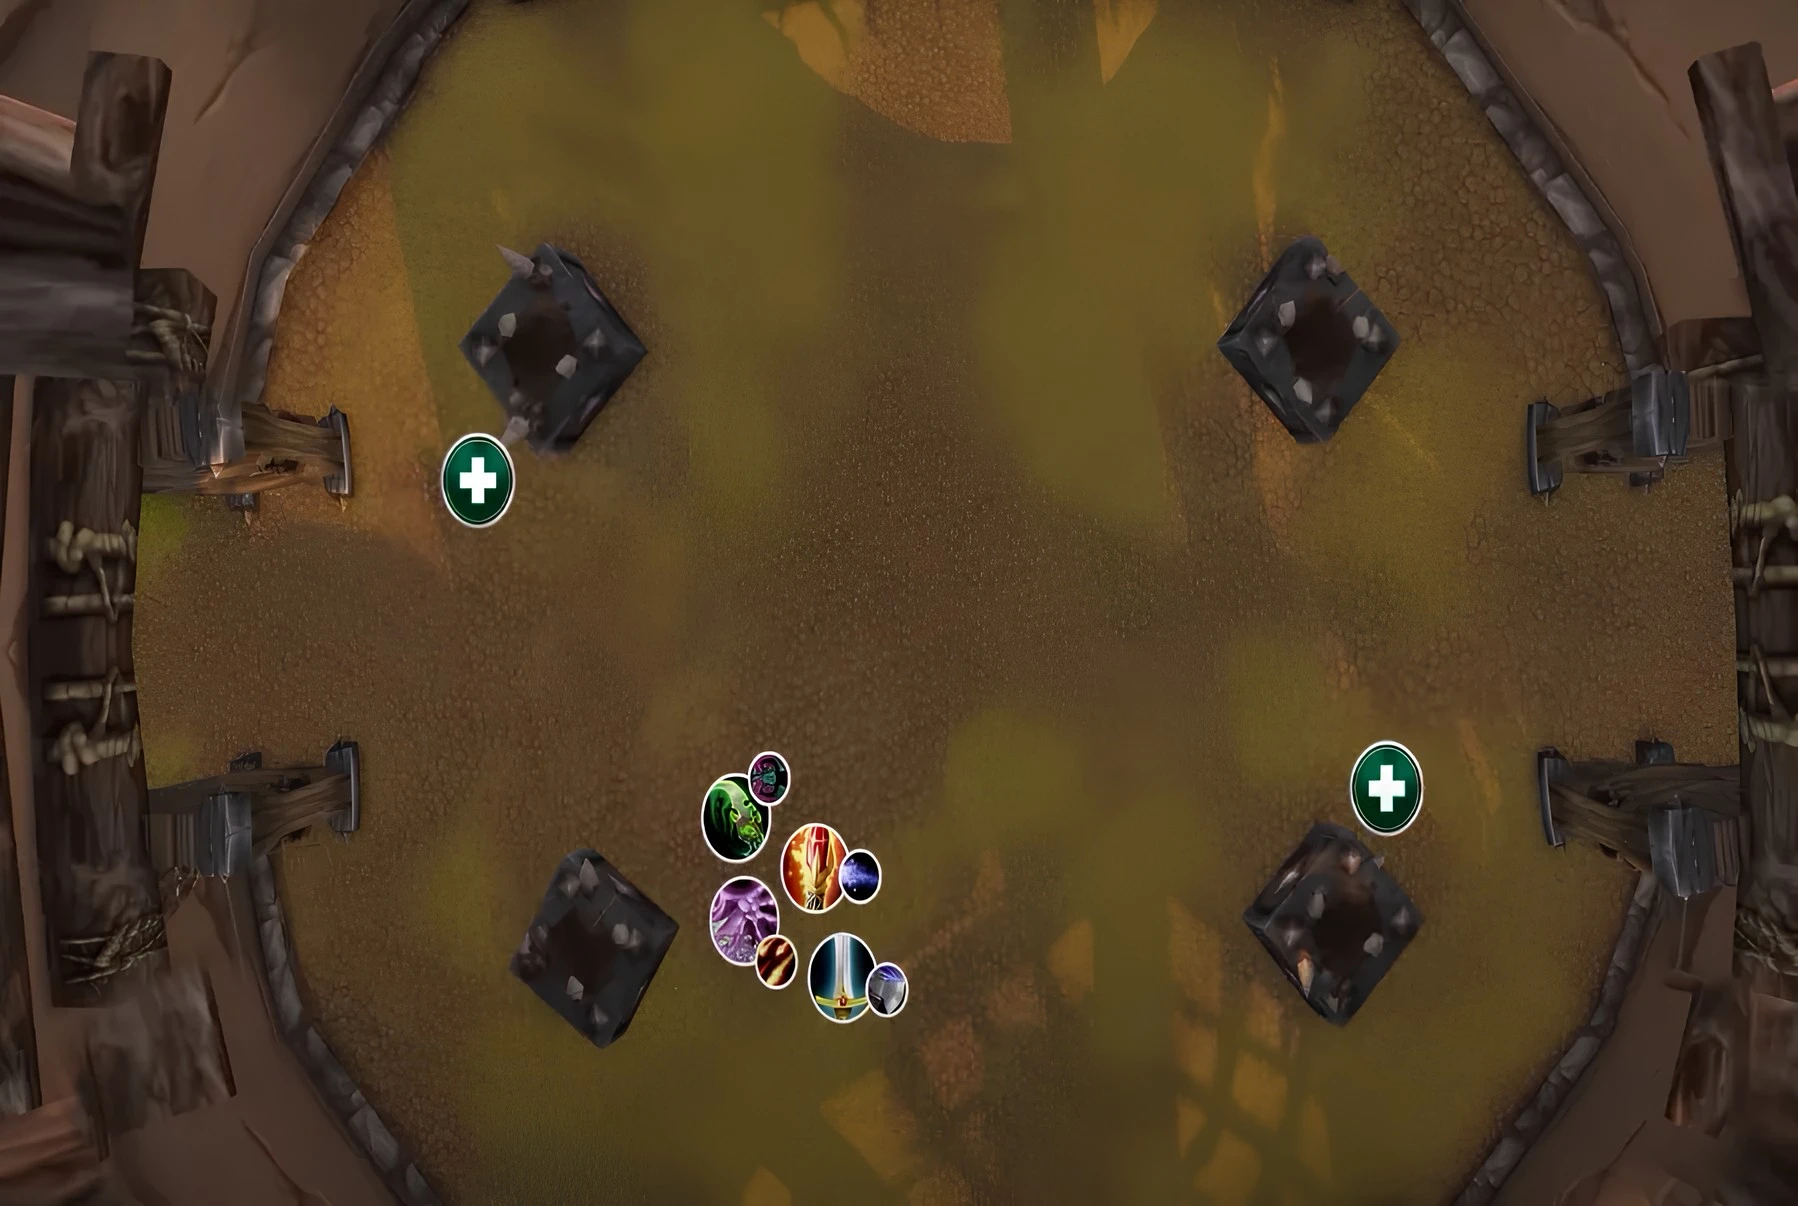
Pillar Hugging and Line of Sight (LoS)
Standing in the middle of the open map gets you killed — no cover, and every enemy caster hits you for free.
- For healers: always hug the pillars. Make enemy melee drag themselves out of position just to reach you.
- For DPS: never chase a low-health target behind a pillar if it pulls you out of your own healer’s line of sight. This is the number one cause of sudden, unhealable deaths in the 1800 bracket. Let the enemy run, swap your damage to the closest safe target, and force the enemy healer to come out of hiding.
 ⤢ Click to enlarge
Positioning Against Melee Cleaves
Facing two melee DPS, the rule is simple: spread out. Maintain distance from your teammates to minimize their effectiveness. Stack up and enemy Warriors and Death Knights hit both of you with sweeping strikes and cleave, and they interrupt both of you at once. Drag the melee deep into your side of the map, far from their healer. That creates an easy target switch when the healer has to sprint across the open map to save them.
Positioning Against Double Casters
Against two casters like Mage/Warlock, open ground is a death trap. Use the map’s pillars intelligently — cross open spaces as a team, moving pillar to pillar to dodge CC while applying pressure as they try to reposition. Playing a melee class into a double caster team, you cannot play defensively. Sitting behind a pillar all game means you lose to dampening. Push aggressively into the closest pillar to them, or stand right on top of them, to apply constant pressure so they cannot free-cast.
| Enemy Comp | Your Positioning Rule |
|---|---|
| Double Melee (Warrior/DK) | Spread out, drag melee deep into your side, away from their healer. |
| Double Caster (Mage/Warlock) | Move pillar to pillar as a team; melee must push on top of them. |
| You are the healer | Hug pillars, force enemy melee out of position to reach you. |
| Multi-level map | Use the Z-axis — bait melee down, then teleport/leap back up. |
Using the Z-Axis
On maps with ramps, bridges, or multiple levels — Blade’s Edge Arena, Mugambala, Dalaran Sewers — use the vertical layout. If a melee attacks you on a bridge, jump down. When they follow, instantly use a teleport, gateway, or leap to get back up. You just broke their damage uptime for 15 seconds while they walk all the way back up the ramp.
Advanced WoW Arena Tips & Tricks in Midnight PvP
These are the small tech plays and arena tips that separate mid-rated players from Gladiators. Learn the ones relevant to your class and the classes you fight most.
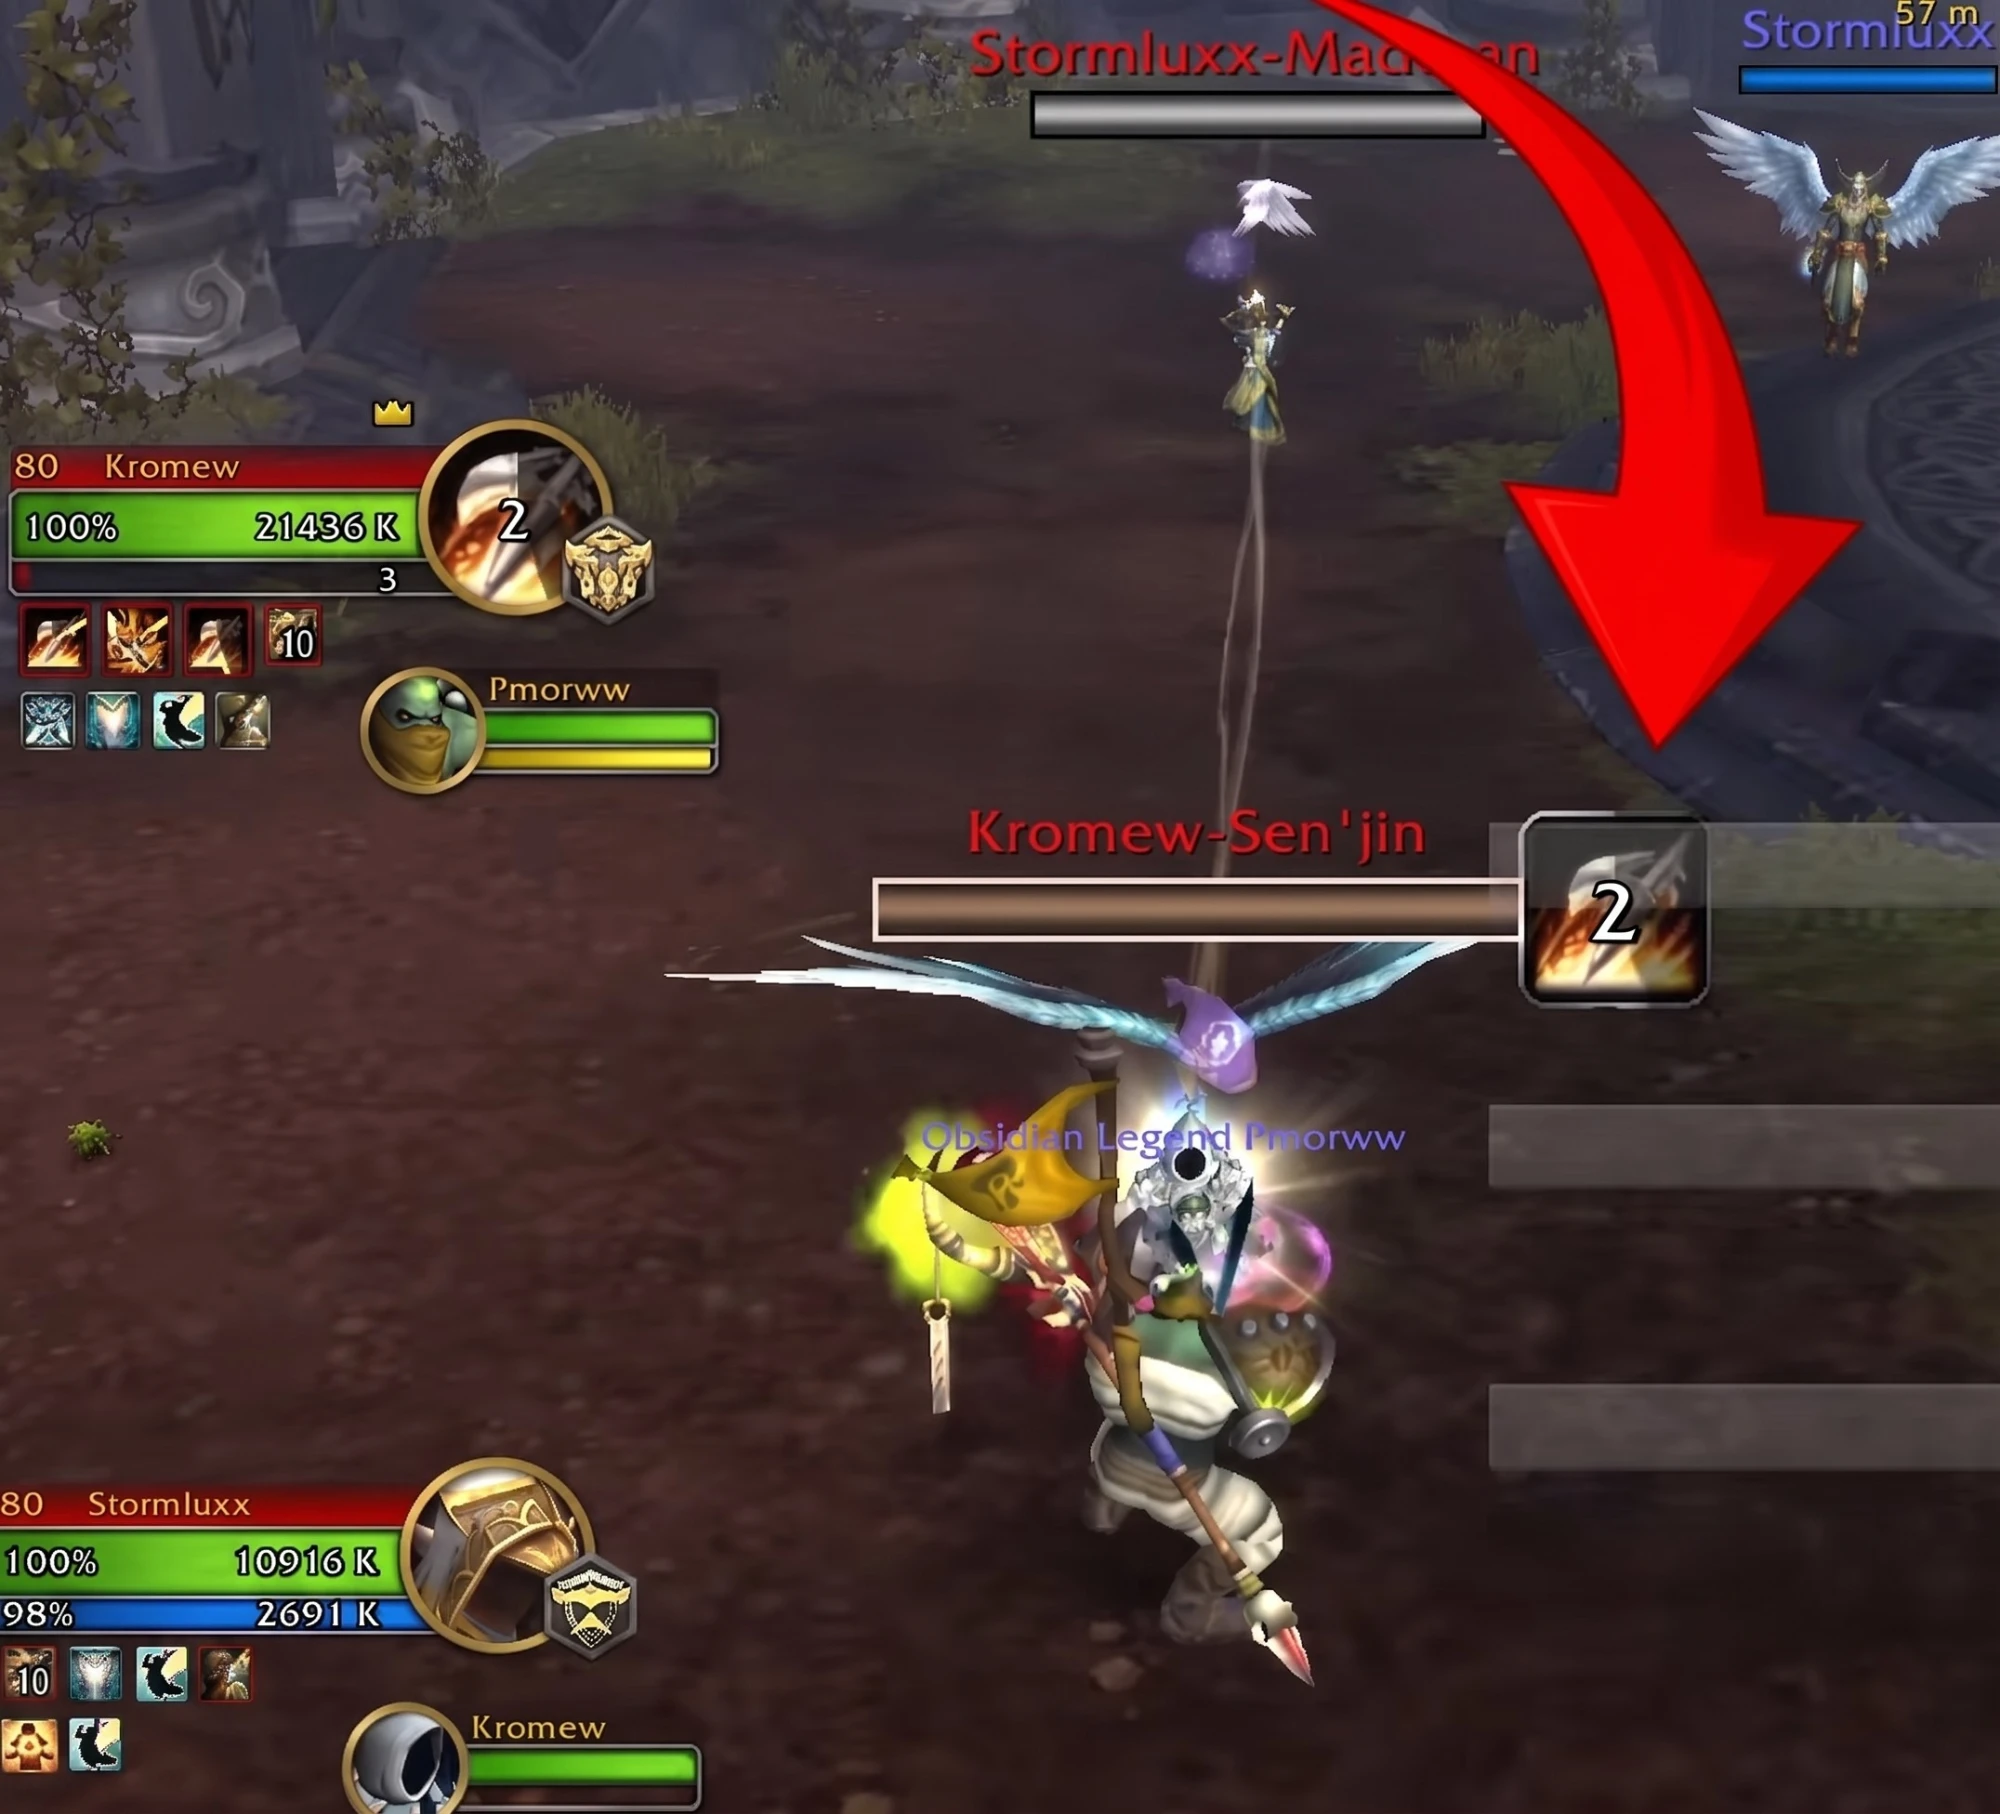
Countering Death Knight’s Death Grip
- Movement abilities: Hunter or Moonkin Disengage breaks the grip mid-air.
- Shadowstep: Rogues cancel the grip by Shadowstepping to a different target during the animation.
- Glimpse: Demon Hunters immune the grip entirely with precise Glimpse timing.
- Treant: Resto Druids cancel form and wild charge or jump to a summoned Treant to immune the pull.
 ⤢ Click to enlarge
Denying Priest Life Grip
- Roots: rooting an enemy target makes them immune to their teammate’s Life Grip.
- Ring of Peace: Monks drop Ring of Peace on the target to block the grip path.
 ⤢ Click to enlarge
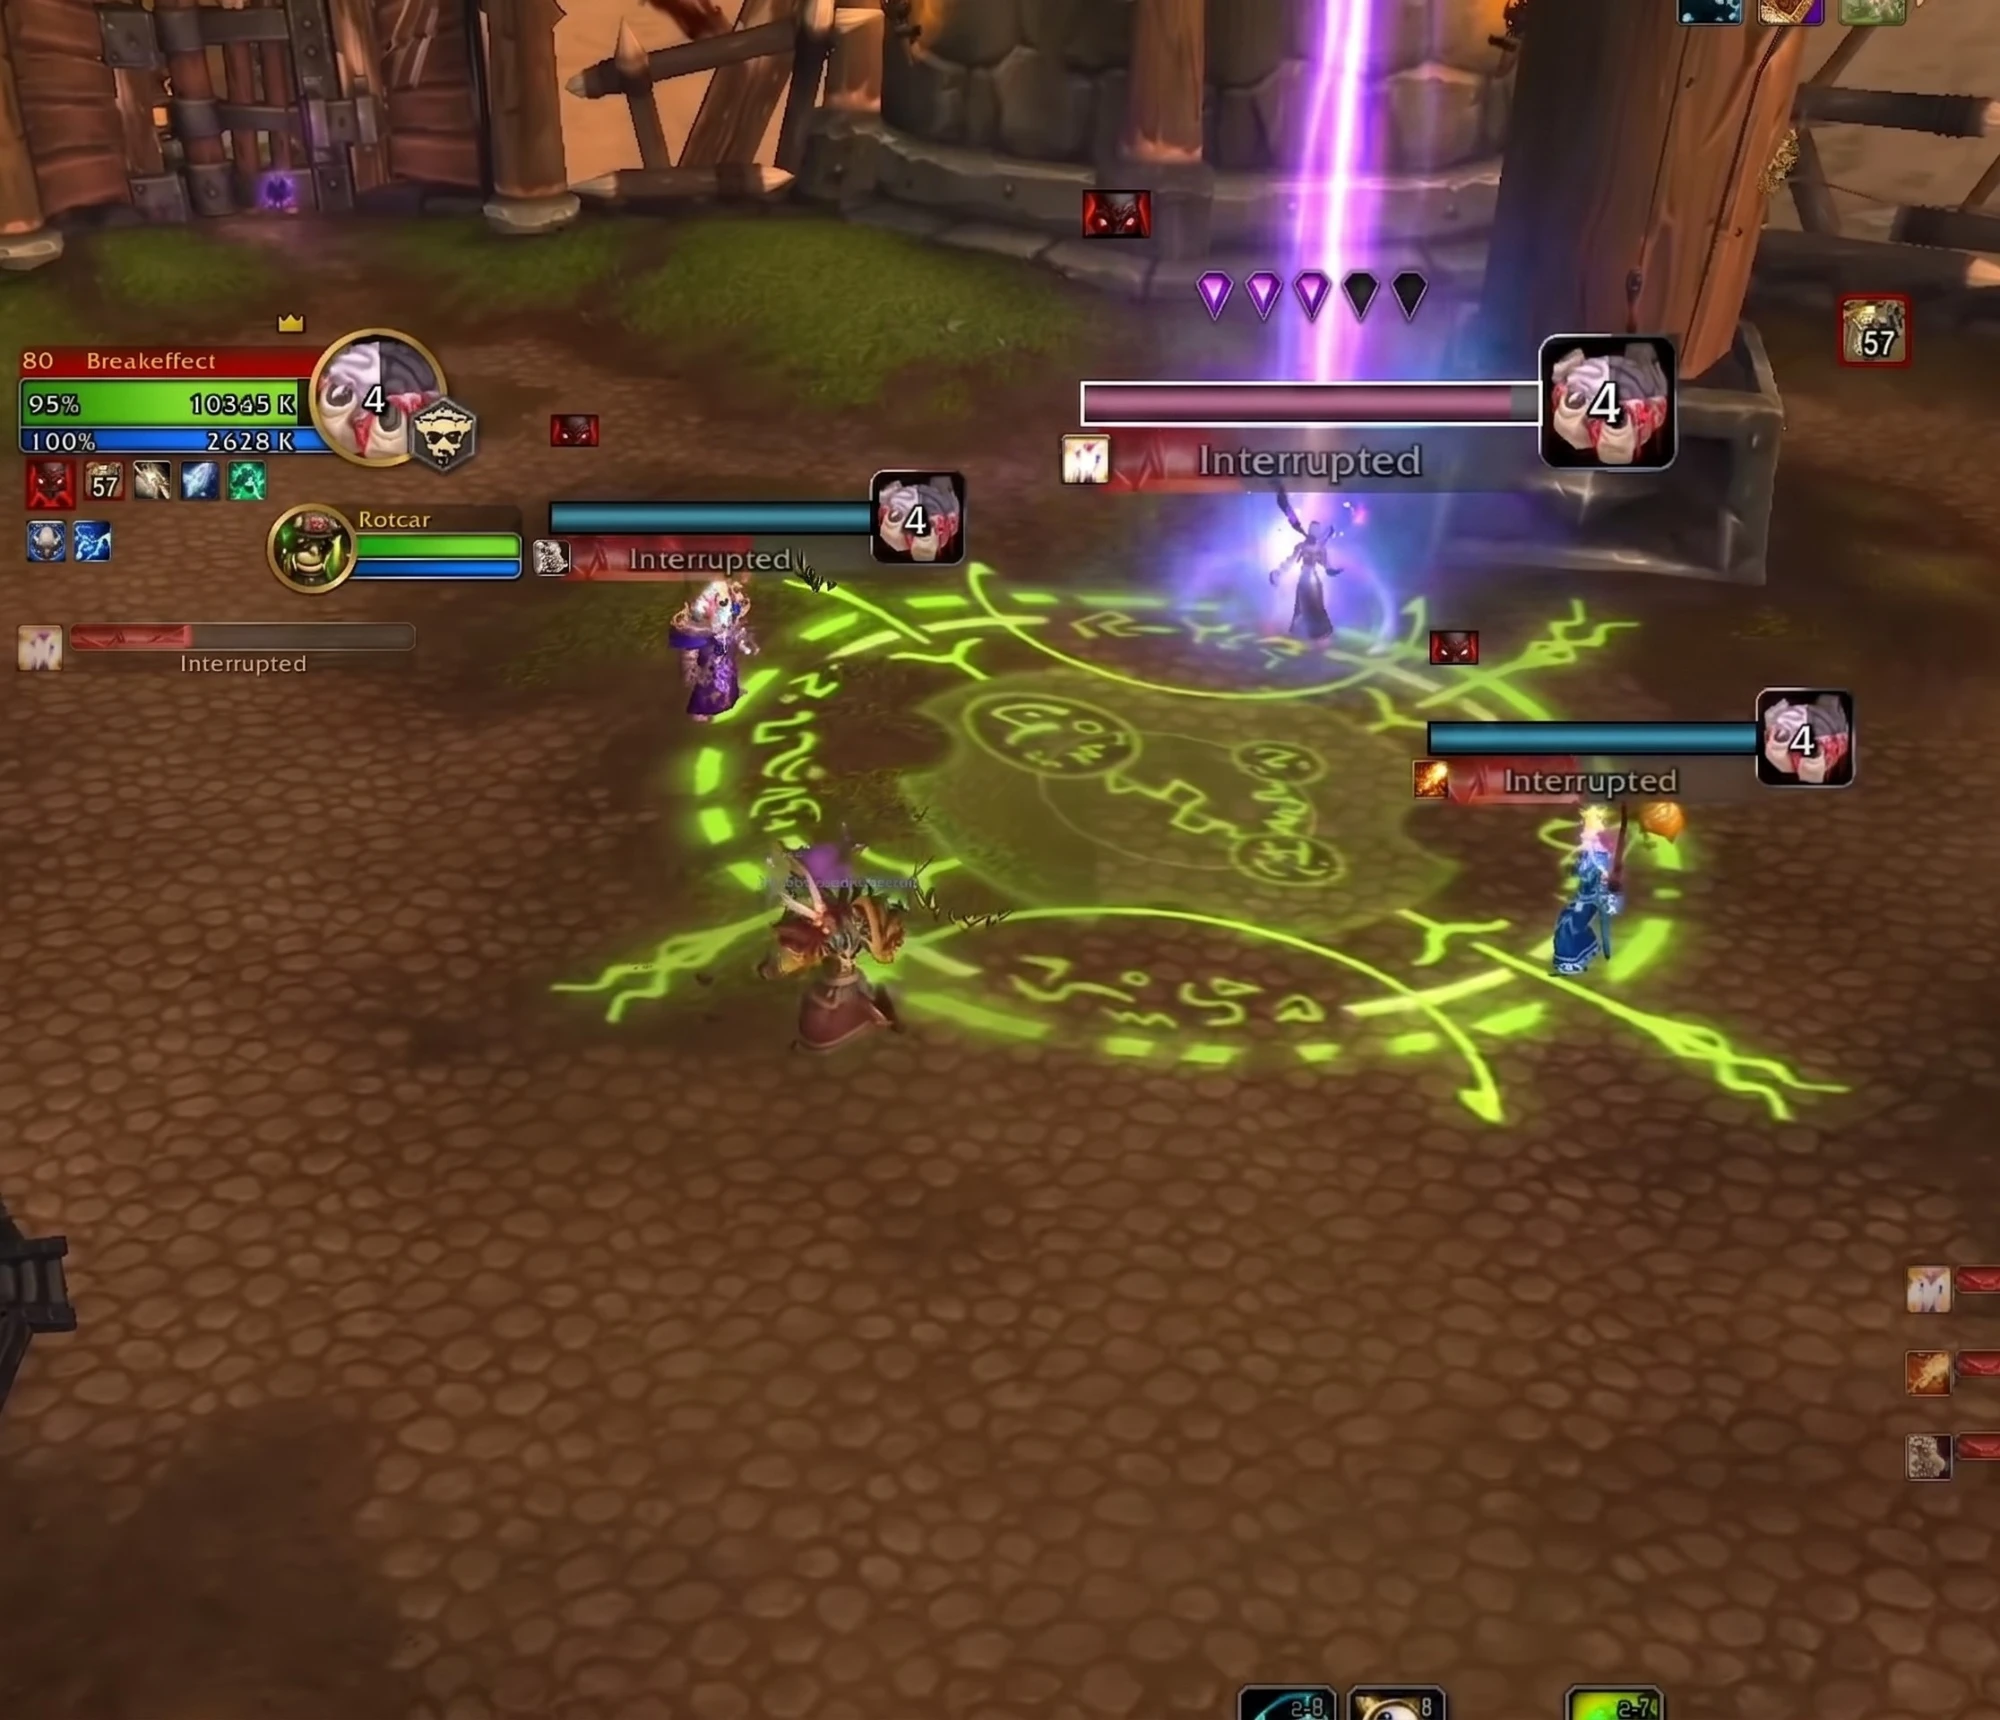
Interrupt & Spell Reflect Mechanics
- Triple Kick: Warlocks running Bane of Havoc can interrupt up to three targets simultaneously.
- Precog via Reflect: casting Counterspell into an enemy’s Spell Reflect grants you Precognition.
- Searing Glare bypass: counterspells still land even while you are blinded by a Paladin’s Searing Glare.
- Warlock kick reset: running Grimoire of Sacrifice with a Fel Hunter? Use your kick, cast Fel Domination to resummon the pet, and your kick cooldown instantly resets.
 ⤢ Click to enlarge
Escaping Warrior’s Spear
- Gateways: click a Warlock Demonic Gateway to exit the spear radius.
- Searing Glare: blind the Warrior with Searing Glare to walk right out of the spear.
- Precognition: triggering Precog lets you walk freely out of the effect.
- Metamorphosis: Demon Hunters leap out of the spear using Metamorphosis.
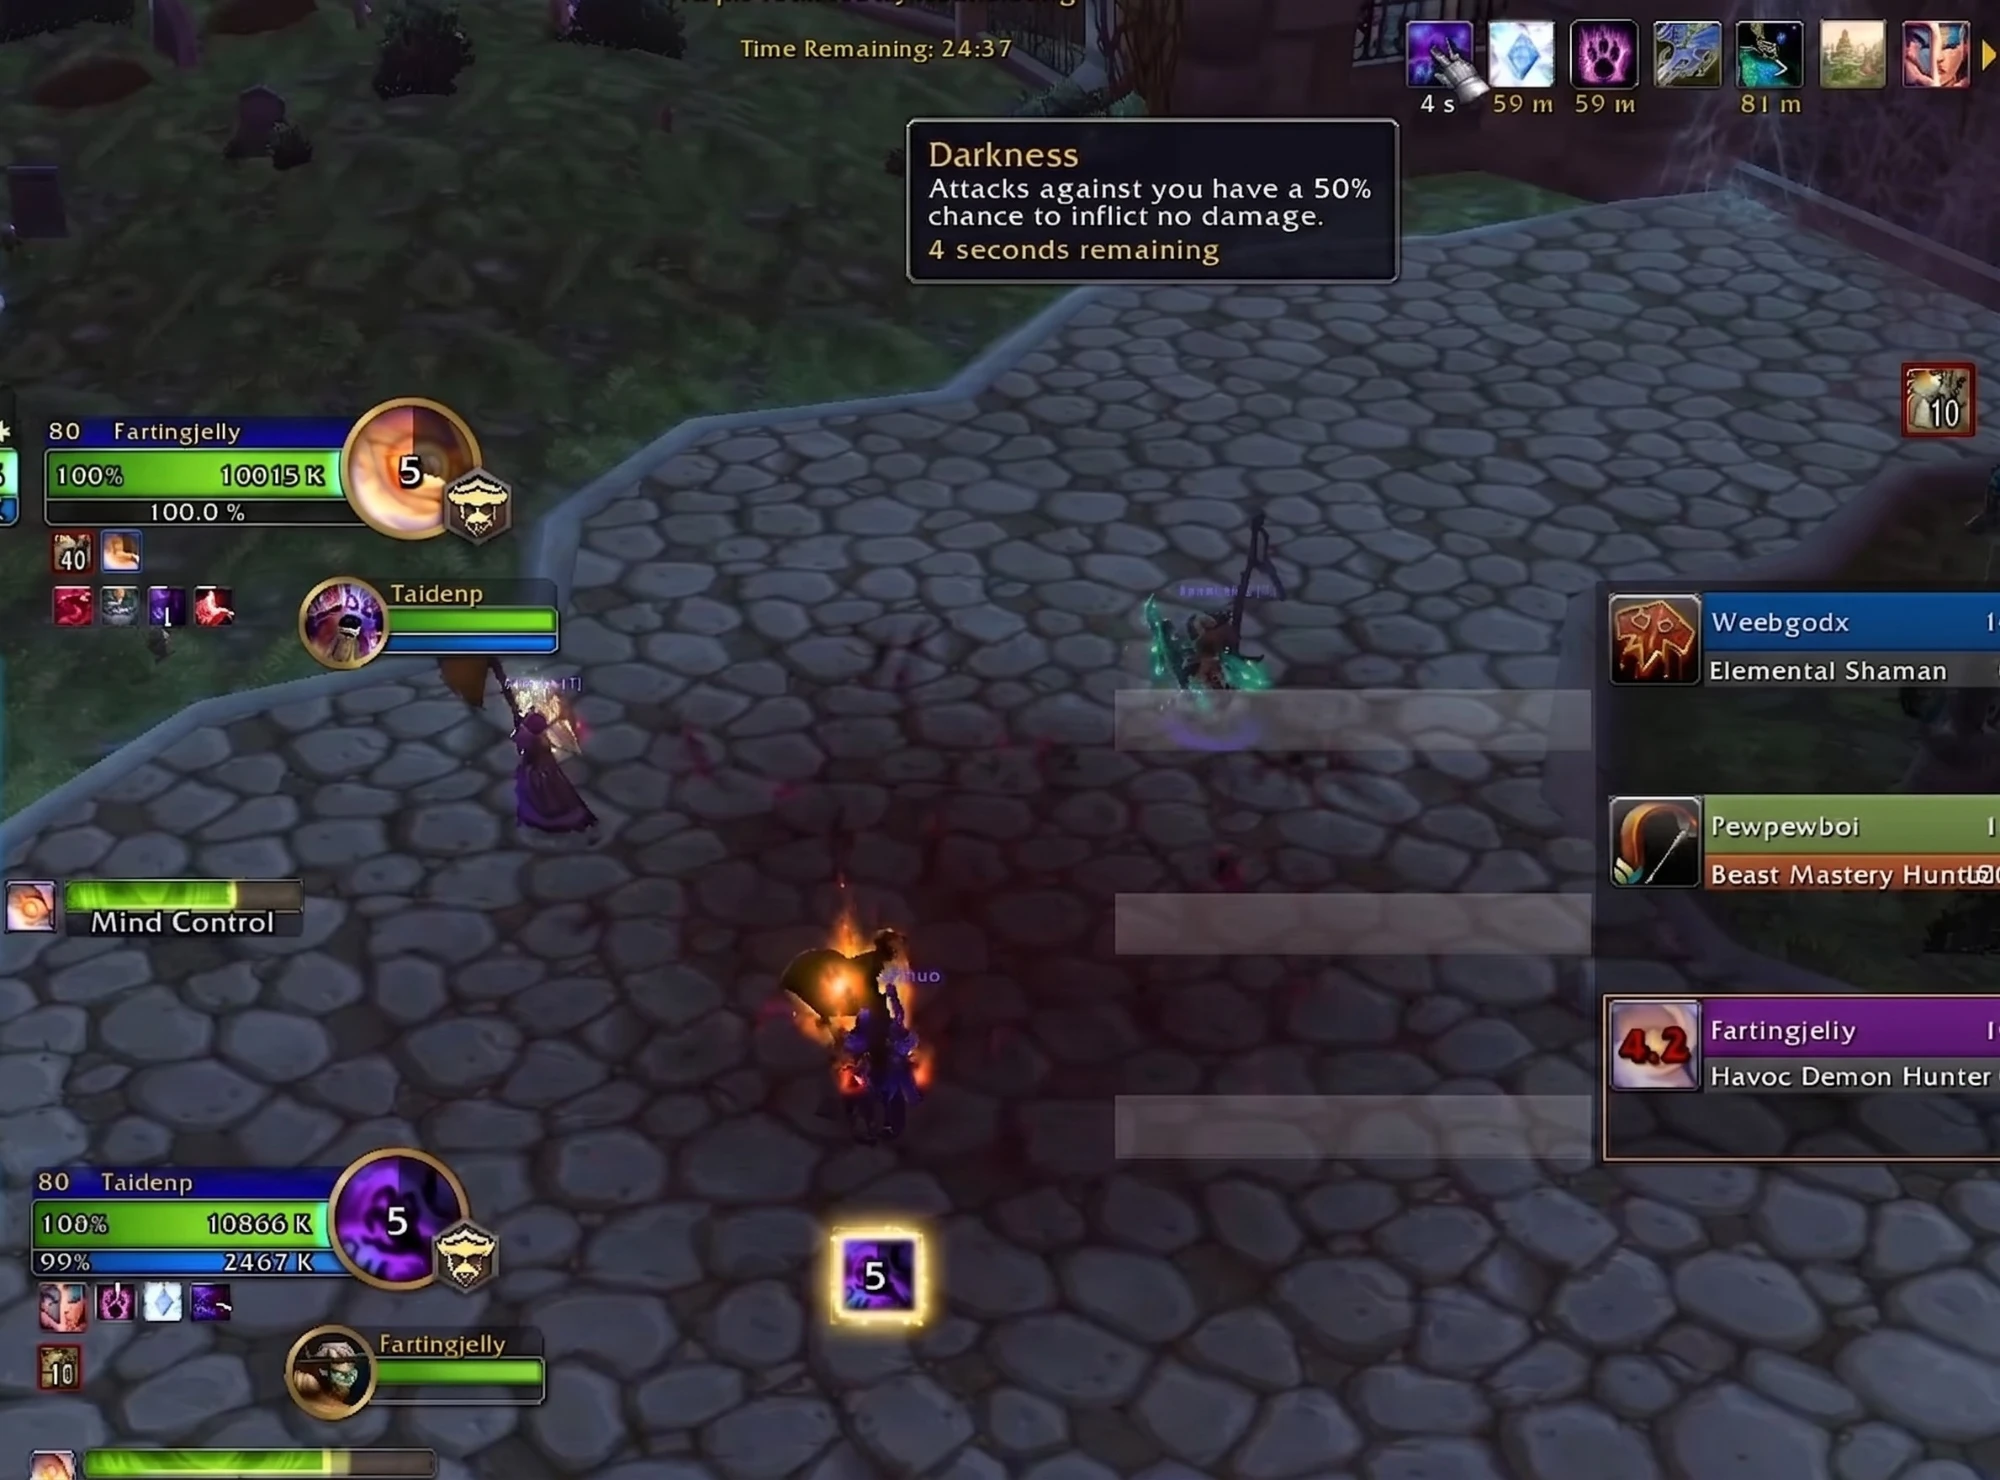
- Mind Control: mind-controlling the casting Warrior lets your whole team walk out.
| Enemy Ability | How to Counter It |
|---|---|
| DK Death Grip | Disengage / Shadowstep / Glimpse / Treant to immune or cancel the pull. |
| Priest Life Grip | Root the target, or drop a Monk Ring of Peace to block the path. |
| Warrior’s Spear | Demonic Gateway, Searing Glare, Precognition, Metamorphosis or Mind Control. |
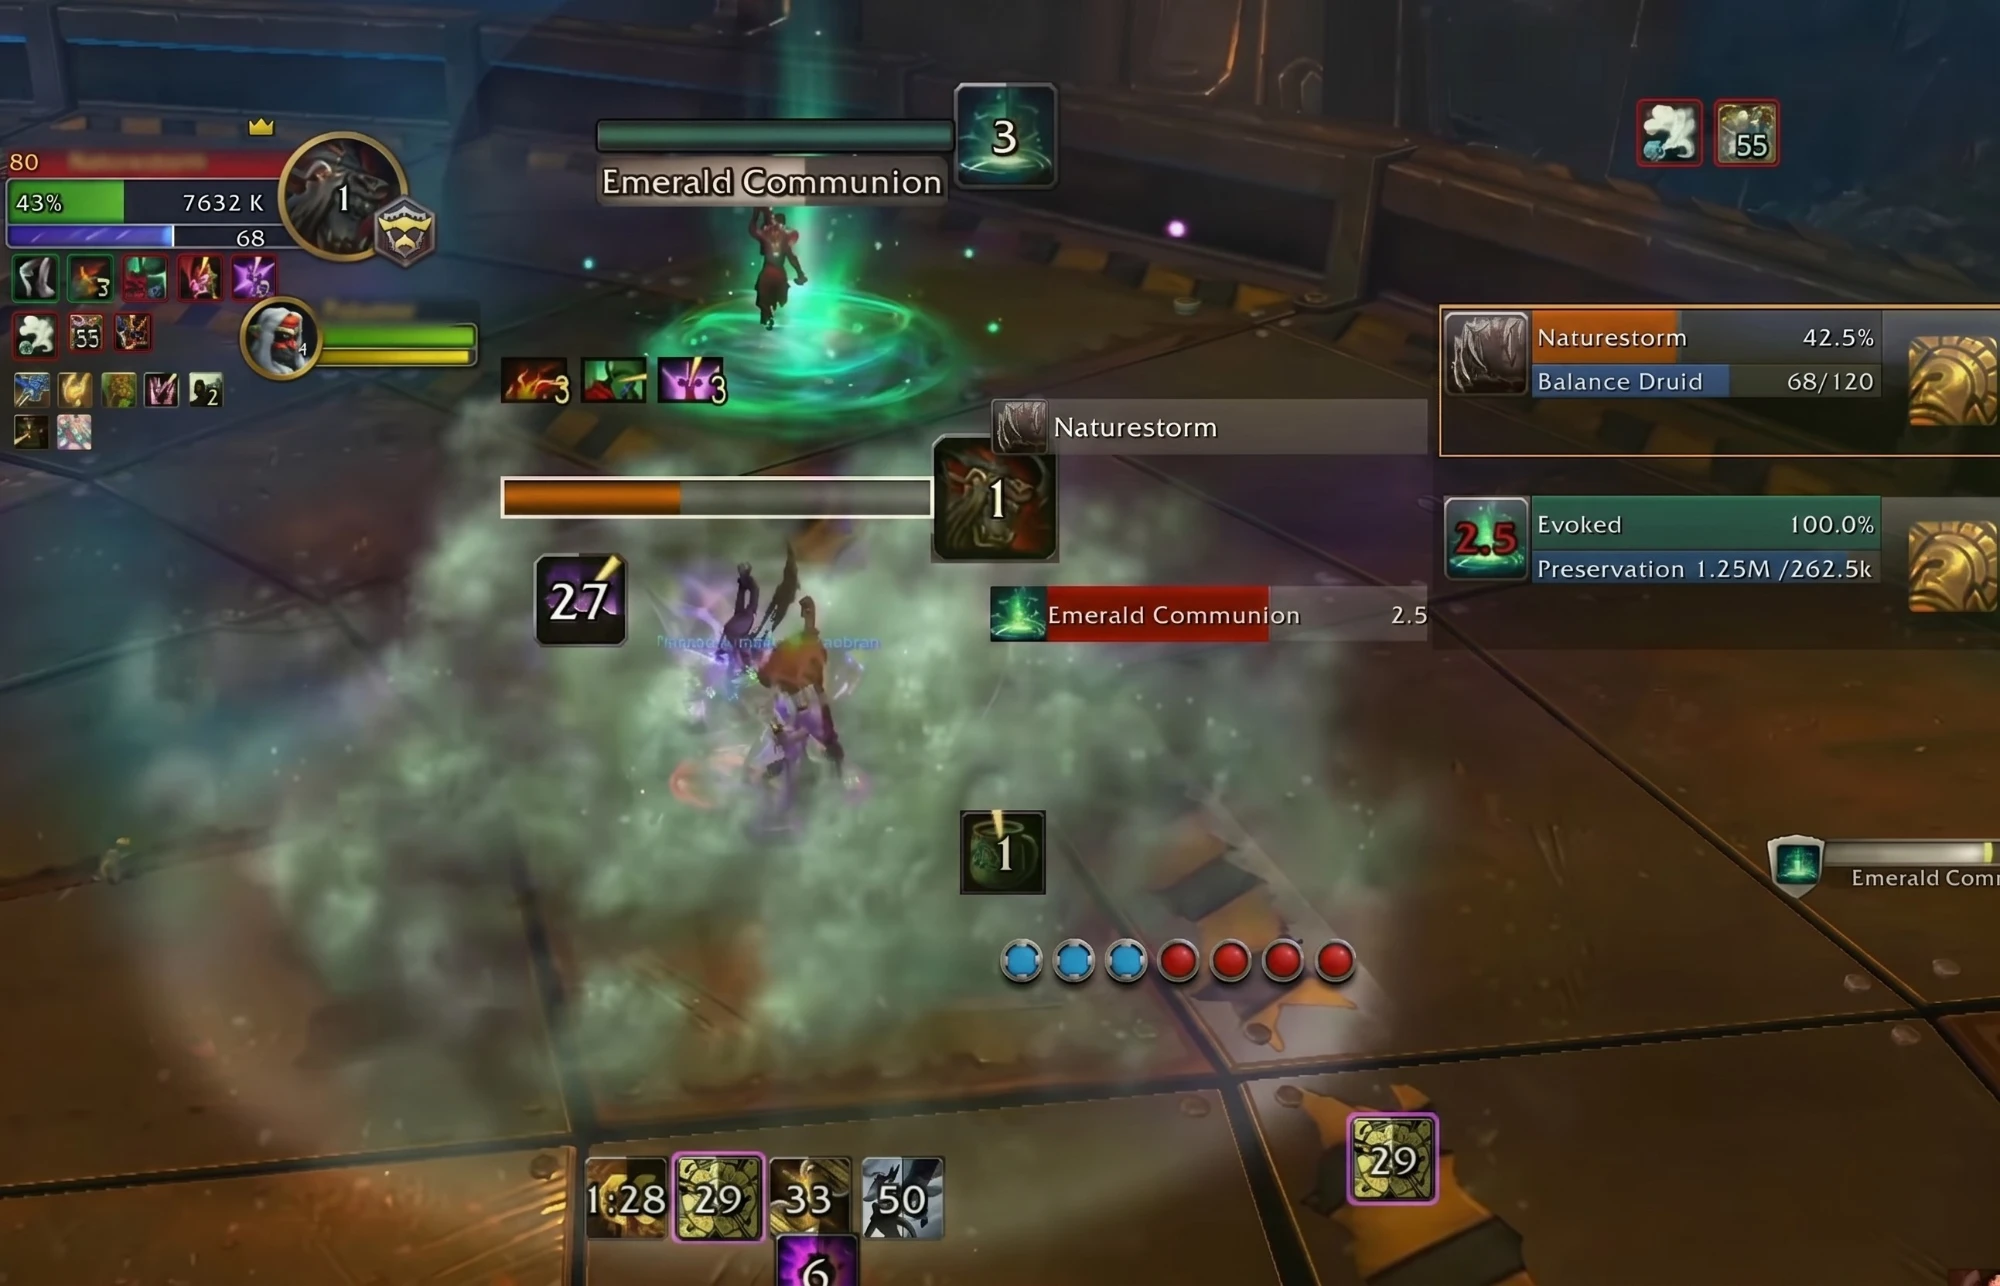
| Evoker Emerald Communion | Phase CC (Cyclone/Detainment/Diamond Ice) or Rogue Smoke Bomb. |
Exploiting Phase/Immunity CC (Cyclone, Detainment, Diamond Ice)
- Buff/debuff freezing: these CCs pause all positive and negative effects on the target.
- Stop Communion: cast one on an Evoker to instantly halt Emerald Communion.
- Deny Ray of Hope: use these at the end of a Holy Priest’s Ray of Hope to negate the delayed healing.
- Smoke Bomb: alternatively, a Rogue Smoke Bomb line-of-sights and denies an Evoker’s Emerald Communion.
Pet, Totem & Combat Control
- Targeting under Glare: you can still target and kill Psyfiends and Totems while affected by Searing Glare.
- Disarm cleanse: Demon Hunters use Glimpse to instantly remove a disarm effect.
- Pet teleport: Warlocks cast Eye of Kilrogg and instantly cancel it to teleport their pet to their side.
- Tremor delay: Shaman Tremor Totems have a slight delay before the first pulse — destroy it immediately to land a Sleepwalk.
- Sap setups: Warlock Fear and Rogue Blind do not put targets in combat. Stun a target into these to let them drop combat for a follow-up Sap.
- Purging Mind Control: any offensive purge on an ally instantly breaks an enemy’s Mind Control on them.
- Time of Need: against Preservation Evokers, immediately swap to and kill the small dragon pet (Time of Need) that spawns at low HP to stop massive passive healing.
Shadowmeld & Mind Control Tech
- Projectile immunity: press Shadowmeld while an enemy CC or damage projectile is mid-air to fully immune it. Instant CC like Hammer of Justice can also be immuned with frame-perfect timing.
- Sanctuary reversals: mind-controlling an enemy healer inside their own defensive zone — a Disc Priest’s Barrier, a Demon Hunter’s Darkness, a Death Knight’s AMZ — reverses the damage reduction to favor your team.
 ⤢ Click to enlarge
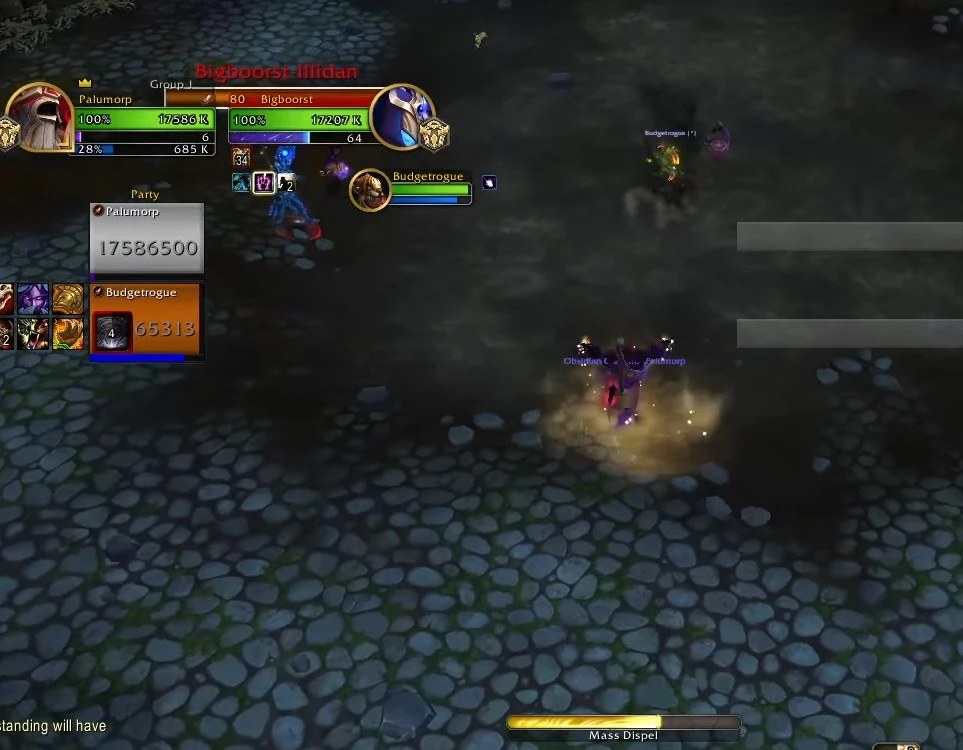
Mass Dispel Utility
Priests can use Mass Dispel to remove Cyclone from an ally, freeing a trapped teammate, and to strip an Evoker’s Time Stop. It is one of the highest-value utility spells in the game when timed correctly.
The Fast Track to the Gladiator Title in WoW
To pull it all together, if you want to push past the rating wall, stop doing these four things right now:
- Stop panic-pressing defensives. Look at your OmniBar. Only trade a defensive when the enemy presses a major offensive cooldown.
- Stop chasing around pillars. You break line of sight with your healer and die instantly. Swap to a target you can hit safely.
- Stop ignoring enemy DRs. Casting into a target that is already immune is a wasted global. Get a DR tracker on your nameplates.
- Stop playing in silence. On a team, call your setups 3 seconds before you commit. Tell your healer when you are out of defensives so they know they have to save you.
The PvP ladder is a grind, and the Gladiator title sits at the very top of it — if you are curious just how steep the climb really is, our breakdown of how hard it is to get the Gladiator title in WoW puts it in perspective. The meta shifts and classes get buffed and nerfed constantly, but the WoW arena tips in this guide — mastering positioning, tracking Diminishing Returns, and trading cooldowns efficiently — keep you at high rating forever. Clean up your UI, stop overlapping defensives, and play the map. If you want the elite titles and mounts but do not have a consistent, high-level team to grind with every day, our WoW Gladiator Boost services are a legitimate option — playing directly with multi-Rank 1 veterans is the fastest way to bridge the gap between your current rating and the top tier of competitive WoW PvP.